Care and Cleaning

4.When finished cooking, turn the Temperature Control to Off.

5.If using the 60-Minute Bake Timer, you will hear a bell sound once it reaches the set time. If not, when cooking is done, turn the Timer to 0 (off). The On Indicator Light goes out.

6.Using an oven mitt or pot holder, open the door and slide out the Slide Rack to remove the Bake Pan.

Caution: The oven is hot. Do not let your skin touch any surface.


Broiling


Note: When broiling, preheat oven for 5 minutes.


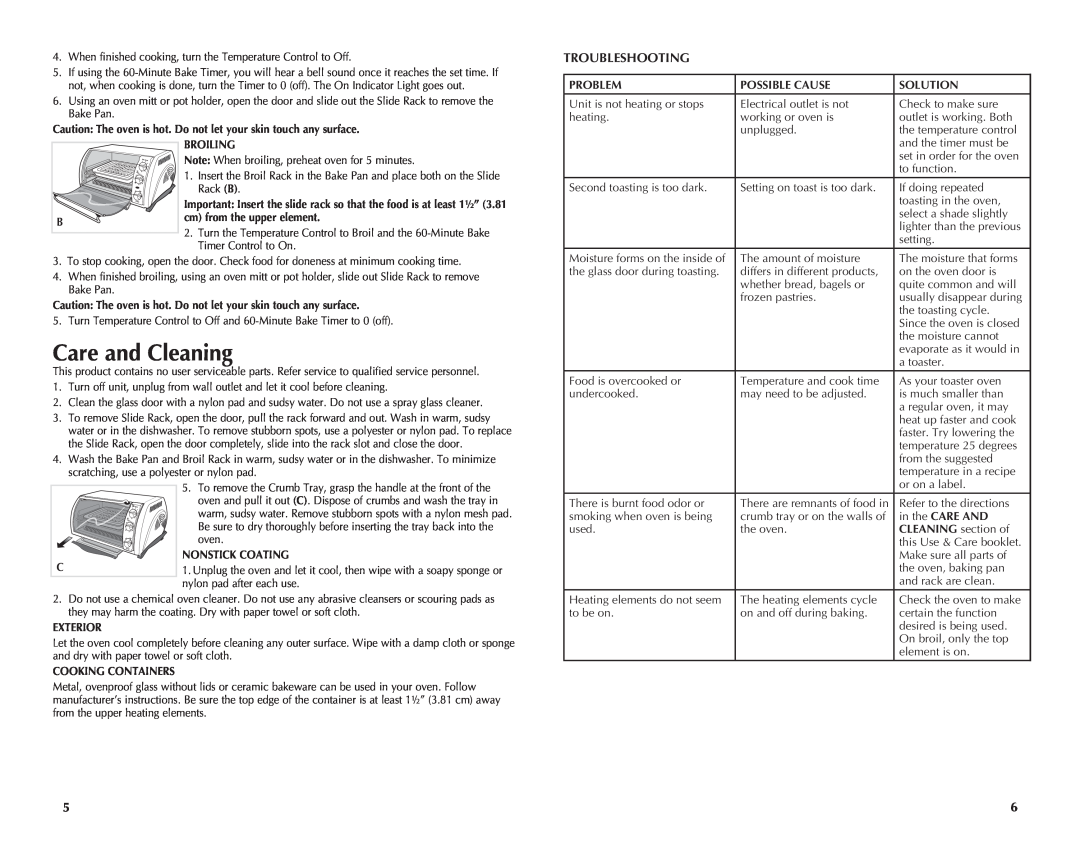
1. Insert the Broil Rack in the Bake Pan and place both on the Slide


Rack (B).


Important: Insert the slide rack so that the food is at least 1½” (3.81

B

cm) from the upper element.

2. Turn the Temperature Control to Broil and the 60-Minute Bake


Timer Control to On.

3. To stop cooking, open the door. Check food for doneness at minimum cooking time.

4. When finished broiling, using an oven mitt or pot holder, slide out Slide Rack to remove Bake Pan.

Caution: The oven is hot. Do not let your skin touch any surface.

5. Turn Temperature Control to Off and 60-Minute Bake Timer to 0 (off).

Care and Cleaning

This product contains no user serviceable parts. Refer service to qualified service personnel.

1.Turn off unit, unplug from wall outlet and let it cool before cleaning.

2.Clean the glass door with a nylon pad and sudsy water. Do not use a spray glass cleaner.

3.To remove Slide Rack, open the door, pull the rack forward and out. Wash in warm, sudsy water or in the dishwasher. To remove stubborn spots, use a polyester or nylon pad. To replace the Slide Rack, open the door completely, slide into the rack slot and close the door.

4.Wash the Bake Pan and Broil Rack in warm, sudsy water or in the dishwasher. To minimize scratching, use a polyester or nylon pad.

TROUBLESHOOTING

PROBLEM

POSSIBLE CAUSE

SOLUTION

Unit is not heating or stops

Electrical outlet is not

Check to make sure

heating.

working or oven is

outlet is working. Both


unplugged.

the temperature control


and the timer must be


set in order for the oven


to function.

Second toasting is too dark.

Setting on toast is too dark.

If doing repeated


toasting in the oven,


select a shade slightly


lighter than the previous


setting.

Moisture forms on the inside of

The amount of moisture

The moisture that forms

the glass door during toasting.

differs in different products,

on the oven door is


whether bread, bagels or

quite common and will


frozen pastries.

usually disappear during


the toasting cycle.


Since the oven is closed


the moisture cannot


evaporate as it would in


a toaster.

Food is overcooked or

Temperature and cook time

As your toaster oven

undercooked.

may need to be adjusted.

is much smaller than


a regular oven, it may


heat up faster and cook


faster. Try lowering the


temperature 25 degrees


from the suggested


temperature in a recipe

C

5.To remove the Crumb Tray, grasp the handle at the front of the oven and pull it out (C). Dispose of crumbs and wash the tray in warm, sudsy water. Remove stubborn spots with a nylon mesh pad. Be sure to dry thoroughly before inserting the tray back into the oven.

Nonstick Coating

1.Unplug the oven and let it cool, then wipe with a soapy sponge or nylon pad after each use.


or on a label.


There is burnt food odor or

There are remnants of food in

Refer to the directions

smoking when oven is being

crumb tray or on the walls of

in the CARE AND

used.

the oven.

CLEANING section of


this Use & Care booklet.


Make sure all parts of


the oven, baking pan


and rack are clean.

2.Do not use a chemical oven cleaner. Do not use any abrasive cleansers or scouring pads as they may harm the coating. Dry with paper towel or soft cloth.

Exterior

Let the oven cool completely before cleaning any outer surface. Wipe with a damp cloth or sponge and dry with paper towel or soft cloth.

Cooking Containers

Metal, ovenproof glass without lids or ceramic bakeware can be used in your oven. Follow manufacturer’s instructions. Be sure the top edge of the container is at least 1½” (3.81 cm) away from the upper heating elements.

Heating elements do not seem

The heating elements cycle

Check the oven to make

to be on.

on and off during baking.

certain the function


desired is being used.


On broil, only the top


element is on.

5

6

Page 4
Image 4
Black & Decker CTO650, TOAST-R-OVEN, Toaster, 399 manual Care and Cleaning, Troubleshooting

399, Toaster, TOAST-R-OVEN, CTO650 specifications

The Black & Decker CTO650 is a versatile and efficient countertop toaster oven designed for modern kitchens. This compact appliance is perfect for a variety of cooking tasks, making it an essential addition to any home. One of the standout features of the CTO650 is its sleek design, which not only adds an aesthetic appeal but also allows it to fit comfortably on most kitchen countertops.

Equipped with a 1500-watt heating system, the CTO650 ensures quick and even cooking. It offers multiple cooking modes, including baking, broiling, toasting, and reheating, giving users the flexibility to prepare a wide range of dishes. The oven’s convection cooking technology circulates hot air for even cooking, resulting in perfectly baked cookies and evenly roasted vegetables.

The CTO650 features an intuitive control panel with easy-to-read dials and buttons. Users can easily adjust the time and temperature settings to suit their cooking needs. The temperature range typically spans from 200°F to 450°F, allowing for a diverse range of cooking options. Additionally, the oven comes with a 30-minute timer with an automatic shut-off feature, providing added safety and convenience.

Another notable characteristic of the Black & Decker CTO650 is its spacious interior. The oven can accommodate up to four slices of toast, a 9-inch pizza, or casseroles, making it an excellent choice for both small and large meals. The removable crumb tray simplifies cleaning, ensuring that upkeep is hassle-free.

The device also boasts a built-in adjustable broil function, making it ideal for melting cheese or searing meats, while the toasting function offers adjustable browning control to achieve the perfect toast every time. The oven’s glass door allows users to monitor the cooking process without opening the appliance, ensuring that meals are cooked to perfection.

In summary, the Black & Decker CTO650 stands out for its combination of functionality, design, and ease of use. With advanced technologies such as convection cooking, a variety of cooking modes, and a user-friendly control panel, it caters to the needs of both novice cooks and seasoned chefs alike. Its spacious and versatile design makes it an indispensable tool in any kitchen setting.