How To Use
SETTING THE CLOCK | NOTE: It is not necessary to set |
(MODEL DCM703C/ | the clock before brewing. |
DCM903WH/ DCM913BK) |
|
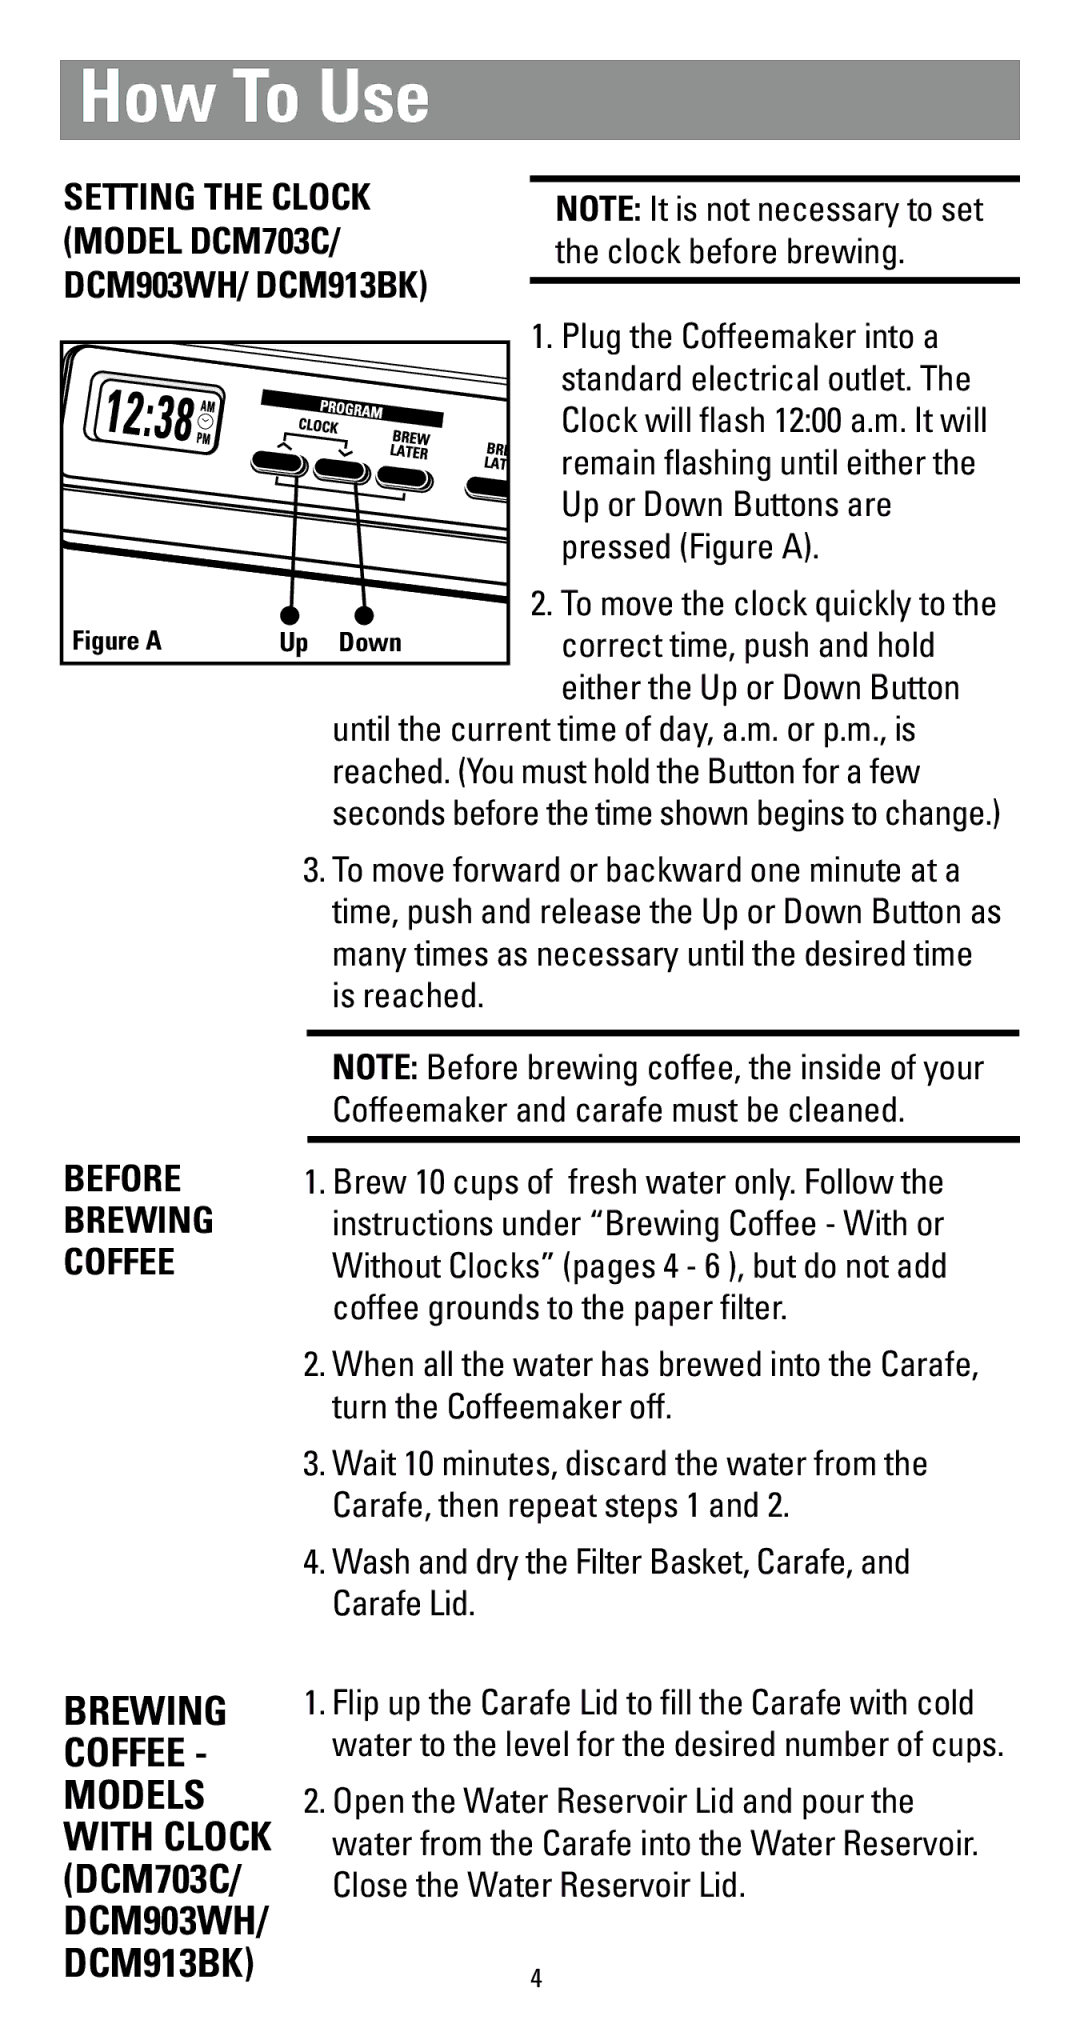
1. Plug the Coffeemaker into a standard electrical outlet. The Clock will flash 12:00 a.m. It will remain flashing until either the Up or Down Buttons are pressed (Figure A).
| ● | ● | 2. To move the clock quickly to the |
Figure A | Up | Down | correct time, push and hold |
either the Up or Down Button
until the current time of day, a.m. or p.m., is reached. (You must hold the Button for a few seconds before the time shown begins to change.)
3. To move forward or backward one minute at a
|
|
| time, push and release the Up or Down Button as |
|
|
| many times as necessary until the desired time |
|
|
| is reached. |
|
|
|
|
|
|
| NOTE: Before brewing coffee, the inside of your |
|
|
| Coffeemaker and carafe must be cleaned. |
BEFORE |
|
| |
1. Brew 10 cups of fresh water only. Follow the | |||
BREWING |
|
| instructions under “Brewing Coffee - With or |
COFFEE |
|
| Without Clocks” (pages 4 - 6 ), but do not add |
|
|
| coffee grounds to the paper filter. |
| 2. When all the water has brewed into the Carafe, | ||
|
|
| turn the Coffeemaker off. |
| 3. Wait 10 minutes, discard the water from the | ||
|
|
| Carafe, then repeat steps 1 and 2. |
| 4. Wash and dry the Filter Basket, Carafe, and | ||
|
|
| Carafe Lid. |
BREWING | 1. Flip up the Carafe Lid to fill the Carafe with cold | ||
COFFEE - |
|
| water to the level for the desired number of cups. |
MODELS | 2. Open the Water Reservoir Lid and pour the | ||
WITH CLOCK |
|
| water from the Carafe into the Water Reservoir. |
(DCM703C/ |
|
| Close the Water Reservoir Lid. |
DCM903WH/ |
|
|
|
DCM913BK) | 4 | ||