DE8Pub1000000664RV1 4/22/05 11:13 AM Page 6

Care and Cleaning

This product contains no user serviceable parts. Refer service to qualified service personnel.

CLEANING

1.Be sure the unit is off and cooled. Open the cover, remove the brew basket (lift straight up), and discard the paper filter/grounds. Clean as follows: brew basket, permanent gold- tone filter (certain models), carafe, and carafe lid are all top rack dishwasher-safe; or they may be hand washed in warm, sudsy water. See below for carafe care. The coffeemaker’s exterior, control panel area and "Keep Hot" plate may be cleaned with a soft damp cloth. Do not use abrasive cleansers or scouring pads. Never immerse the coffeemaker in water.

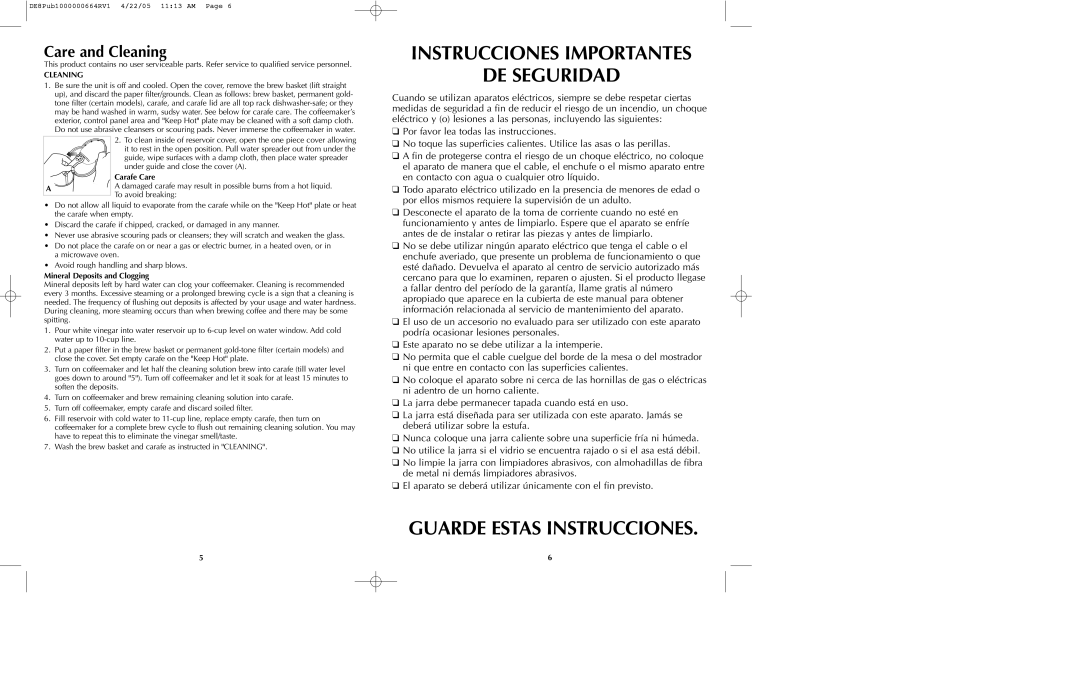
2.To clean inside of reservoir cover, open the one piece cover allowing

it to rest in the open position. Pull water spreader out from under the guide, wipe surfaces with a damp cloth, then place water spreader under guide and close the cover (A).

Carafe Care

A A damaged carafe may result in possible burns from a hot liquid. To avoid breaking:

Do not allow all liquid to evaporate from the carafe while on the "Keep Hot" plate or heat the carafe when empty.

Discard the carafe if chipped, cracked, or damaged in any manner.

Never use abrasive scouring pads or cleansers; they will scratch and weaken the glass.

Do not place the carafe on or near a gas or electric burner, in a heated oven, or in a microwave oven.

Avoid rough handling and sharp blows.

Mineral Deposits and Clogging

Mineral deposits left by hard water can clog your coffeemaker. Cleaning is recommended every 3 months. Excessive steaming or a prolonged brewing cycle is a sign that a cleaning is needed. The frequency of flushing out deposits is affected by your usage and water hardness. During cleaning, more steaming occurs than when brewing coffee and there may be some spitting.

1.Pour white vinegar into water reservoir up to 6-cup level on water window. Add cold water up to 10-cup line.

2.Put a paper filter in the brew basket or permanent gold-tone filter (certain models) and close the cover. Set empty carafe on the "Keep Hot" plate.

3.Turn on coffeemaker and let half the cleaning solution brew into carafe (till water level goes down to around "5"). Turn off coffeemaker and let it soak for at least 15 minutes to soften the deposits.

4.Turn on coffeemaker and brew remaining cleaning solution into carafe.

5.Turn off coffeemaker, empty carafe and discard soiled filter.

6.Fill reservoir with cold water to 11-cup line, replace empty carafe, then turn on coffeemaker for a complete brew cycle to flush out remaining cleaning solution. You may have to repeat this to eliminate the vinegar smell/taste.

7.Wash the brew basket and carafe as instructed in "CLEANING".

INSTRUCCIONES IMPORTANTES

DE SEGURIDAD

Cuando se utilizan aparatos eléctricos, siempre se debe respetar ciertas medidas de seguridad a fin de reducir el riesgo de un incendio, un choque eléctrico y (o) lesiones a las personas, incluyendo las siguientes:

Por favor lea todas las instrucciones.

No toque las superficies calientes. Utilice las asas o las perillas.

A fin de protegerse contra el riesgo de un choque eléctrico, no coloque el aparato de manera que el cable, el enchufe o el mismo aparato entre en contacto con agua o cualquier otro líquido.

Todo aparato eléctrico utilizado en la presencia de menores de edad o por ellos mismos requiere la supervisión de un adulto.

Desconecte el aparato de la toma de corriente cuando no esté en funcionamiento y antes de limpiarlo. Espere que el aparato se enfríe antes de de instalar o retirar las piezas y antes de limpiarlo.

No se debe utilizar ningún aparato eléctrico que tenga el cable o el enchufe averiado, que presente un problema de funcionamiento o que esté dañado. Devuelva el aparato al centro de servicio autorizado más cercano para que lo examinen, reparen o ajusten. Si el producto llegase a fallar dentro del período de la garantía, llame gratis al número apropiado que aparece en la cubierta de este manual para obtener información relacionada al servicio de mantenimiento del aparato.

El uso de un accesorio no evaluado para ser utilizado con este aparato podría ocasionar lesiones personales.

Este aparato no se debe utilizar a la intemperie.

No permita que el cable cuelgue del borde de la mesa o del mostrador ni que entre en contacto con las superficies calientes.

No coloque el aparato sobre ni cerca de las hornillas de gas o eléctricas ni adentro de un horno caliente.

La jarra debe permanecer tapada cuando está en uso.

La jarra está diseñada para ser utilizada con este aparato. Jamás se deberá utilizar sobre la estufa.

Nunca coloque una jarra caliente sobre una superficie fría ni húmeda.

No utilice la jarra si el vidrio se encuentra rajado o si el asa está débil.

No limpie la jarra con limpiadores abrasivos, con almohadillas de fibra de metal ni demás limpiadores abrasivos.

El aparato se deberá utilizar únicamente con el fin previsto.

GUARDE ESTAS INSTRUCCIONES.

5

6

Page 4
Image 4
Black & Decker DE40, DE43, DE8 manual Instrucciones Importantes DE Seguridad, Guarde Estas Instrucciones, Care and Cleaning

DE8, DE40, DE43 specifications

The Black & Decker DE43, DE40, and DE8 models are part of a renowned line of power tools that cater to both professional and DIY enthusiasts. Each model is designed with specific features and technologies that enhance performance and user experience.

The Black & Decker DE43 is celebrated for its robust design and exceptional power handling capabilities. It features a high-torque motor that delivers consistent performance, making it ideal for heavy-duty applications. The DE43 is equipped with an ergonomic handle that reduces user fatigue, allowing for extended use without discomfort. Its anti-slip grip ensures safety during operation, even in challenging conditions. Additionally, the model comes with a variable speed control feature that provides flexibility for different tasks, from drilling to driving screws, ensuring precision without compromising on speed.

The DE40 model stands out for its versatility and advanced technology. This model incorporates a smart battery management system that prolongs battery life and ensures optimal performance. The DE40’s lightweight design makes it easy to handle, while its compact size allows for access to tight spaces, making it ideal for precision work. The tool boasts a quick-change chuck that facilitates fast bit changes, saving time on the job. Furthermore, the DE40 is equipped with an LED work light, enhancing visibility in dimly lit environments, ensuring that users can work comfortably and safely.

Meanwhile, the Black & Decker DE8 model is designed for those who prioritize portability without sacrificing power. This model is lightweight and compact, perfect for users who need a reliable tool that can be easily transported to various locations. The DE8 utilizes lithium-ion battery technology, which provides a longer run-time and shorter charging time compared to traditional batteries. Users can enjoy the convenience of a cordless tool that doesn’t compromise on power or functionality. Moreover, the DE8 features multiple speed settings, allowing users to adjust the performance based on the task at hand.

In summary, the Black & Decker DE43, DE40, and DE8 encompass a range of features and technologies suited for different needs. Whether it's the heavy-duty capabilities of the DE43, the versatility of the DE40, or the portability of the DE8, each model reflects Black & Decker’s commitment to quality, innovation, and user satisfaction. These tools are designed to empower users, offering the reliability and efficiency required to tackle any project with confidence.