DLX900Pub1000001983 3/2/05 10:35 AM Page 6

SNEAK-A-CUP® INTERRUPT FEATURE

You can pour a cup of coffee while coffee is brewing without leaking from the brew basket.

• Brew basket, carafe and lid are all top rack dishwasher safe; or they may be hand washed

in warm, sudsy water.

E

F

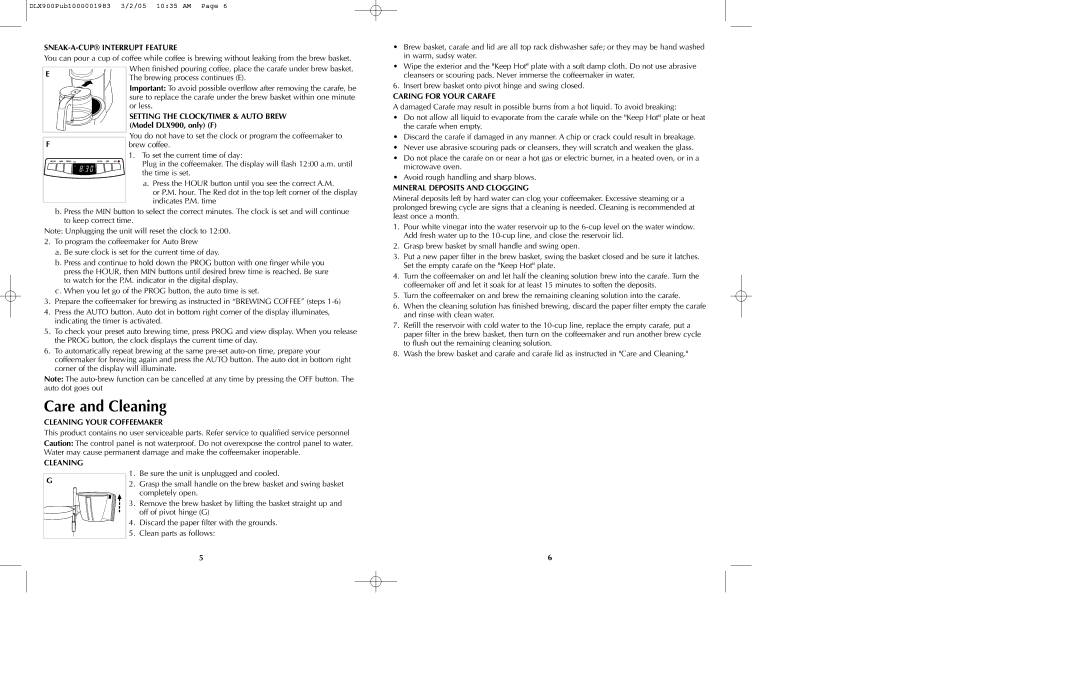
When finished pouring coffee, place the carafe under brew basket. The brewing process continues (E).

Important: To avoid possible overflow after removing the carafe, be sure to replace the carafe under the brew basket within one minute or less.

SETTING THE CLOCK/TIMER & AUTO BREW (Model DLX900, only) (F)

You do not have to set the clock or program the coffeemaker to brew coffee.

1.To set the current time of day:

Plug in the coffeemaker. The display will flash 12:00 a.m. until the time is set.

a.Press the HOUR button until you see the correct A.M.

or P.M. hour. The Red dot in the top left corner of the display indicates P.M. time

• Wipe the exterior and the "Keep Hot" plate with a soft damp cloth. Do not use abrasive

cleansers or scouring pads. Never immerse the coffeemaker in water.

6.Insert brew basket onto pivot hinge and swing closed.

CARING FOR YOUR CARAFE

A damaged Carafe may result in possible burns from a hot liquid. To avoid breaking:

Do not allow all liquid to evaporate from the carafe while on the "Keep Hot" plate or heat the carafe when empty.

Discard the carafe if damaged in any manner. A chip or crack could result in breakage.

Never use abrasive scouring pads or cleansers, they will scratch and weaken the glass.

Do not place the carafe on or near a hot gas or electric burner, in a heated oven, or in a microwave oven.

Avoid rough handling and sharp blows.

MINERAL DEPOSITS AND CLOGGING

Mineral deposits left by hard water can clog your coffeemaker. Excessive steaming or a prolonged brewing cycle are signs that a cleaning is needed. Cleaning is recommended at

b. Press the MIN button to select the correct minutes. The clock is set and will continue to keep correct time.

Note: Unplugging the unit will reset the clock to 12:00.

2.To program the coffeemaker for Auto Brew

a.Be sure clock is set for the current time of day.

b.Press and continue to hold down the PROG button with one finger while you press the HOUR, then MIN buttons until desired brew time is reached. Be sure to watch for the P.M. indicator in the digital display.

c.When you let go of the PROG button, the auto time is set.

3.Prepare the coffeemaker for brewing as instructed in “BREWING COFFEE” (steps 1-6)

4.Press the AUTO button. Auto dot in bottom right corner of the display illuminates, indicating the timer is activated.

5.To check your preset auto brewing time, press PROG and view display. When you release the PROG button, the clock displays the current time of day.

6.To automatically repeat brewing at the same pre-set auto-on time, prepare your coffeemaker for brewing again and press the AUTO button. The auto dot in bottom right corner of the display will illuminate.

Note: The auto-brew function can be cancelled at any time by pressing the OFF button. The auto dot goes out

Care and Cleaning

CLEANING YOUR COFFEEMAKER

This product contains no user serviceable parts. Refer service to qualified service personnel

Caution: The control panel is not waterproof. Do not overexpose the control panel to water. Water may cause permanent damage and make the coffeemaker inoperable.

CLEANING

1. Be sure the unit is unplugged and cooled.

G

2. Grasp the small handle on the brew basket and swing basket


completely open.

3. Remove the brew basket by lifting the basket straight up and off of pivot hinge (G)

4.Discard the paper filter with the grounds.

5.Clean parts as follows:

least once a month.

1.Pour white vinegar into the water reservoir up to the 6-cup level on the water window. Add fresh water up to the 10-cup line, and close the reservoir lid.

2.Grasp brew basket by small handle and swing open.

3.Put a new paper filter in the brew basket, swing the basket closed and be sure it latches. Set the empty carafe on the "Keep Hot" plate.

4.Turn the coffeemaker on and let half the cleaning solution brew into the carafe. Turn the coffeemaker off and let it soak for at least 15 minutes to soften the deposits.

5.Turn the coffeemaker on and brew the remaining cleaning solution into the carafe.

6.When the cleaning solution has finished brewing, discard the paper filter empty the carafe and rinse with clean water.

7.Refill the reservoir with cold water to the 10-cup line, replace the empty carafe, put a paper filter in the brew basket, then turn on the coffeemaker and run another brew cycle to flush out the remaining cleaning solution.

8.Wash the brew basket and carafe and carafe lid as instructed in "Care and Cleaning."

5

6

Page 4
Image 4
Black & Decker DLX850 DLX900 manual Care and Cleaning

DLX850 DLX900 specifications

The Black & Decker DLX850 and DLX900 are two highly regarded models in the realm of kitchen appliances, particularly known for their versatility and efficiency. Designed to cater to the needs of modern households, these stand mixers stand out due to their powerful performance and user-friendly features.

The DLX850 boasts a robust 400-watt motor, allowing it to handle even the toughest doughs with ease. This model features a unique planetary mixing action, which means that the mixing attachment rotates around the bowl while also spinning on its own axis. This ensures thorough mixing and incorporates all ingredients flawlessly, resulting in beautifully blended batters and doughs.

One of the standout features of the DLX850 is its 4.5-quart stainless steel mixing bowl, which is not only durable but also large enough to accommodate multiple batches of ingredients. The bowl is designed with a handle for easy lifting and pouring, making the process of transferring mixtures hassle-free. Additionally, the DLX850 comes with various attachments, including a dough hook, beater, and whisk, providing users with the flexibility to tackle a wide array of recipes.

In contrast, the DLX900 offers an enhanced capacity with its 5.0-quart bowl, catering to larger batches and enabling users to create family-sized portions or cater for gatherings. This model shares the same powerful motor as the DLX850, ensuring that no matter the quantity, it can handle the mixing task with confidence.

Both the DLX850 and DLX900 feature a sturdy base that minimizes movement during operation, ensuring safety and stability. The design of these mixers also places an emphasis on ergonomics, making them comfortable to use for longer periods. With multiple speed settings, users can select the perfect intensity for various mixing tasks, from gentle folding to vigorous whipping.

Another notable characteristic is the ease of cleaning. The stainless steel bowls and attachments are dishwasher safe, promoting quick cleanup and maintenance.

Black & Decker has also incorporated a sleek, modern aesthetic in both models, making them stylish additions to any kitchen countertop. These mixers are not just appliances; they are powerful companions in culinary creativity, bringing professionalism and efficiency into home baking and cooking endeavors.

Whether choosing the DLX850 or the DLX900, users can count on reliability, performance, and user-friendly features that enrich their kitchen experience. With their impressive capabilities, these mixers are perfect for bakers of all skill levels, from novices to seasoned chefs.