GH900 specifications
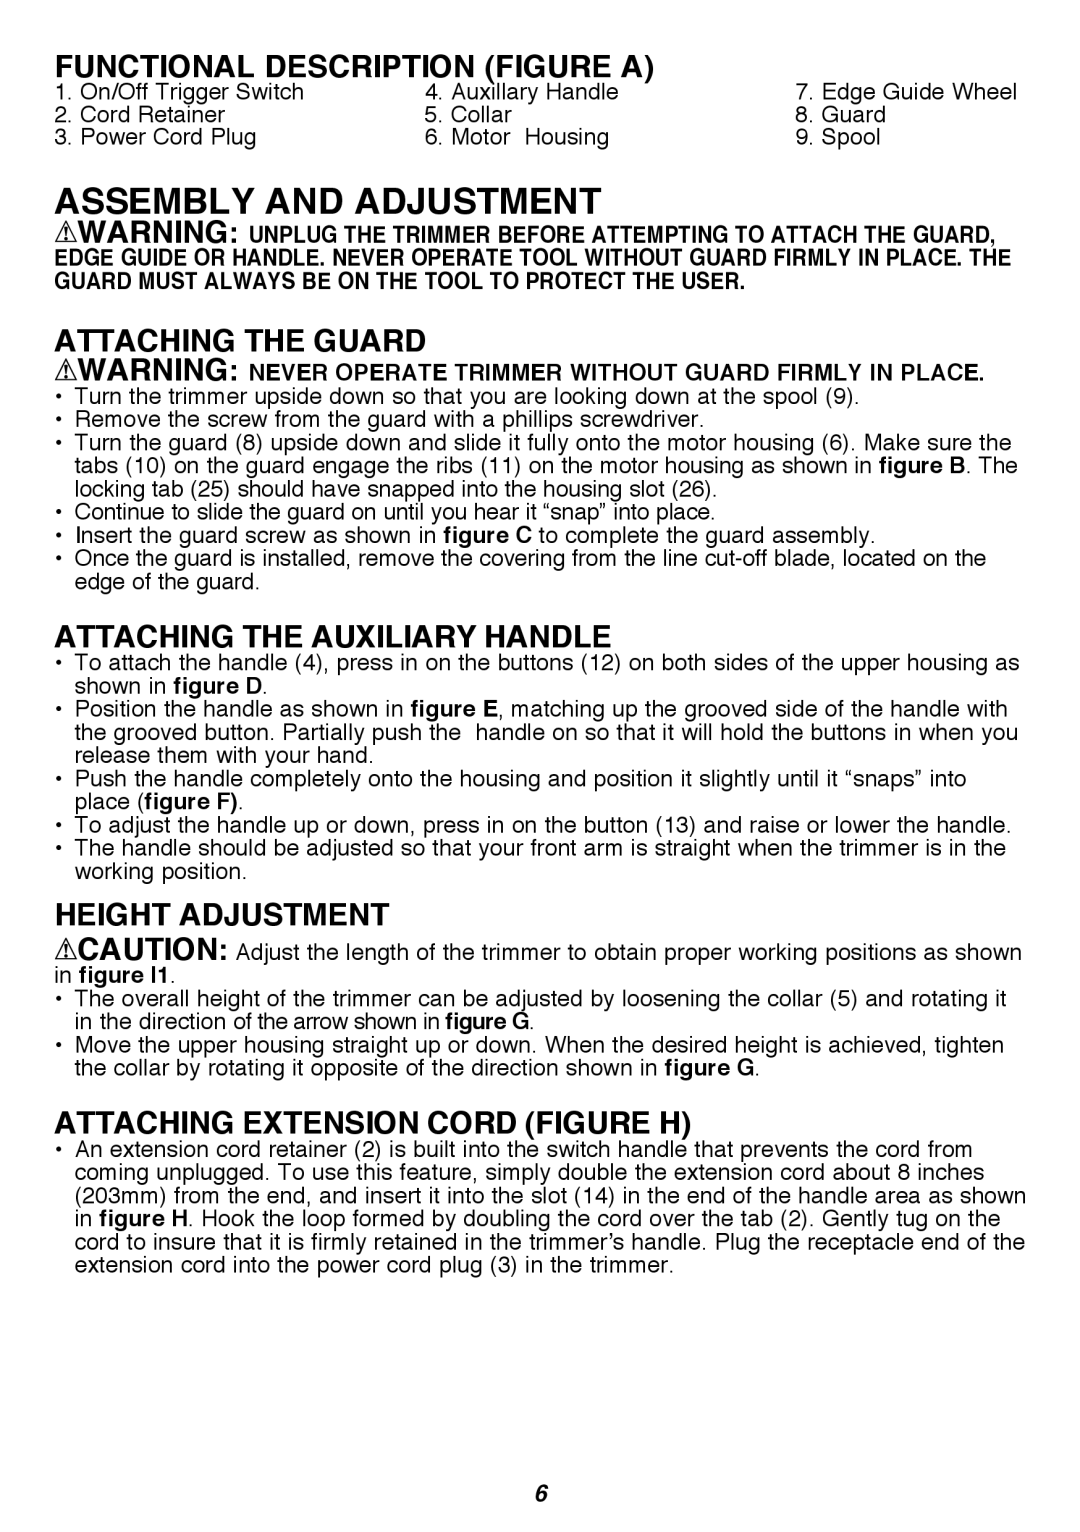
The Black & Decker GH900 is a highly efficient and user-friendly electric string trimmer designed for residential lawn care. This powerful tool is particularly suited for homeowners looking to maintain their yards with ease and precision. One of the main features of the GH900 is its 6.5 Amp motor, which delivers impressive cutting power at 7500 RPM, enabling users to effectively tackle overgrown grass and weeds with minimal effort.The trimmer is equipped with a 14-inch cutting swath, allowing for wider cutting capability in a single pass. This results in reduced trimming time, making yard work quicker and more efficient. The automatic feed spool is another standout feature, ensuring consistent line feeding without the need for manual adjustments. This means you can focus on the task at hand rather than grappling with line replacements, making your trimming experience seamless.
In terms of design, the Black & Decker GH900 boasts a lightweight and balanced frame, weighing only about 5.5 pounds. Its ergonomic design allows for comfortable handling, even during extended use. Additionally, it comes with a telescoping shaft that can be adjusted to suit the user's height, thereby promoting better posture while trimming; this is particularly beneficial for avoiding strain on the back and shoulders.
One of the innovative technologies included in the GH900 is the PowerDrive transmission, which increases torque for more cutting power at the string. This means that users can achieve cleaner cuts through thicker grass and tough weeds, leading to a professional-looking finish in their landscapes. Further enhancing its versatility, the GH900 features a convertible design that allows it to easily switch between trimmer and edger modes, making it an ideal choice for maintaining edges along sidewalks and flower beds.
For safety, the Black & Decker GH900 is designed with a protective guard to protect users from debris while trimming. The double-line spool feature ensures that you get maximum performance from each reel of line, providing durability and efficiency in every job.
In summary, the Black & Decker GH900 combines power, convenience, and ergonomic design, making it an excellent choice for homeowners looking to efficiently maintain their outdoor spaces. Whether you are tackling tall grass or refining the edges of your lawn, the GH900 proves to be a reliable companion for all your trimming needs.