90503227 ISD600 Impact Driver 6/15/06 12:52 PM Page 6
OPERATING INSTRUCTIONS
Quick Release Chuck
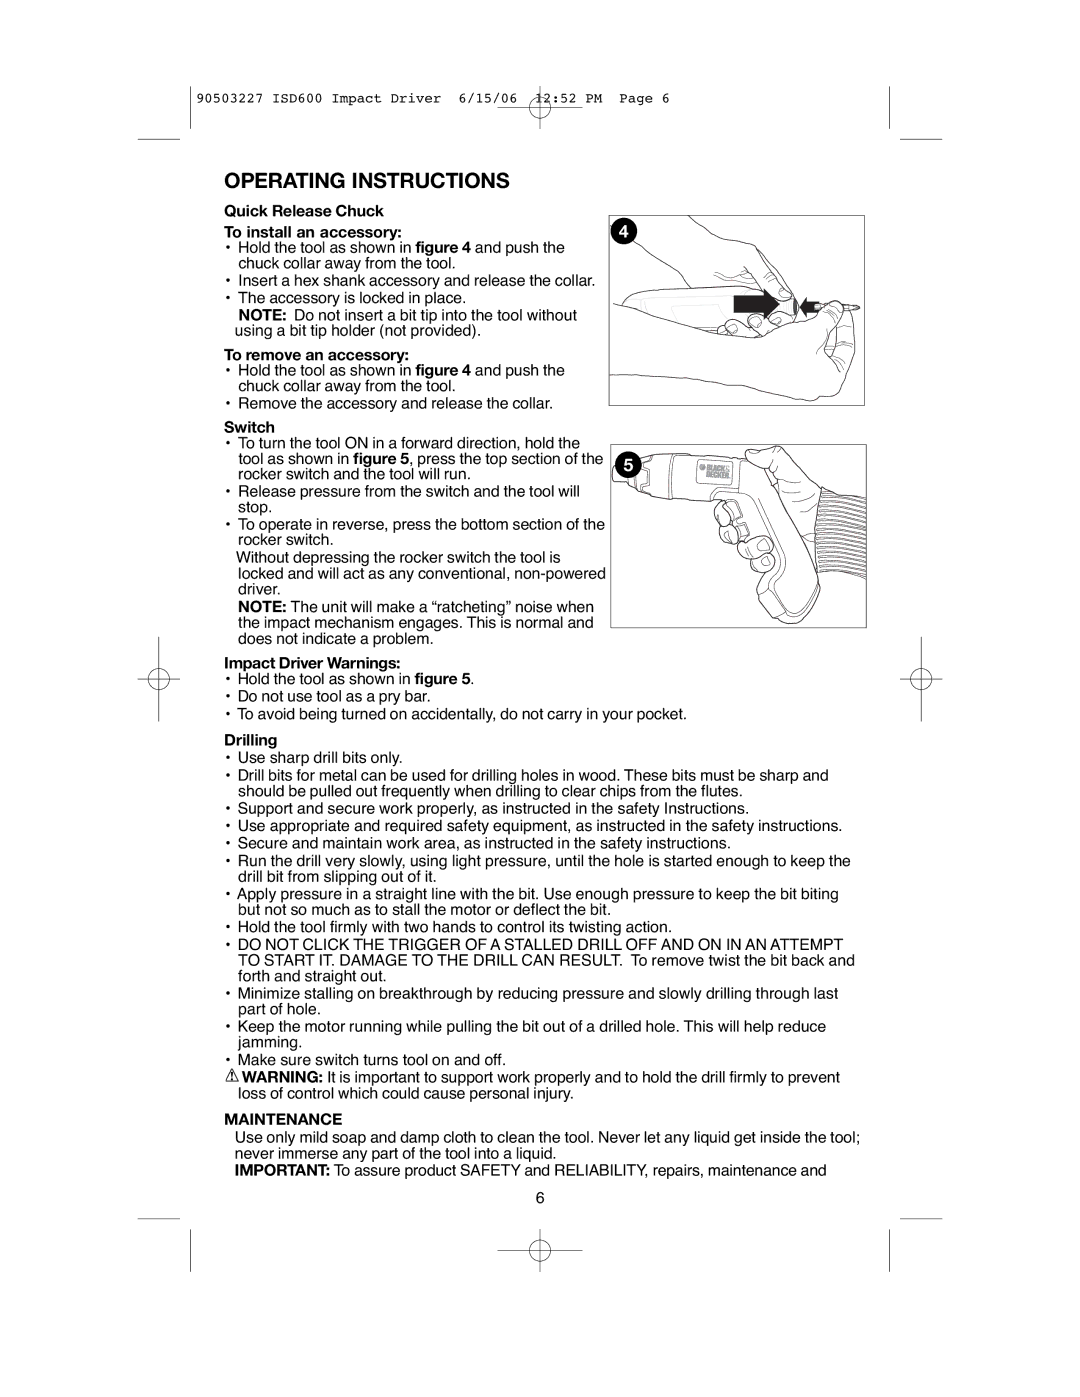
To install an accessory:
•Hold the tool as shown in figure 4 and push the chuck collar away from the tool.
•Insert a hex shank accessory and release the collar.
•The accessory is locked in place.
NOTE: Do not insert a bit tip into the tool without using a bit tip holder (not provided).
To remove an accessory:
•Hold the tool as shown in figure 4 and push the chuck collar away from the tool.
•Remove the accessory and release the collar.
Switch
•To turn the tool ON in a forward direction, hold the tool as shown in figure 5, press the top section of the rocker switch and the tool will run.
•Release pressure from the switch and the tool will stop.
•To operate in reverse, press the bottom section of the rocker switch.
Without depressing the rocker switch the tool is locked and will act as any conventional,
NOTE: The unit will make a “ratcheting” noise when the impact mechanism engages. This is normal and does not indicate a problem.
4
5
Impact Driver Warnings:
•Hold the tool as shown in figure 5.
•Do not use tool as a pry bar.
•To avoid being turned on accidentally, do not carry in your pocket.
Drilling
•Use sharp drill bits only.
•Drill bits for metal can be used for drilling holes in wood. These bits must be sharp and should be pulled out frequently when drilling to clear chips from the flutes.
•Support and secure work properly, as instructed in the safety Instructions.
•Use appropriate and required safety equipment, as instructed in the safety instructions.
•Secure and maintain work area, as instructed in the safety instructions.
•Run the drill very slowly, using light pressure, until the hole is started enough to keep the drill bit from slipping out of it.
•Apply pressure in a straight line with the bit. Use enough pressure to keep the bit biting but not so much as to stall the motor or deflect the bit.
•Hold the tool firmly with two hands to control its twisting action.
•DO NOT CLICK THE TRIGGER OF A STALLED DRILL OFF AND ON IN AN ATTEMPT TO START IT. DAMAGE TO THE DRILL CAN RESULT. To remove twist the bit back and forth and straight out.
•Minimize stalling on breakthrough by reducing pressure and slowly drilling through last part of hole.
•Keep the motor running while pulling the bit out of a drilled hole. This will help reduce jamming.
•Make sure switch turns tool on and off.
![]() WARNING: It is important to support work properly and to hold the drill firmly to prevent loss of control which could cause personal injury.
WARNING: It is important to support work properly and to hold the drill firmly to prevent loss of control which could cause personal injury.
MAINTENANCE
Use only mild soap and damp cloth to clean the tool. Never let any liquid get inside the tool; never immerse any part of the tool into a liquid.
IMPORTANT: To assure product SAFETY and RELIABILITY, repairs, maintenance and
6