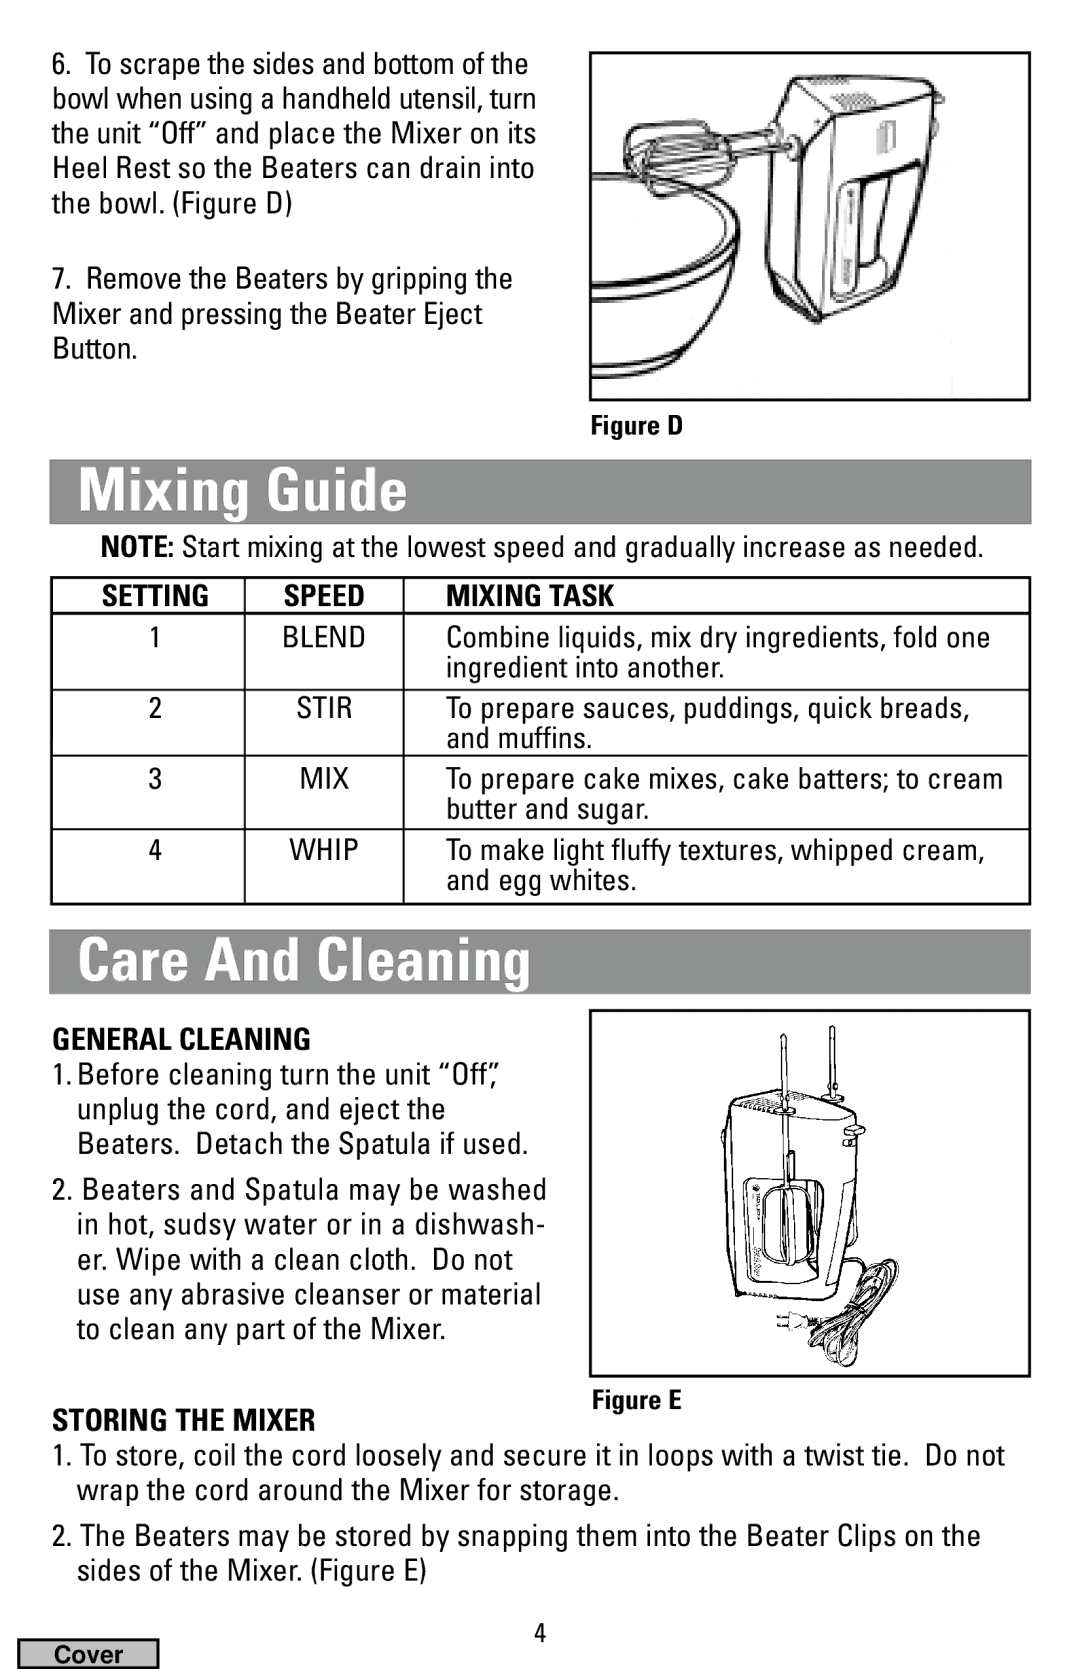
6.To scrape the sides and bottom of the bowl when using a handheld utensil, turn the unit “Off” and place the Mixer on its Heel Rest so the Beaters can drain into the bowl. (Figure D)
7.Remove the Beaters by gripping the Mixer and pressing the Beater Eject Button.
Figure D
Mixing Guide
NOTE: Start mixing at the lowest speed and gradually increase as needed.
SETTING | SPEED | MIXING TASK |
1 | BLEND | Combine liquids, mix dry ingredients, fold one |
|
| ingredient into another. |
2 | STIR | To prepare sauces, puddings, quick breads, |
|
| and muffins. |
3 | MIX | To prepare cake mixes, cake batters; to cream |
|
| butter and sugar. |
4 | WHIP | To make light fluffy textures, whipped cream, |
|
| and egg whites. |
Care And Cleaning
GENERAL CLEANING
1.Before cleaning turn the unit “Off”, unplug the cord, and eject the Beaters. Detach the Spatula if used.
2.Beaters and Spatula may be washed in hot, sudsy water or in a dishwash- er. Wipe with a clean cloth. Do not use any abrasive cleanser or material to clean any part of the Mixer.
STORING THE MIXER
1.To store, coil the cord loosely and secure it in loops with a twist tie. Do not wrap the cord around the Mixer for storage.
2.The Beaters may be stored by snapping them into the Beater Clips on the sides of the Mixer. (Figure E)
Cover
4
