
CM1936Z, SPCM1936 specifications
The Black & Decker SPCM1936, also known as the CM1936Z, represents a standout choice in the realm of cordless lawn mowers, combining innovation with user-friendly design to deliver efficient lawn care. This model is powered by a robust 36V lithium-ion battery, which offers ample runtime to handle medium to large-sized yards without the nuisance of cords or gas.One of the primary features of the SPCM1936 is its lightweight construction, making it easy to maneuver across various terrains. Weighing significantly less than many traditional gas mowers, the SPCM1936 allows users to navigate tight spaces and intricate landscaping effortlessly.
The mower comes equipped with a 19-inch cutting deck, striking a balance between agility and the ability to cover large areas quickly. The deck material is designed to be durable yet lightweight, ensuring longevity and ease of use. This model offers a 6-position height adjustment feature, allowing users to customize their mowing height from 1-inch to 3-inches, giving flexibility for different grass types and seasonal changes.
Technology is at the forefront of the Black & Decker SPCM1936's design. It boasts a Smart Cut technology, which automatically adjusts the power of the motor based on the thickness of the grass being cut. This ensures optimal performance while conserving battery life, enhancing efficiency and extending the runtime during use.
Another critical feature is the mower's EdgeMax design, which allows the blade to cut closer to edges and flower beds, reducing the need for trim work and making the mowing process quicker and less labor-intensive. The mower also features a bagging system that collects grass clippings, promoting cleaner yard maintenance, while its mulching capability returns nutrients back to the soil.
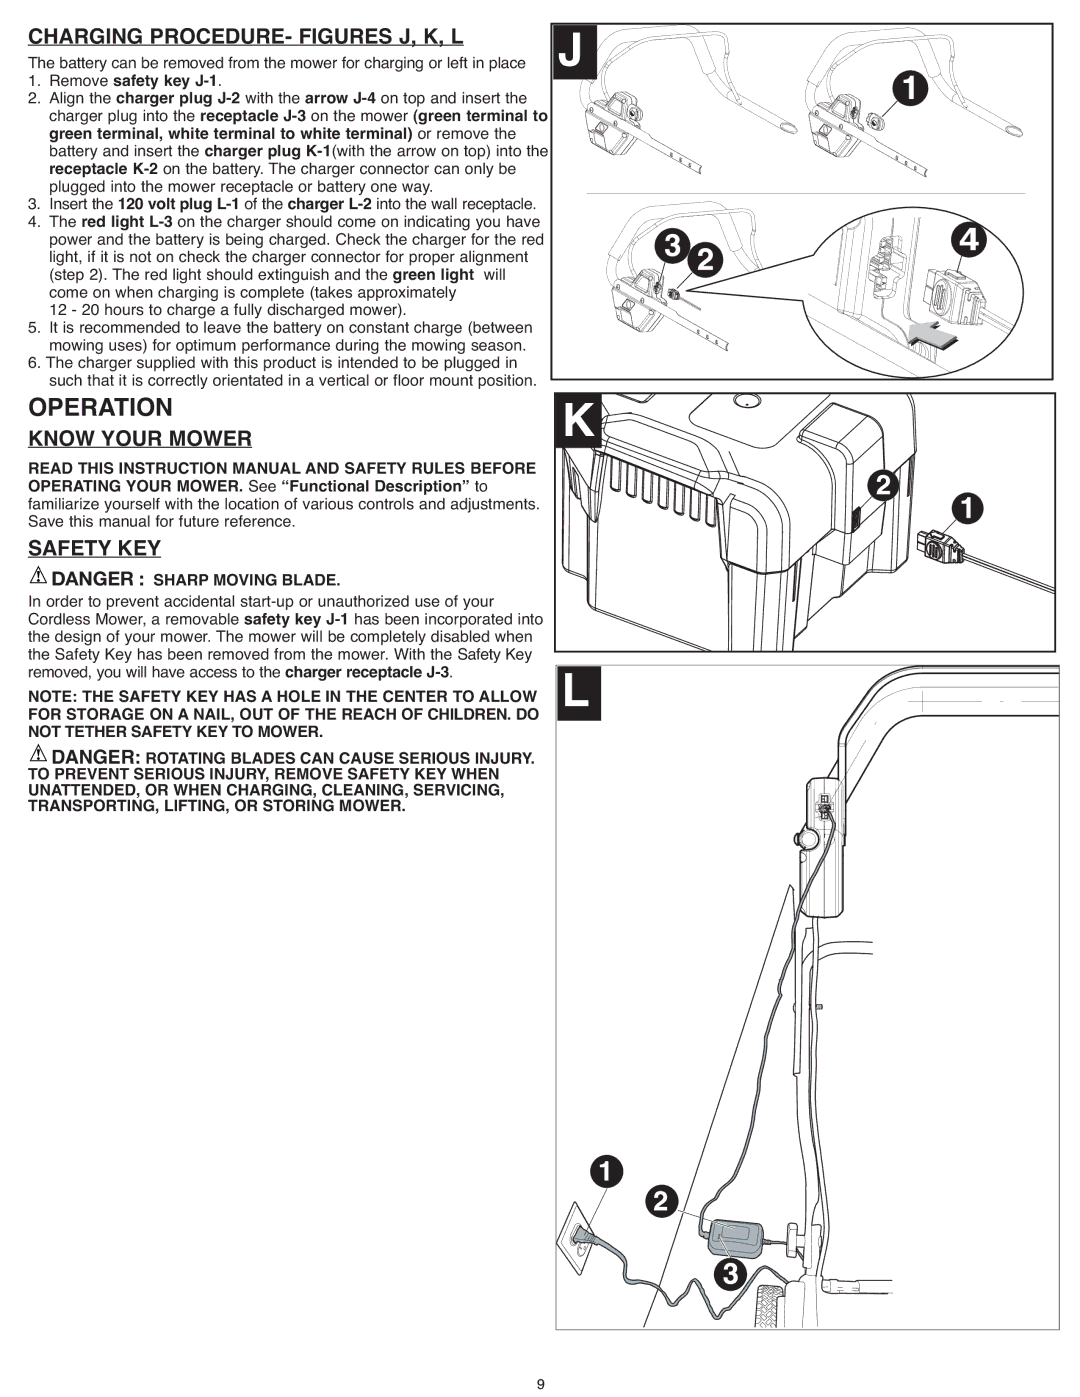
The SPCM1936 is designed with user comfort in mind, featuring an easy-to-handle ergonomic grip and a foldable handle for convenient storage. With safety features like a safety key and a blade brake, users can operate the mower with peace of mind.
In summary, the Black & Decker SPCM1936, CM1936Z is an advanced, efficient, and user-friendly cordless lawn mower, perfect for homeowners seeking reliability and ease in lawn maintenance. Its combination of power, innovative technology, and smart design makes it a top contender in the cordless mower market.