188214-00, VH800 specifications
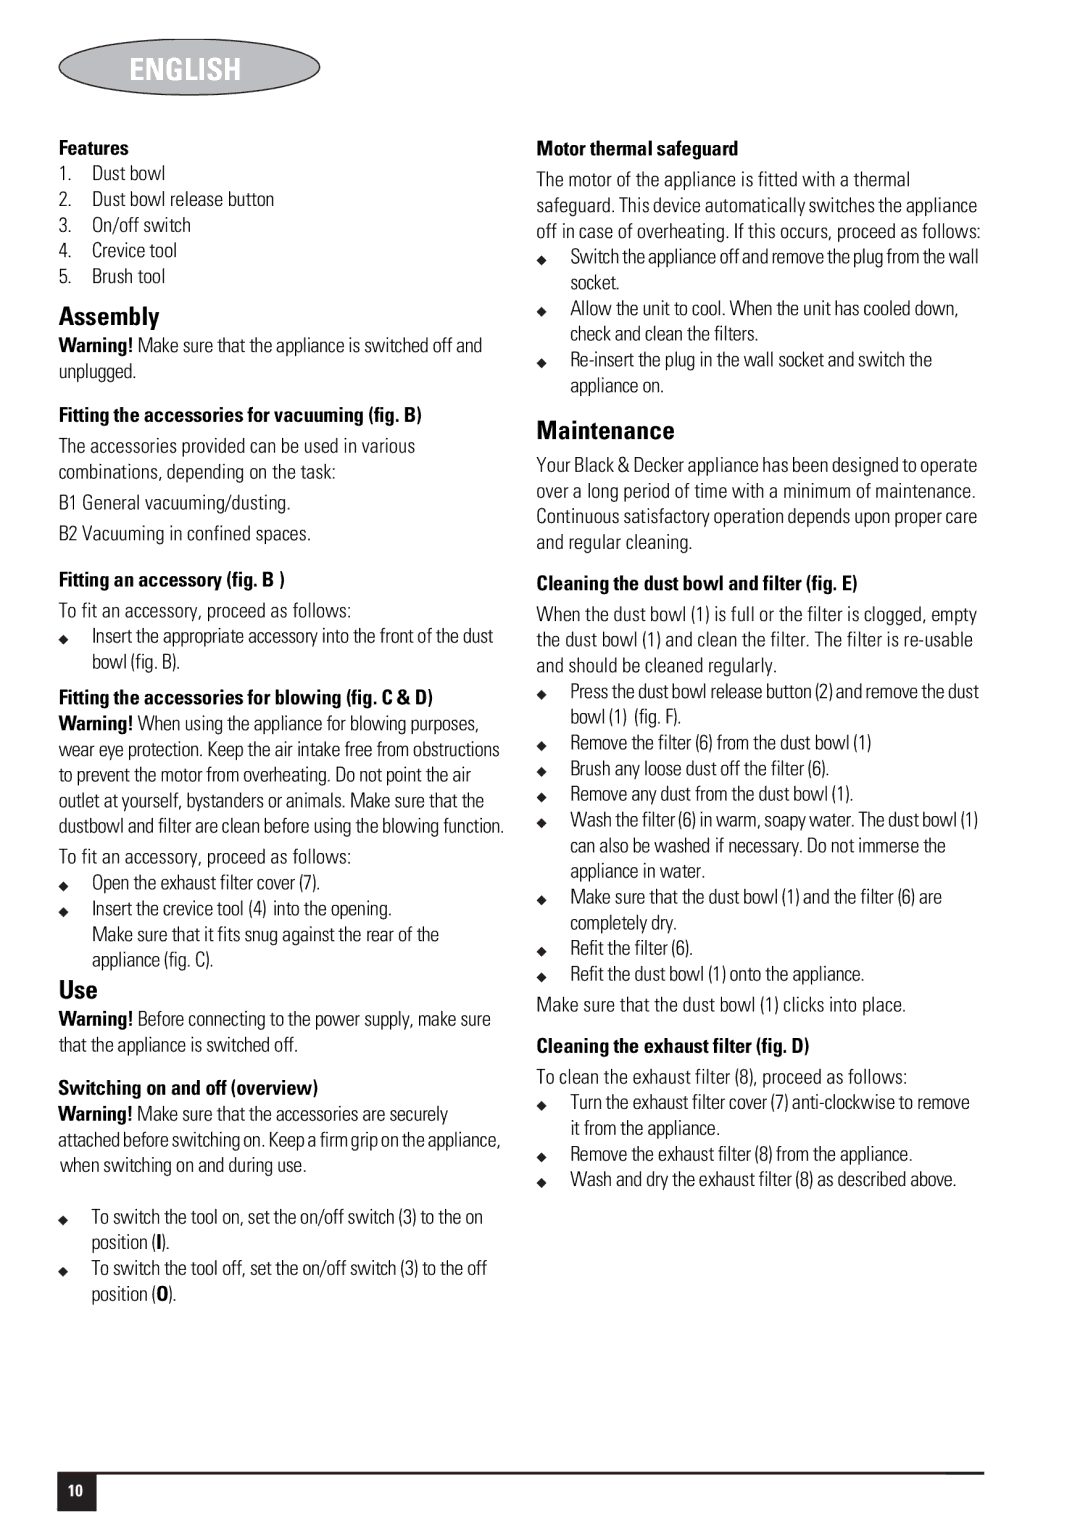
The Black & Decker VH800,188214-00 is a powerful and versatile handheld vacuum designed to tackle a wide range of cleaning needs in both home and automotive environments. One of its standout features is its robust 800-watt motor, providing ample suction power to lift dirt, debris, and dust from various surfaces effectively. This allows users to maintain a clean and tidy environment with minimal effort.This handheld vacuum is designed with user convenience in mind. It boasts an ergonomic design that fits comfortably in the hand, making it easy to maneuver and operate. Weighing in at a lightweight yet durable build, the VH800 can tackle tight spaces and hard-to-reach areas without straining the user's wrist or arms. Its compact size ensures that it can be stored easily in cupboards or in the trunk of a vehicle.
One of the main technologies featured in the VH800 is its advanced filtration system. This system not only captures larger particles but also traps fine dust and allergens, allowing for cleaner air emissions. This is particularly beneficial for individuals who suffer from allergies or respiratory issues. The filter is washable, making it easy to maintain and ensuring that the vacuum retains its performance over time.
The VH800 comes equipped with a range of attachments designed for specific cleaning tasks. These include crevice tools for tight spaces, brushes for upholstery, and extension hoses to help reach higher areas. This versatility allows users to clean everything from car interiors to home furniture with ease.
Moreover, the vacuum features a generous dustbin capacity, reducing the frequency of emptying during cleaning sessions. The easy-release dustbin mechanism simplifies the disposal of waste, ensuring that users don’t have to come into contact with dirt and debris.
In conclusion, the Black & Decker VH800,188214-00 is a well-designed handheld vacuum that combines power, efficiency, and user-friendly features. With its strong motor, advanced filtration technology, and an array of cleaning attachments, it stands as an excellent choice for anyone looking to maintain cleanliness in their home or vehicle. Its lightweight construction and ergonomic design further enhance its appeal, making cleaning less of a chore and more of a straightforward task. Whether it’s tackling everyday messes or providing a quick clean-up, the VH800 is a reliable cleaning companion.

