ACU4222A, ACU4001A, ACU4201A specifications
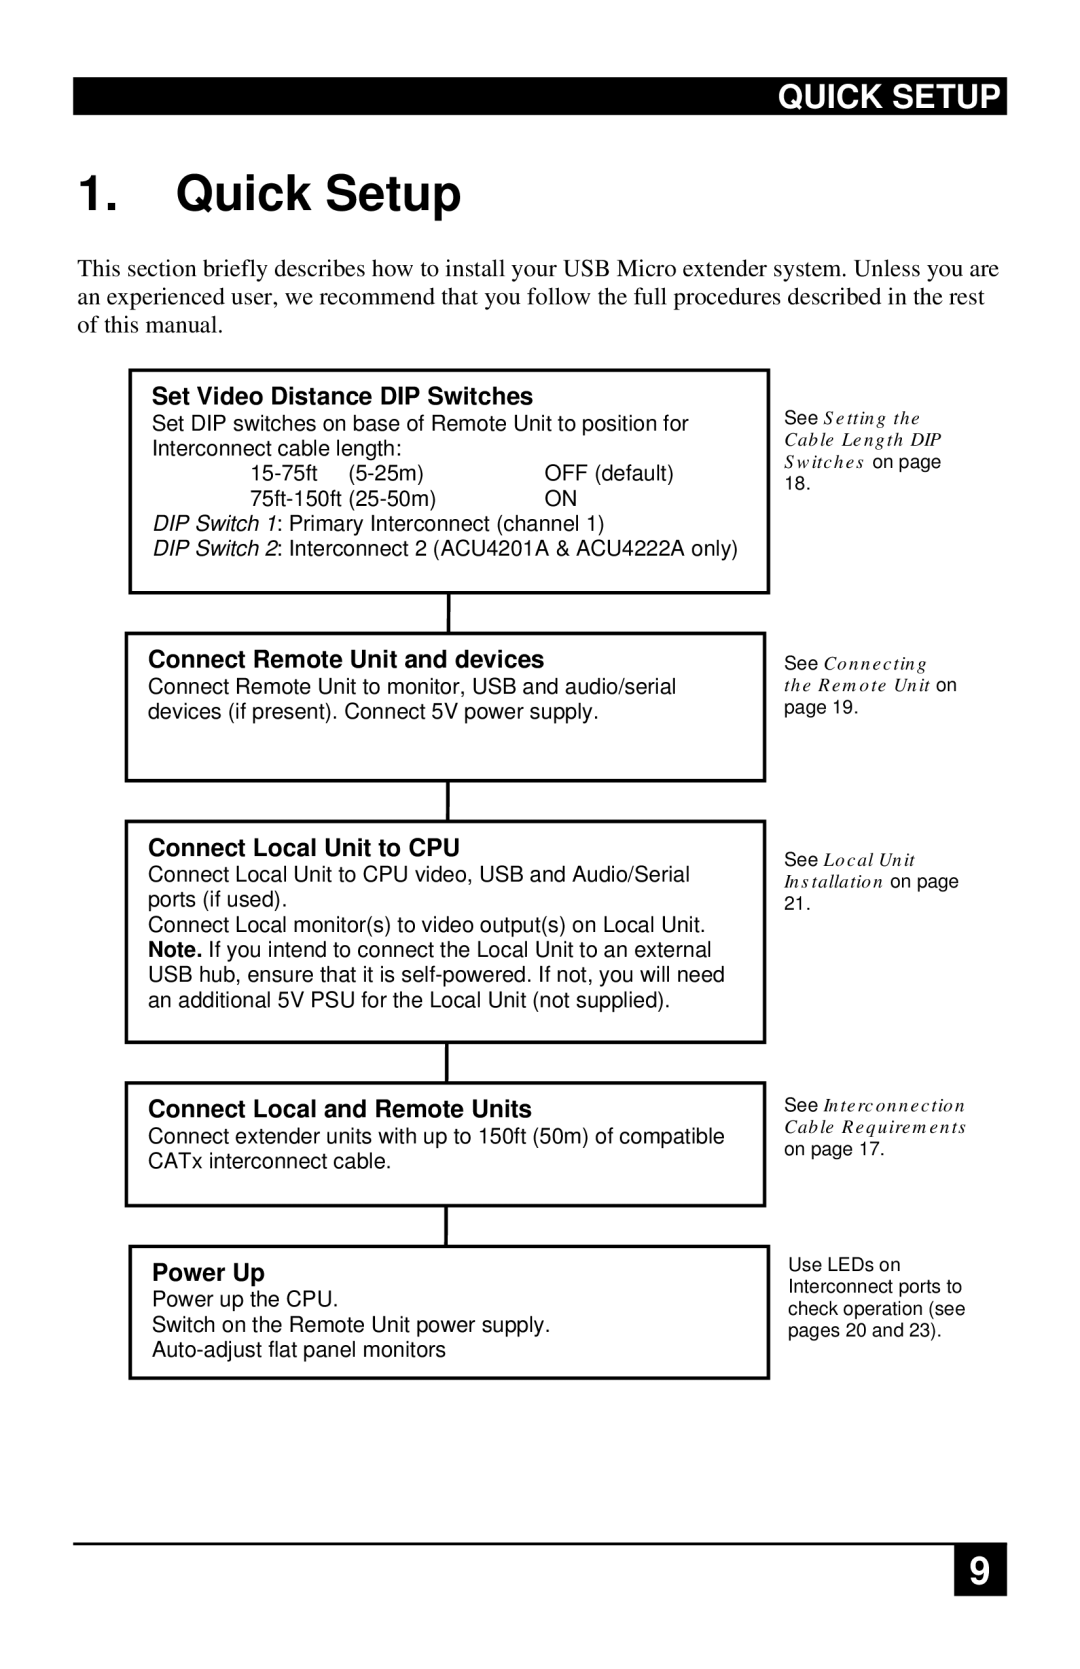
The Black Box ACU4201A, ACU4001A, and ACU4222A are advanced solutions designed to enhance audio-visual integration in various commercial and industrial settings. These units are part of the Black Box family that focuses on asserting control over media transmission through a comprehensive platform, ensuring optimal performance for any audio-visual infrastructure.The Black Box ACU4201A stands out with its ability to support a wide range of audio and video interfaces. It can accommodate HDMI 2.0, DisplayPort, and VGA inputs, making it an incredibly versatile unit for different AV setups. Its robust capabilities include extending signals over long distances without compromising quality, thanks to its advanced signal processing technology. This unit enables seamless transition and control among multiple devices, making it an ideal choice for environments demanding quick switchovers, such as corporate meeting rooms or educational facilities.
On the other hand, the ACU4001A is a compact and efficient solution tailored for smaller applications. It offers significant flexibility while providing essential features like automatic switching and support for resolutions up to 4K. The ACU4001A not only ensures efficient management of AV signals but does so with a user-friendly interface that simplifies operation for users. Its built-in support for areas where connecting various types of media is crucial makes it a go-to choice for creative spaces or huddle rooms.
The ACU4222A serves a specific niche within the series, focusing on distributed audio-video solutions. It is equipped with multi-channel capabilities that allow simultaneous handling of various signals. The ACU4222A supports PoE (Power over Ethernet), which simplifies installation by reducing the need for additional power supplies. This model is perfect for large conference rooms or public venues where multiple input sources are connected to multiple displays.
All three units share common technologies, including advanced scaling, EDID management, and seamless video switching, ensuring compatibility with a vast array of devices. They feature user-friendly web-based management interfaces, allowing network administrators to monitor and control the systems remotely. With their robust design and performance, the ACU series by Black Box represents a step forward in achieving seamless audio-visual integration that can cater to an array of professional environments.

