16/24 Port Gigabit PoE PSE With 4 SFP Slots Web Smart Switch
The sum of all elements’
3.5 Set IP Address, Subnet Mask, and Default Gateway IP Address
First, configure your PC IP address or change the IP address of the switch. Next, change the default gateway’s IP address and subnet mask.
For example, suppose your network address is 10.1.1.0, and subnet mask is 255.255.255.0. You can change the switch’s default IP address 192.168.2.1 to 10.1.1.1 and set the subnet mask to be 255.255.255.0. Then, choose your default gateway, for example, 10.1.1.254.
|
| Default Value |
|
| LPBG716A/LPBG724A |
|
|
| Your Network Setting |
|
|
|
|
|
|
|
|
|
|
|
|
|
| IP Address |
| 192.168.2.1 |
|
| 10.1.1.1 |
| ||
|
| Subnet |
| 255.255.255.0 |
|
| 255.255.255.0 |
| ||
|
| Default Gateway |
| 192.168.2.254 |
|
| 10.1.1.254 |
| ||
|
|
|
|
|
|
|
|
|
|
|
After completing these settings in the switch, it will reboot and the configuration will take effect. After this step, you can operate the management through the network.
NOTE: There are no default DNS settings. DNS addresses are assigned by the network administrator.
Before you communicate with the switch, first finish the IP address configuration or make sure you know the switch’s IP address. Then, follow the procedures listed below.
1.Set up a physical path between the configured the switch and a PC using a qualified UTP CAT 5 cable with
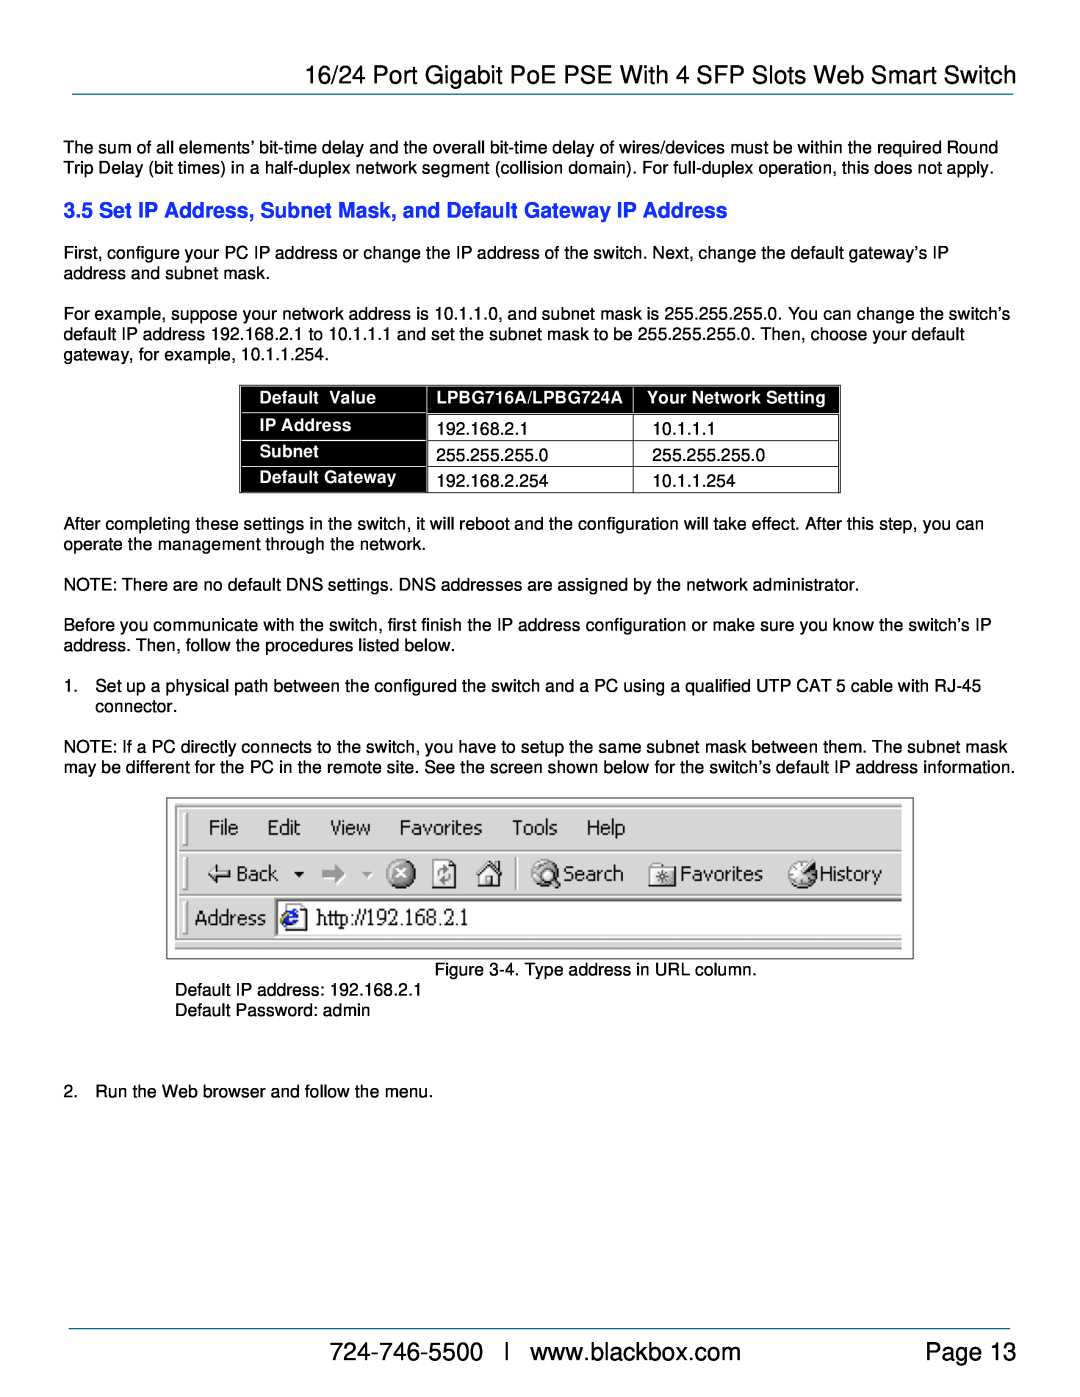
NOTE: If a PC directly connects to the switch, you have to setup the same subnet mask between them. The subnet mask may be different for the PC in the remote site. See the screen shown below for the switch’s default IP address information.
Figure
Default IP address: 192.168.2.1
Default Password: admin
2. Run the Web browser and follow the menu.
Page 13 |