INSTALLATION
2.Connect the fiber optic cable or cables between the two
3.Apply power to both
4.When power is applied, the green POWER LED will light, indicating the pres- ence of operating power. The green VIDEO LED(s) and AUDIO LED(s) will give an indication stated on page 10.
5.Connect the audio input signals to the proper positions on the removable terminal blocks. Be certain to check all connections and assure that inputs and outputs are not intermixed. Refer to the next section for the various connections.
6.The system should now be operational.
System Switch Settings:
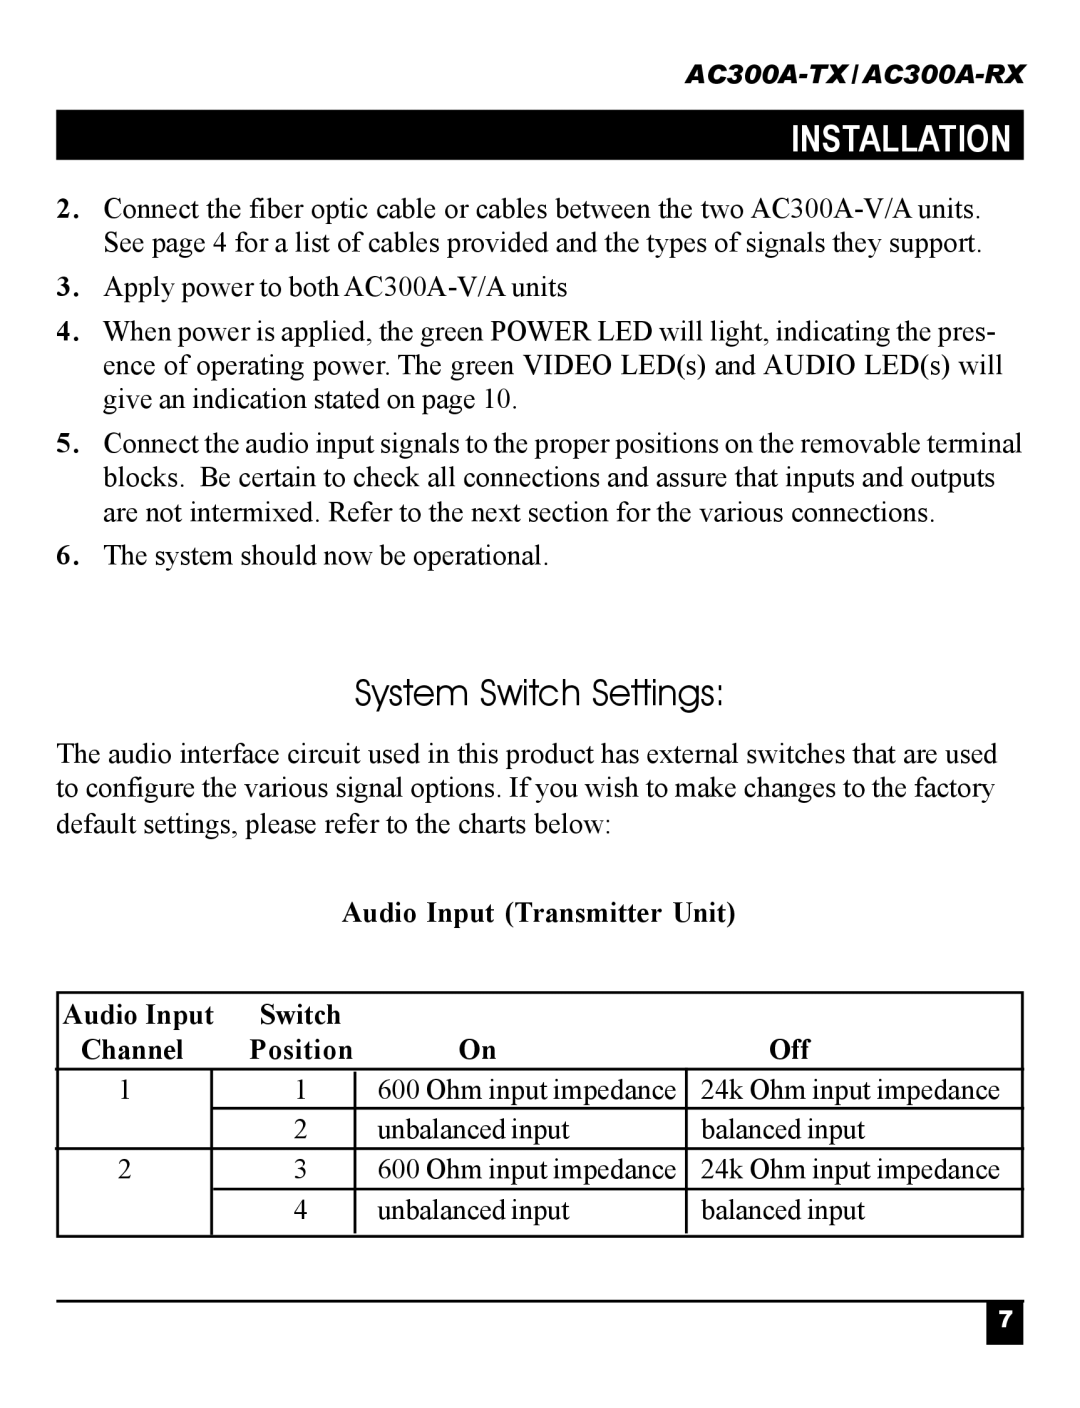
The audio interface circuit used in this product has external switches that are used to configure the various signal options. If you wish to make changes to the factory default settings, please refer to the charts below:
Audio Input (Transmitter Unit)
| Audio Input | Switch |
|
| |
| Channel | Position | On | Off | |
| 1 |
| 1 | 600 Ohm input impedance | 24k Ohm input impedance |
|
|
|
|
|
|
|
|
| 2 | unbalanced input | balanced input |
|
|
| |||
| 2 |
| 3 | 600 Ohm input impedance | 24k Ohm input impedance |
|
|
|
|
|
|
|
|
| 4 | unbalanced input | balanced input |
|
|
| |||
|
|
|
|
|
|
7
