1060 Series specifications
The Blodgett 1060 Series stands out in the commercial food service industry as a highly efficient and versatile cooking solution. Designed primarily for high-volume establishments, this series is known for its combination of performance, durability, and user-friendly features.One of the standout features of the Blodgett 1060 Series is its advanced convection technology. Utilizing a powerful fan and a unique airflow design, these ovens ensure even heat distribution, resulting in perfectly cooked products every time. This technology significantly reduces cooking times, allowing busy kitchens to increase productivity while maintaining quality.
Moreover, the 1060 Series incorporates a robust construction designed to endure the daily rigors of a commercial kitchen. Crafted with stainless steel, both the interior and exterior boast incredible resistance to rust and corrosion, ensuring longevity and ease of maintenance. The oven’s smooth surfaces make it simple to clean, while also contributing to its sleek aesthetic, making it an excellent choice for front-of-house cooking.
Another impressive characteristic of the 1060 Series is its precise temperature control. The digital display allows chefs to set and monitor temperatures with accuracy, facilitating consistency across various cooking applications. Additionally, the ovens in this series come equipped with programmable controls, enabling users to save specific cooking temperatures and times for different recipes, thus streamlining the cooking process.
The Blodgett 1060 Series also prioritizes energy efficiency. With improved insulation and heating technology, these ovens consume less energy compared to traditional models, which translates into lower utility bills without sacrificing performance.
Versatility is another hallmark of the 1060 Series. It accommodates a variety of cooking methods, from baking and roasting to broiling. Its spacious interior can hold numerous pans simultaneously, catering to the needs of high-demand environments.
In summary, the Blodgett 1060 Series is a powerhouse of efficiency and innovation. Its advanced convection technology, durable construction, precise controls, and energy-efficient design make it an indispensable tool for any commercial kitchen. Whether for baking, roasting, or broiling, this series is engineered to meet the rigorous demands of the food service industry while ensuring top-quality results. With the Blodgett 1060 Series, culinary professionals can deliver exceptional meals quickly and consistently.

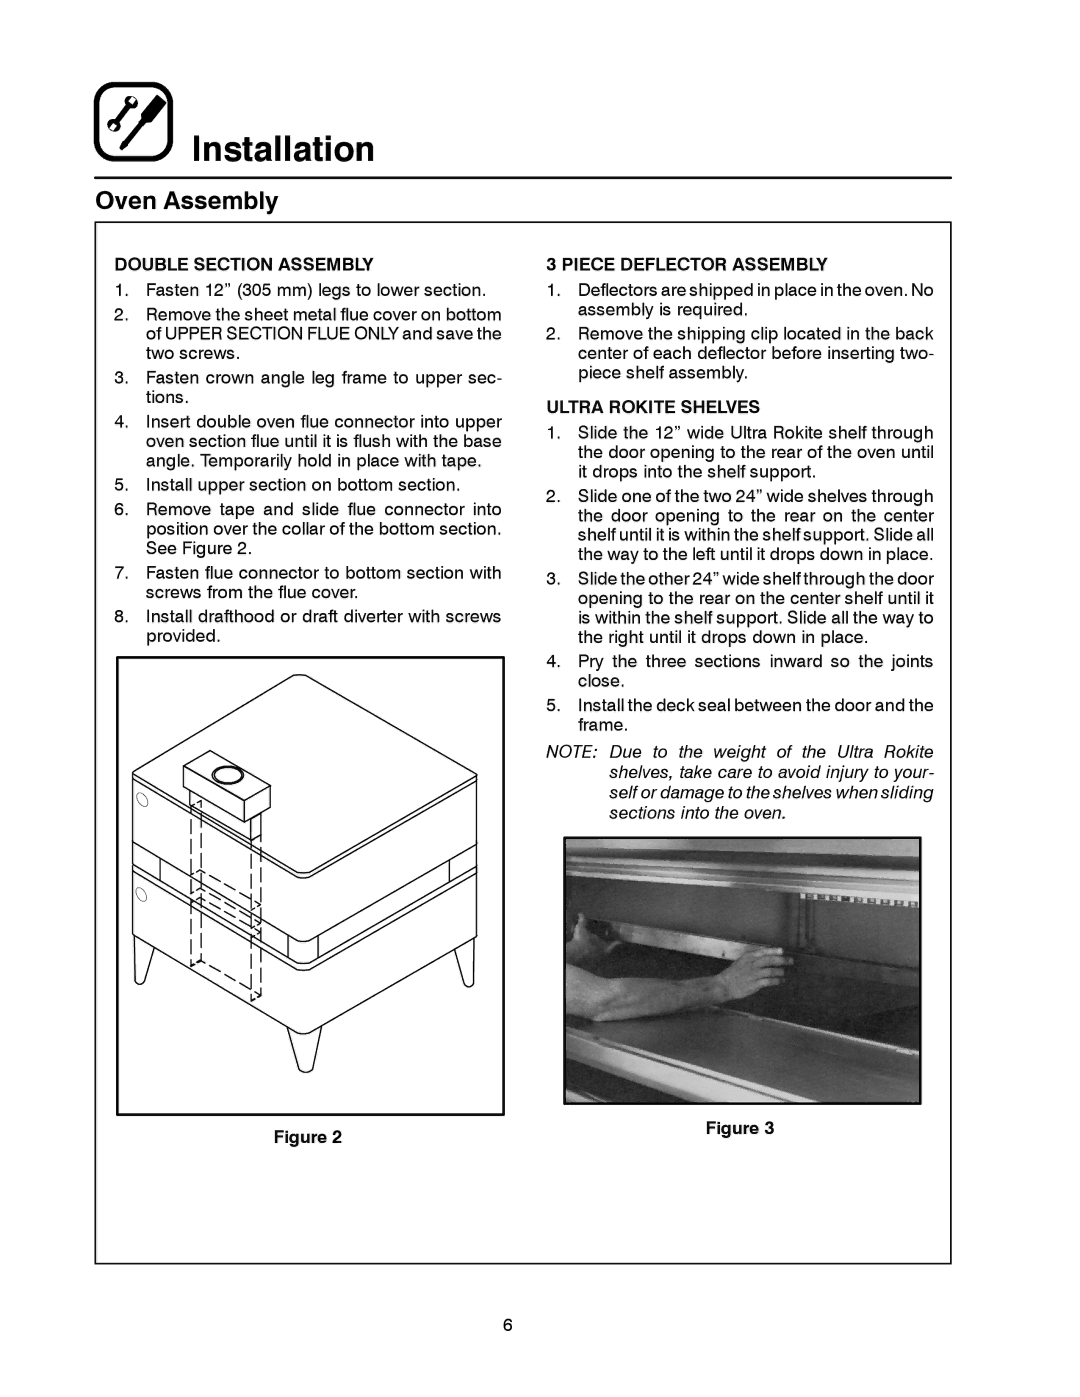
 Installation