853PRO OPERATOR’S MANUAL
DRIVE SPROCKET REMOVAL
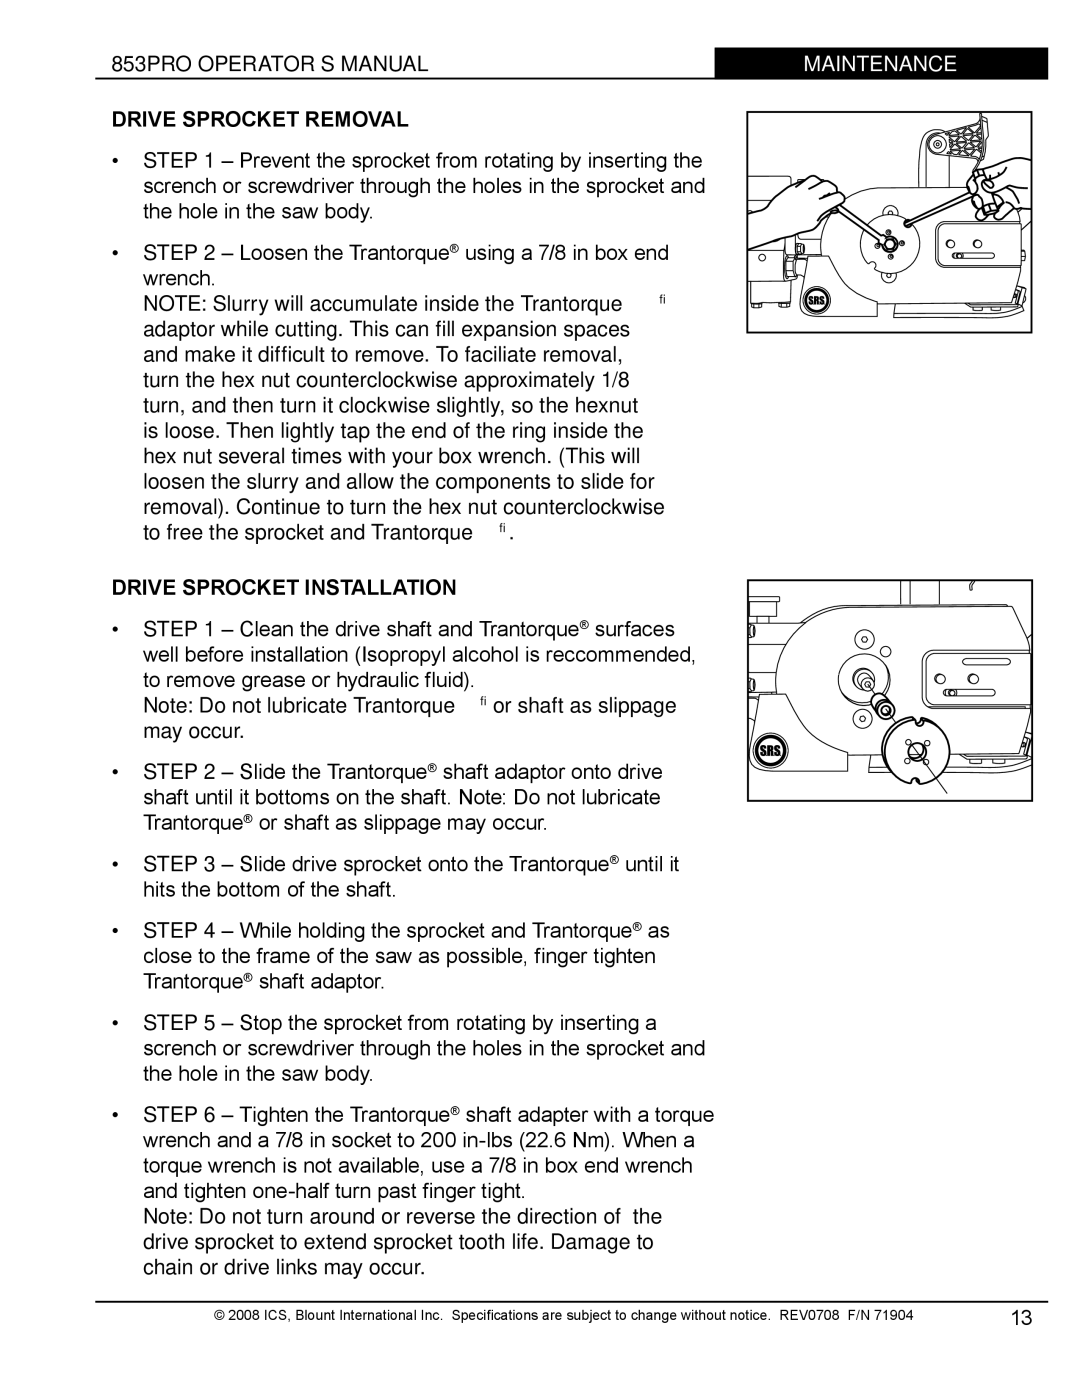
•STEP 1 – Prevent the sprocket from rotating by inserting the scrench or screwdriver through the holes in the sprocket and the hole in the saw body.
•STEP 2 – Loosen the Trantorque® using a 7/8 in box end wrench.
NOTE: Slurry will accumulate inside the Trantorque® adaptor while cutting. This can fill expansion spaces and make it difficult to remove. To faciliate removal, turn the hex nut counterclockwise approximately 1/8 turn, and then turn it clockwise slightly, so the hexnut is loose. Then lightly tap the end of the ring inside the hex nut several times with your box wrench. (This will loosen the slurry and allow the components to slide for removal). Continue to turn the hex nut counterclockwise to free the sprocket and Trantorque®.
DRIVE SPROCKET INSTALLATION
•STEP 1 – Clean the drive shaft and Trantorque® surfaces well before installation (Isopropyl alcohol is reccommended, to remove grease or hydraulic fluid).
Note: Do not lubricate Trantorque® or shaft as slippage may occur.
•STEP 2 – Slide the Trantorque® shaft adaptor onto drive shaft until it bottoms on the shaft. Note: Do not lubricate Trantorque® or shaft as slippage may occur.
•STEP 3 – Slide drive sprocket onto the Trantorque® until it hits the bottom of the shaft.
•STEP 4 – While holding the sprocket and Trantorque® as close to the frame of the saw as possible, finger tighten Trantorque® shaft adaptor.
•STEP 5 – Stop the sprocket from rotating by inserting a scrench or screwdriver through the holes in the sprocket and the hole in the saw body.
•STEP 6 – Tighten the Trantorque® shaft adapter with a torque wrench and a 7/8 in socket to 200
Note: Do not turn around or reverse the direction of the drive sprocket to extend sprocket tooth life. Damage to chain or drive links may occur.
MAINTENANCETITLE |
© 2008 ICS, Blount International Inc. Specifications are subject to change without notice. REV0708 F/N 71904 | 13 |