BM 2610958557
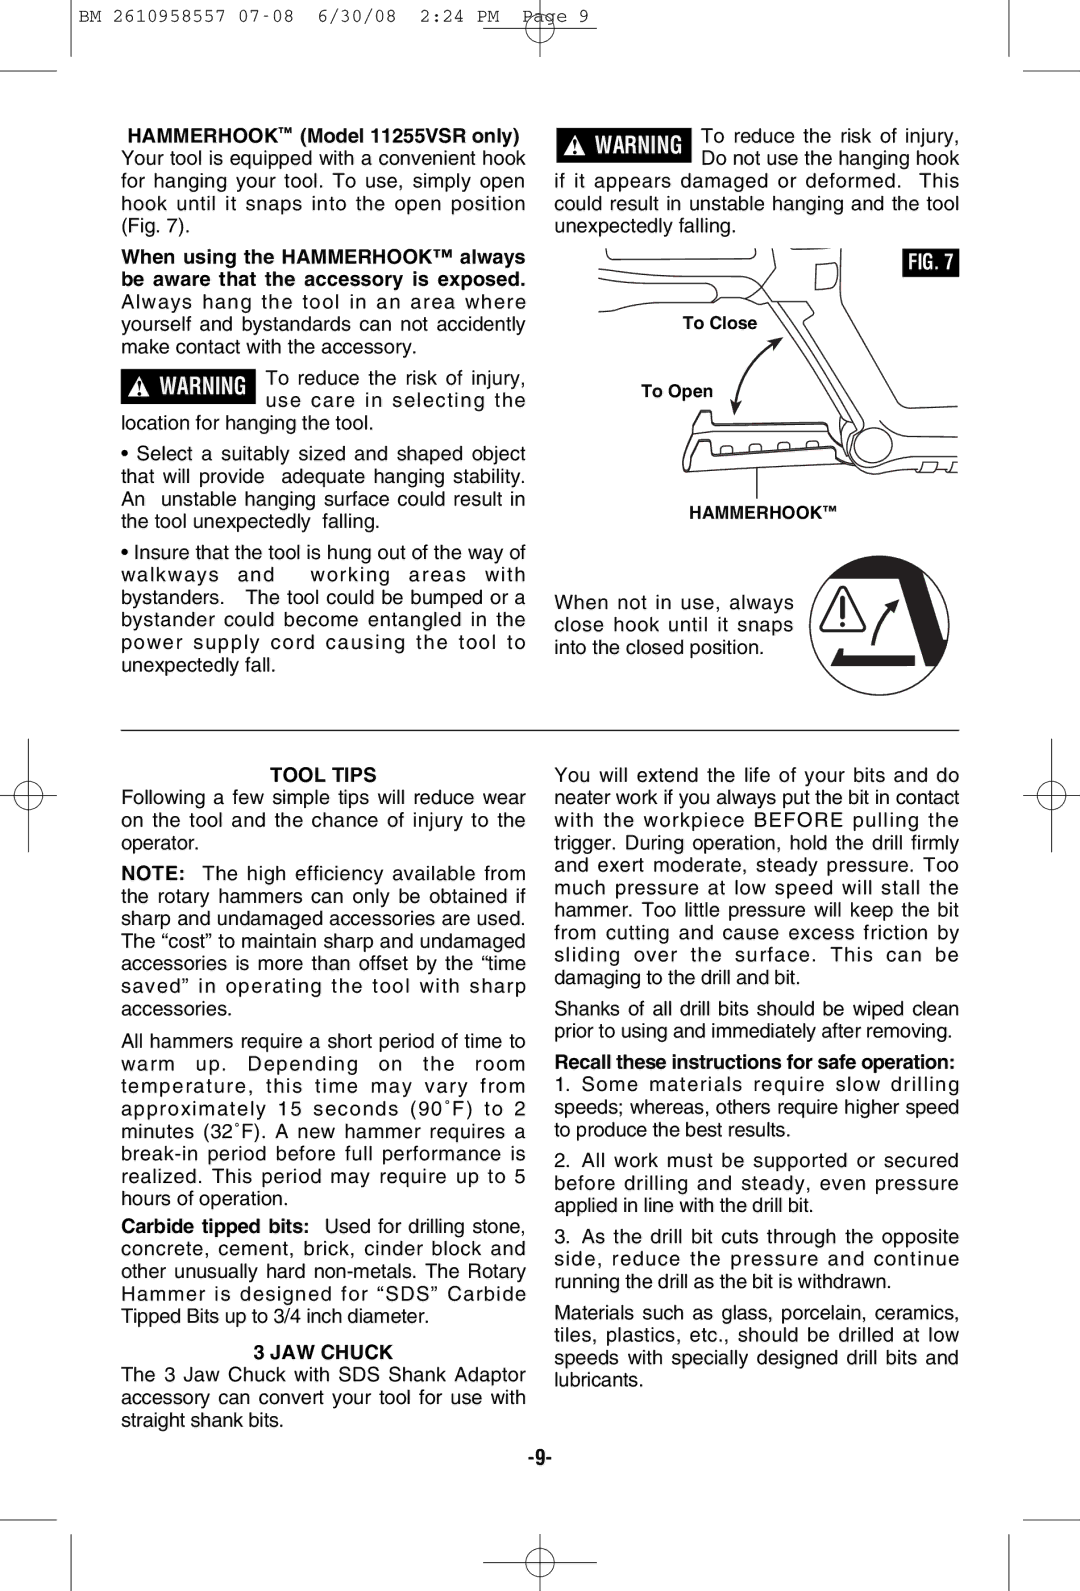
HAMMERHOOK™ (Model 11255VSR only) Your tool is equipped with a convenient hook for hanging your tool. To use, simply open hook until it snaps into the open position (Fig. 7).
When using the HAMMERHOOK™ always be aware that the accessory is exposed. Always hang the tool in an area where yourself and bystandards can not accidently make contact with the accessory.
!WARNING To reduce the risk of injury, use care in selecting the
location for hanging the tool.
•Select a suitably sized and shaped object that will provide adequate hanging stability. An unstable hanging surface could result in the tool unexpectedly falling.
•Insure that the tool is hung out of the way of walkways and working areas with bystanders. The tool could be bumped or a bystander could become entangled in the power supply cord causing the tool to unexpectedly fall.
!WARNING To reduce the risk of injury, Do not use the hanging hook
if it appears damaged or deformed. This could result in unstable hanging and the tool unexpectedly falling.
FIG. 7
To Close
To Open
HAMMERHOOK™
When not in use, always close hook until it snaps into the closed position.
TOOL TIPS
Following a few simple tips will reduce wear on the tool and the chance of injury to the operator.
NOTE: The high efficiency available from the rotary hammers can only be obtained if sharp and undamaged accessories are used. The “cost” to maintain sharp and undamaged accessories is more than offset by the “time saved” in operating the tool with sharp accessories.
All hammers require a short period of time to warm up. Depending on the room temperature, this time may vary from approximately 15 seconds (90˚F) to 2 minutes (32˚F). A new hammer requires a
Carbide tipped bits: Used for drilling stone, concrete, cement, brick, cinder block and other unusually hard
3 JAW CHUCK
The 3 Jaw Chuck with SDS Shank Adaptor accessory can convert your tool for use with straight shank bits.
You will extend the life of your bits and do neater work if you always put the bit in contact with the workpiece BEFORE pulling the trigger. During operation, hold the drill firmly and exert moderate, steady pressure. Too much pressure at low speed will stall the hammer. Too little pressure will keep the bit from cutting and cause excess friction by sliding over the surface. This can be damaging to the drill and bit.
Shanks of all drill bits should be wiped clean prior to using and immediately after removing.
Recall these instructions for safe operation:
1.Some materials require slow drilling speeds; whereas, others require higher speed to produce the best results.
2.All work must be supported or secured before drilling and steady, even pressure applied in line with the drill bit.
3.As the drill bit cuts through the opposite side, reduce the pressure and continue running the drill as the bit is withdrawn.
Materials such as glass, porcelain, ceramics, tiles, plastics, etc., should be drilled at low speeds with specially designed drill bits and lubricants.
