600, 650S4-1 specifications
The Bostitch 650S4-1,600 is an advanced pneumatic stapler designed for a wide range of fastening tasks in both professional and DIY settings. Built for durability and efficiency, this tool delivers high performance while maintaining user comfort, making it a preferred choice among contractors and woodworkers alike.One of the standout features of the Bostitch 650S4-1,600 is its robust construction, designed to withstand the rigors of daily use. The stapler operates on a pneumatic system, requiring an air compressor to provide power, which allows it to deliver consistent performance without the need for batteries or electricity. This feature makes it not only reliable but also ideal for outdoor jobs where power sources are limited.
The stapler has a magazine capacity that holds up to 160 staples, minimizing the need for frequent reloads and allowing users to work more efficiently. It is compatible with a variety of Bostitch staples, specifically 18-gauge and ¾-inch crown staples, which are perfect for applications like upholstery, insulation, woodworking, and general construction. This versatility further enhances its appeal, making it suitable for various projects.
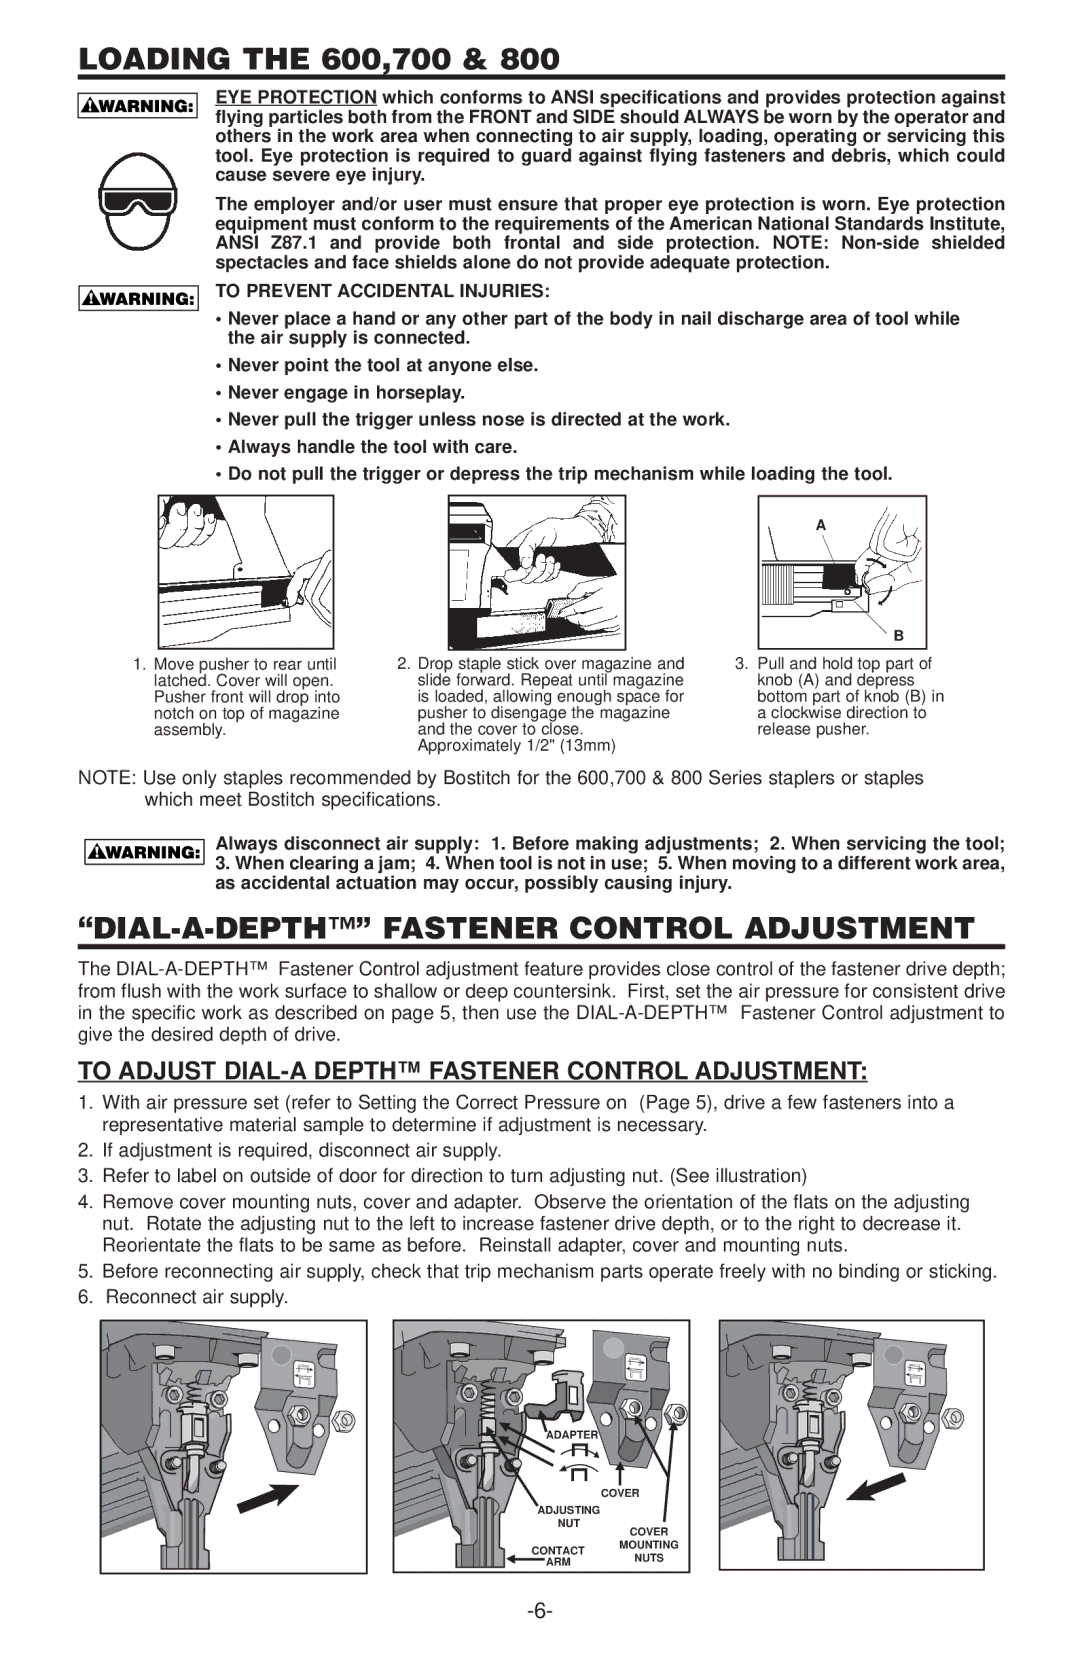
Another significant characteristic of the Bostitch 650S4-1,600 is its adjustable depth control, which allows users to set the stapler to drive staples to the desired depth into different materials. This feature helps in achieving clean and precise fastening, especially when working with materials of varying thicknesses. The staple exit is designed to minimize jamming, making operation smoother and reducing downtime during tasks.
In terms of safety, the Bostitch 650S4-1,600 incorporates a trigger safety mechanism that prevents accidental firing. This added layer of protection is crucial, especially in busy work environments where multiple users may be present. The integrated rubber grip provides comfort and control, reducing hand fatigue during prolonged use.
Additionally, the unit is also lightweight, which enhances maneuverability and ease of use, especially when tackling overhead projects or tight spaces. With its combination of power, precision, and flexibility, the Bostitch 650S4-1,600 stands out in the realm of pneumatic staplers, making it an excellent investment for anyone in need of a reliable fastening solution.

