Unpacking and Setting Up Your i-DS2
Carefully unpack the i-DS2. If there is any sign of damage from transit, report it immediately to your dealer and/or delivery service. Keep the shipping carton and packing materials for future use. Be sure to keep your purchase receipt in a safe place, as it may be required for warranty purposes.
In the box you should find the i-DS2, the remote control, power cord, and seven iPod dock adapters.
Placement
Your Horizon i-DS2will sound great just about anywhere. But if you put it near a wall or corner the bass response will be enhanced. Don’t block the bass port on the rear of the cabinet. Avoid placing the i-DS2where it will be in direct sunlight.
Power Connection
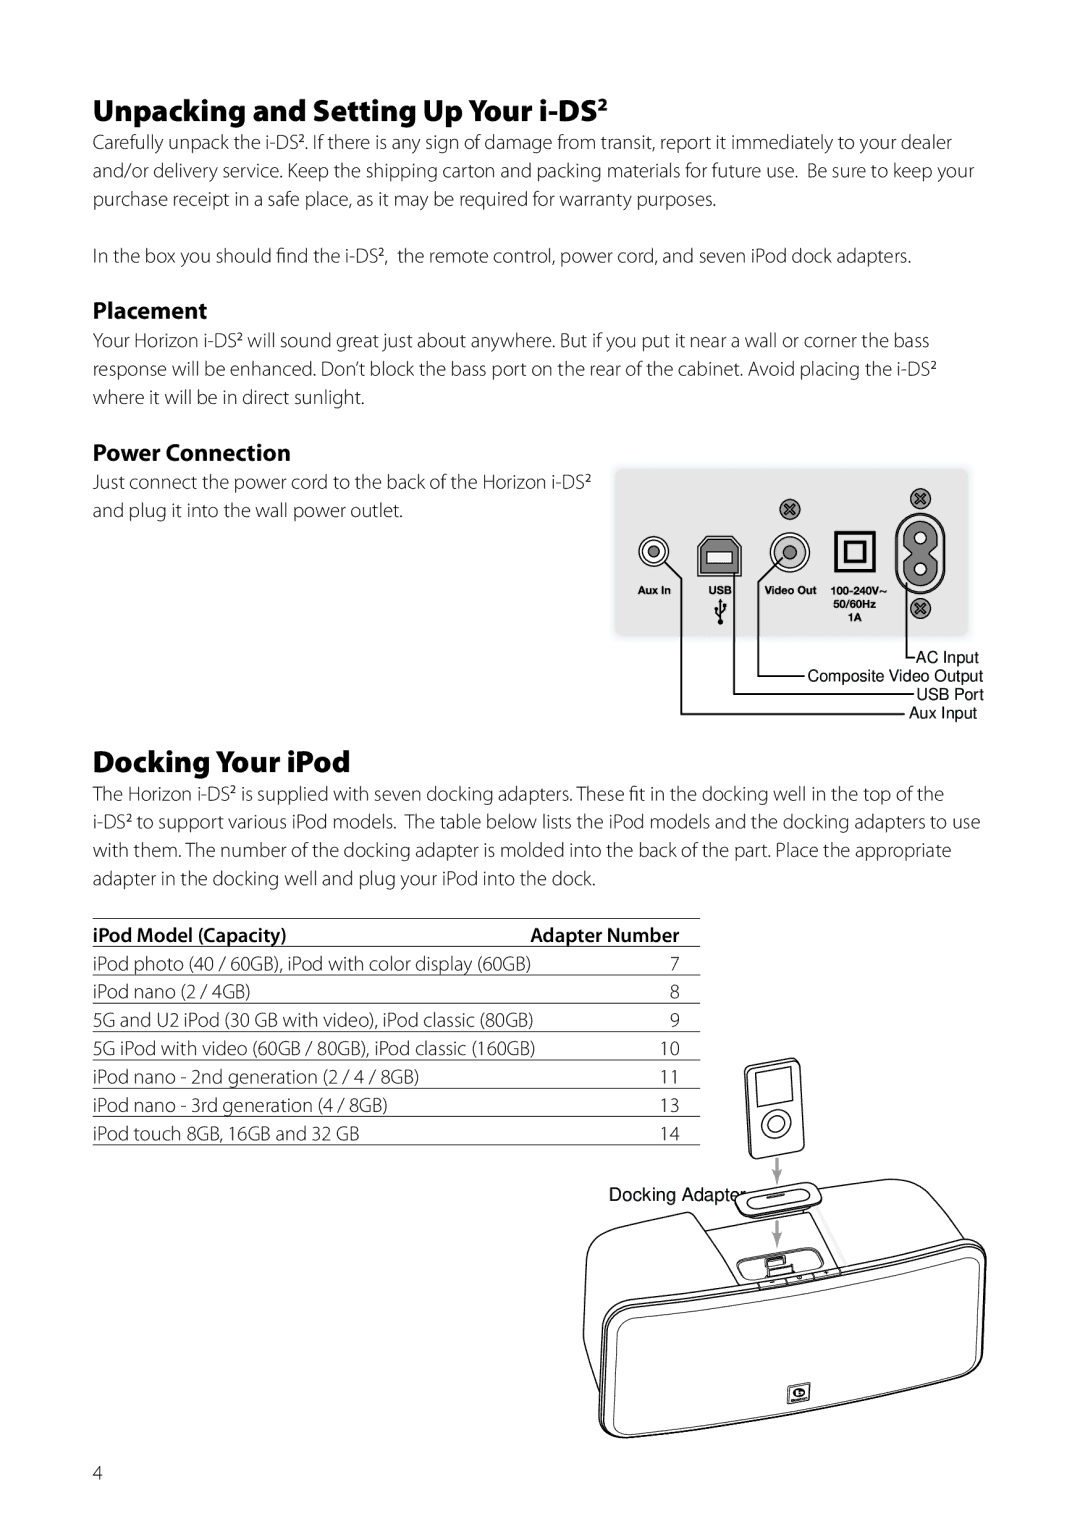
Just connect the power cord to the back of the Horizon i-DS2and plug it into the wall power outlet.
AC Input
Composite Video Output
USB Port
Aux Input
Docking Your iPod
The Horizon i-DS2is supplied with seven docking adapters. These fit in the docking well in the top of the i-DS2to support various iPod models. The table below lists the iPod models and the docking adapters to use with them. The number of the docking adapter is molded into the back of the part. Place the appropriate adapter in the docking well and plug your iPod into the dock.
iPod Model (Capacity) | adapter Number |
iPod photo (40 / 60GB), iPod with color display (60GB) | 7 |
iPod nano (2 / 4GB) | | 8 |
5G and U2 iPod (30 GB with video), iPod classic (80GB) | 9 |
5G iPod with video (60GB / 80GB), iPod classic (160GB) | 10 |
iPod nano - 2nd generation (2 / 4 / 8GB) | | 11 |
iPod nano - 3rd generation (4 / 8GB) | | 13 |
iPod touch 8GB, 16GB and 32 GB | | 14 |
Docking Adapter