Operating Instructions
3.Reverse direction of the mower by pulling both levers backward.
NOTE: Smooth action on the steering levers will produce smooth mower operation. Remem- ber to keep the engine and ground speed slow until learning the control response.
4.The FSC may be adjusted forward for faster ground speed and backward for slower ground speed. When mowing, ground speed should be adjusted to match the load on the cutter blades, i.e., as the engine pulls down in heavy cutting, pull back on the FSC lever to reduce ground speed. Adjusting ground speed helps maintain a balance between engine power and blade speed for
5.Stop ground travel by pulling both steering levers backward to the
NOTE: If the tractor creeps forward or back- ward with the FSC lever in the
ENGAGING THE MOWER
1.Set the engine throttle at about 1/2 speed. DO
NOT attempt to engage the blade clutch at high engine speeds. This will drastically short- en drive belt and clutch life. Use only moderate engine speed when engaging the blade clutch.
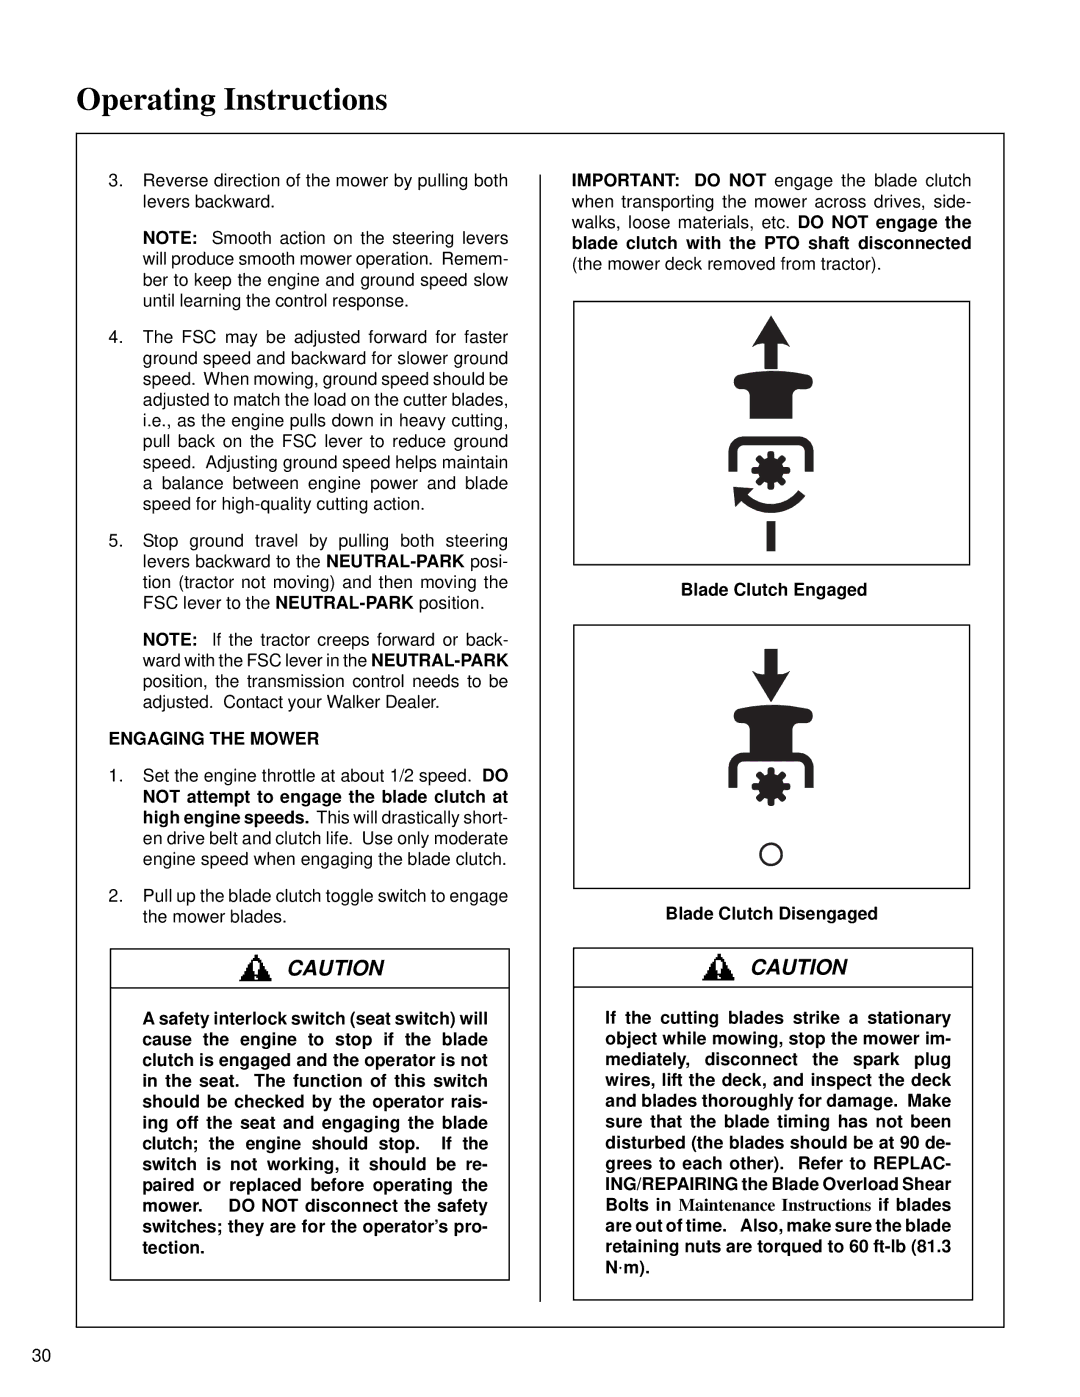
2.Pull up the blade clutch toggle switch to engage the mower blades.
![]() CAUTION
CAUTION
A safety interlock switch (seat switch) will cause the engine to stop if the blade clutch is engaged and the operator is not in the seat. The function of this switch should be checked by the operator rais- ing off the seat and engaging the blade clutch; the engine should stop. If the switch is not working, it should be re- paired or replaced before operating the mower. DO NOT disconnect the safety switches; they are for the operator’s pro- tection.
IMPORTANT: DO NOT engage the blade clutch when transporting the mower across drives, side- walks, loose materials, etc. DO NOT engage the blade clutch with the PTO shaft disconnected (the mower deck removed from tractor).
Blade Clutch Engaged
Blade Clutch Disengaged
![]() CAUTION
CAUTION
If the cutting blades strike a stationary object while mowing, stop the mower im- mediately, disconnect the spark plug wires, lift the deck, and inspect the deck and blades thoroughly for damage. Make sure that the blade timing has not been disturbed (the blades should be at 90 de- grees to each other). Refer to REPLAC- ING/REPAIRING the Blade Overload Shear Bolts in Maintenance Instructions if blades are out of time. Also, make sure the blade retaining nuts are torqued to 60
30
