Installation: Versa-Tether®
Energy-Absorbing Versa-Tether®
The
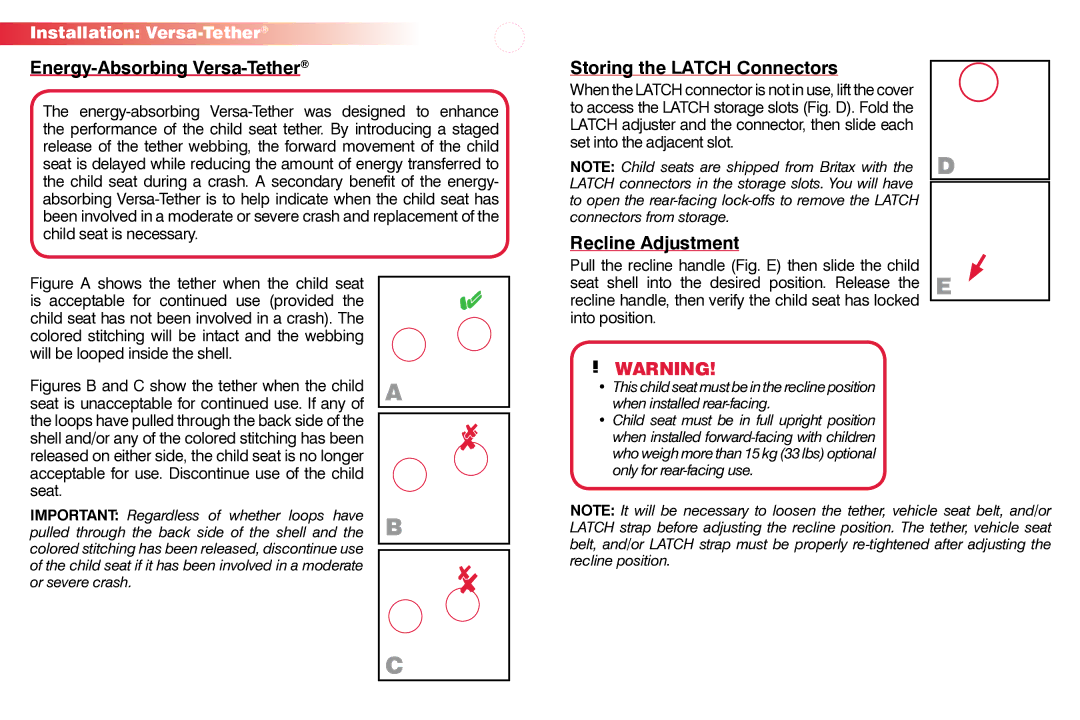
Figure A shows the tether when the child seat |
|
| |
is acceptable for continued use (provided the |
|
child seat has not been involved in a crash). The |
|
colored stitching will be intact and the webbing |
|
will be looped inside the shell. |
|
Figures B and C show the tether when the child | a |
seat is unacceptable for continued use. If any of |
|
| |
the loops have pulled through the back side of the |
|
shell and/or any of the colored stitching has been |
|
released on either side, the child seat is no longer |
|
acceptable for use. Discontinue use of the child |
|
seat. |
|
IMPORTANT: Regardless of whether loops have | b |
pulled through the back side of the shell and the | |
colored stitching has been released, discontinue use |
|
| |
| |
of the child seat if it has been involved in a moderate |
|
or severe crash. |
|
| c |
Child Seat Functions
Storing the LATCH Connectors |
|
| |
| |||
When the LATCH connector is not in use, lift the cover |
| ||
to access the LATCH storage slots (Fig. D). Fold the |
| ||
LATCH adjuster and the connector, then slide each |
| ||
set into the adjacent slot. |
| ||
NOTE: Child seats are shipped from Britax with the | D | ||
LATCH connectors in the storage slots. You will have |
| ||
| |||
to open the |
| ||
connectors from storage. |
| ||
Recline Adjustment |
|
| |
Pull the recline handle (Fig. E) then slide the child | E | ||
seat shell into the desired position. Release the | |||
recline handle, then verify the child seat has locked |
| ||
| |||
into position. |
| ||
![]() WARNING!
WARNING!
•This child seat must be in the recline position when installed
•Child seat must be in full upright position when installed
NOTE: It will be necessary to loosen the tether, vehicle seat belt, and/or LATCH strap before adjusting the recline position. The tether, vehicle seat belt, and/or LATCH strap must be properly
28 | 29 |
