GRILL ASSEMBLY
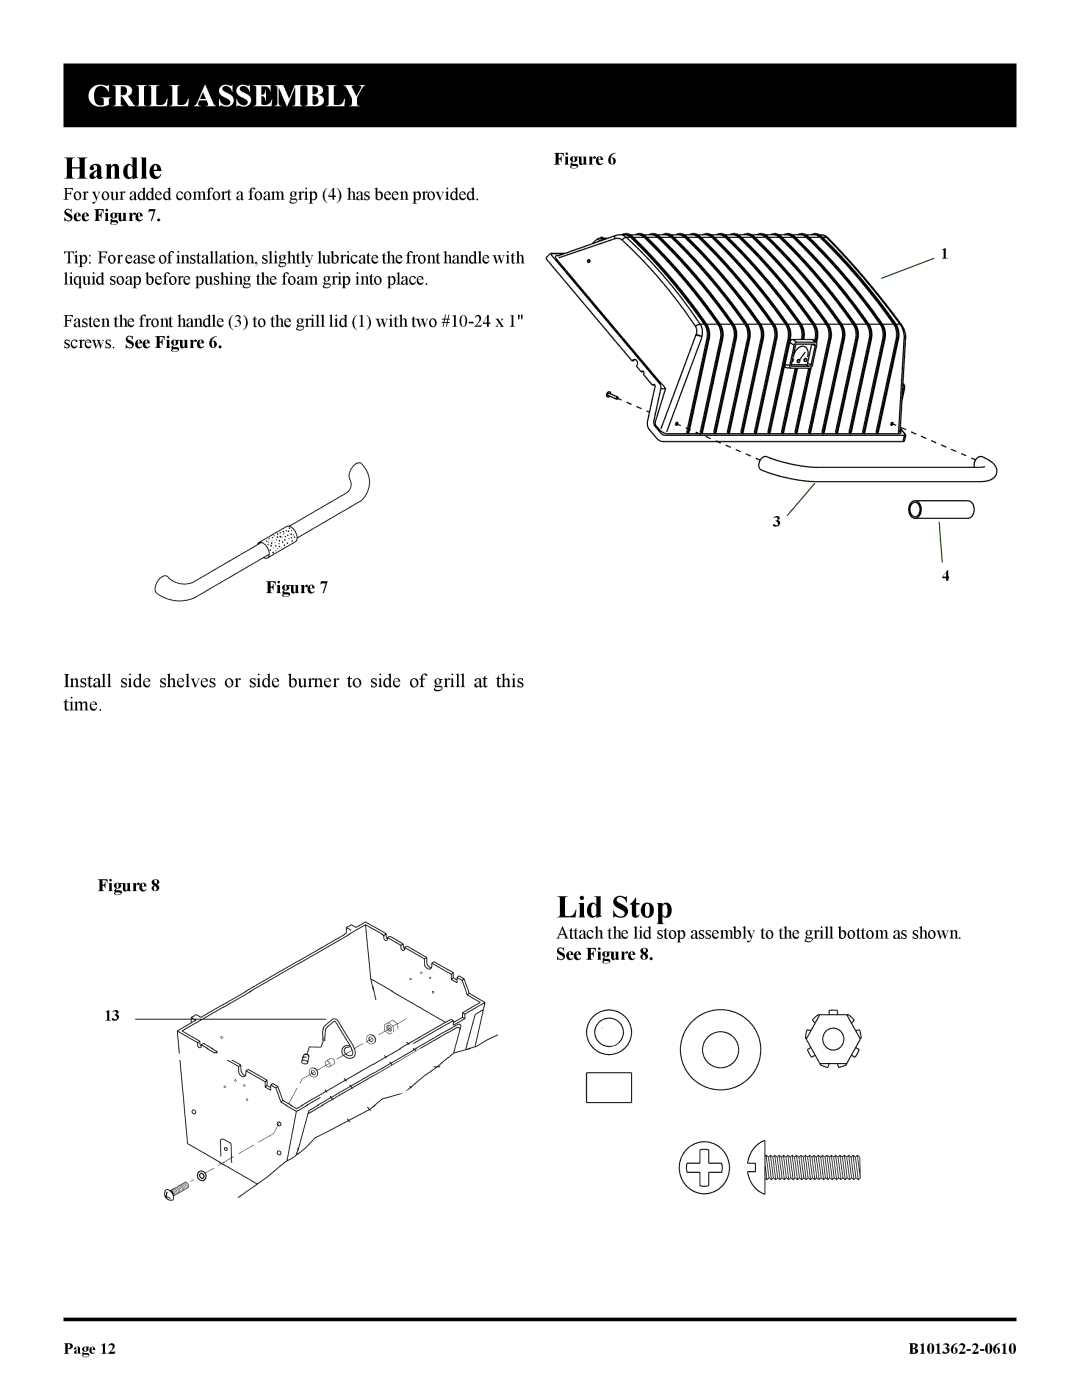
Handle | Figure 6 |
| |
For your added comfort a foam grip (4) has been provided. |
|
See Figure 7. |
|
Tip: For ease of installation, slightly lubricate the front handle with |
|
liquid soap before pushing the foam grip into place. |
|
Fasten the front handle (3) to the grill lid (1) with two |
|
screws. See Figure 6. |
|
1
3
Figure 7 | 4 |
|
Install side shelves or side burner to side of grill at this time.
Figure 8
13
Lid Stop
Attach the lid stop assembly to the grill bottom as shown.
See Figure 8.
32
3328
Page 12 |