Manuals
/
Bunn
/
Kitchen Appliance
/
Coffeemaker
Bunn
service manual
Initial Setup, Start-Up, BUNN Espress, ES2A/ES2SA
Models:
ES2SA
1
10
35
35
Download
35 pages
6.3 Kb
7
8
9
10
11
12
13
14
Troubleshooting
Specs
Schematic
Warranty
Problem
Initial Setup
Cleaning
Board Replacement
Features
Page 10
Image 10
Page 9
Page 11
Page 10
Image 10
Page 9
Page 11
Contents
ESPRESSO/CAPPUCCINO COFFEE BREWERS
BUNNEspress
E S 2A TM / ES 2SA TM
DISCONTINUED VERSION The information in this manual
Page
ES2A/ES2SA
BUNN Espress
INDEX
Installation
WARRANTY
Liquid-Steam-Surfaces
USER NOTICES
READ THE ENTIRE OPERATING MANUAL BEFORE BUYING OR USING THIS PRODUCT
00831.0000F 3/98 1988 BUNN-O-MATIC CORPORATION
WATER FEED TAP
FEATURES
HOT WATER RINSE DISPENSING TUBE AND STEAM DISPENSING TUBE
LEVEL
Group head Espresso extraction chamber
WATER TREATMENT
PLUMBING REQUIREMENTS
PLUMBING
PLUMBING HOOK-UP
ELECTRICAL HOOKUP
ELECTRICAL SPECIFICATIONS
ELECTRICAL
L1 240V or L2 Gnd
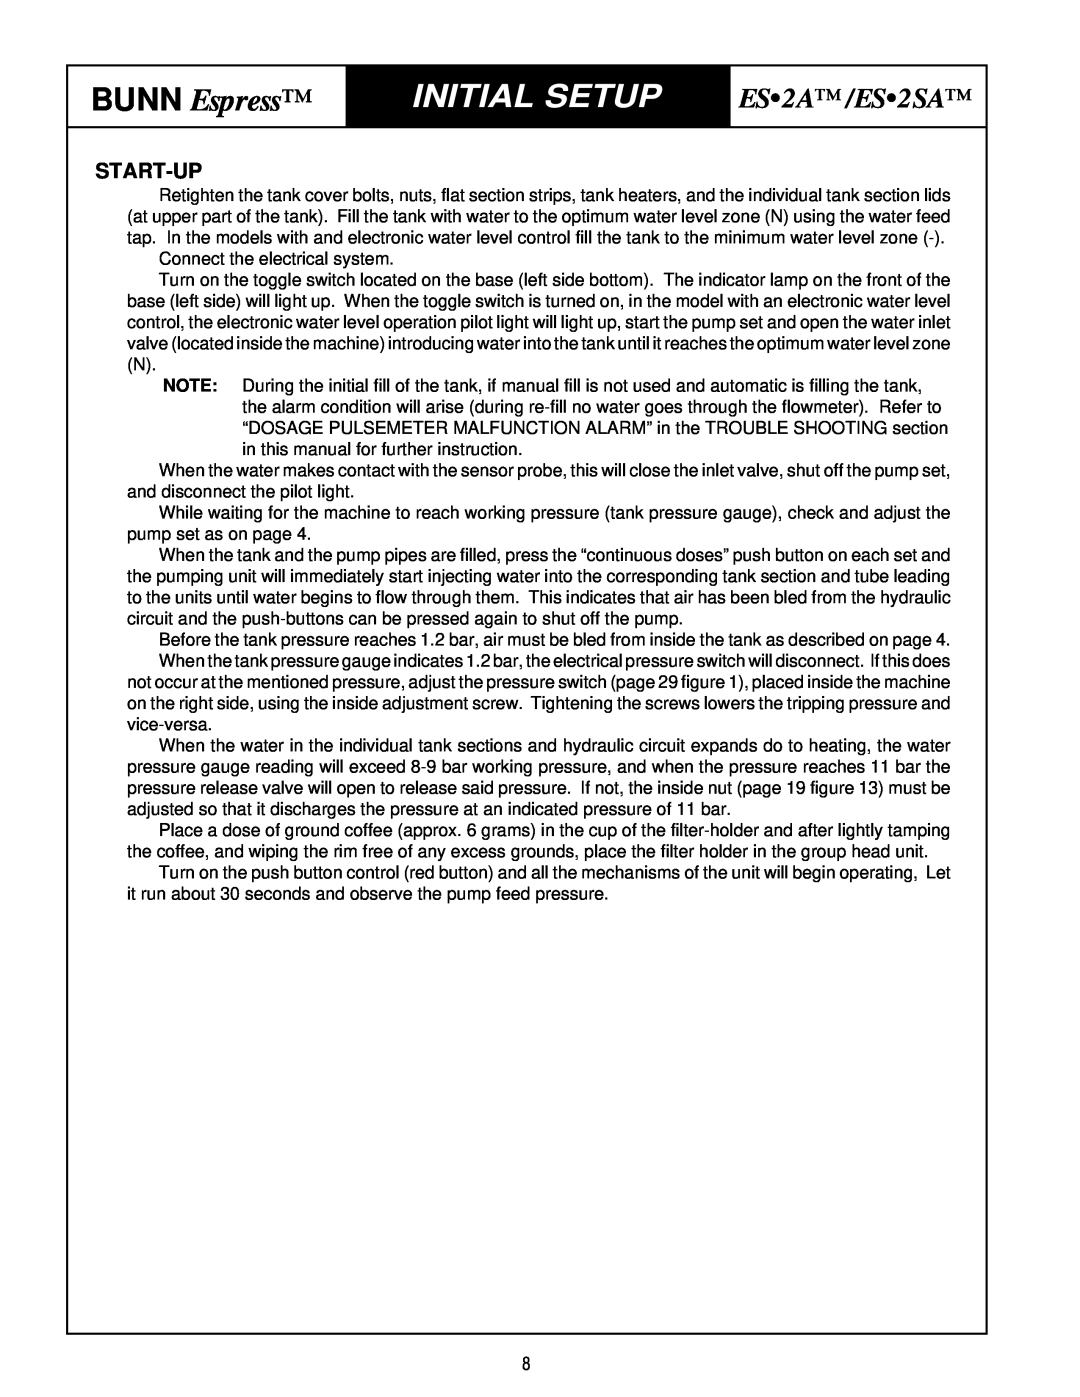
INITIAL SETUP
START-UP
PROGRAMMING DOSIFICATIONS
PROGRAMMING
PUSH-BUTTON SET AUTOMATICS ONLY
PREINFUSION PROGRAMMING
COFFEE EXTRACTION
BREWING
OBSERVATIONS
CLEANING
CLEANING
WARNINGS
TROUBLESHOOTING
Problem
Probable cause
DOSAGE PULSOMETER MALFUNCTION ALARM
AUTOMATIC WATER LEVEL MALFUNCTION ALARM
BOARD REPLACEMENT
PUSH-BUTTON BOARD CONNECTIONS
BUNN Espress ES2A/ES2SA
BUNN
REPLACEMENT
PARTS
Espress
REPLACEMENT PARTS
Description
BUNN Espress
REPLACEMENT PARTS ES2A/ES2SA
P-235
ES2A/ES2SA
Group assy.items
Solenoid rebuild kit
22811.0000
22711.0000
ES2A/ES2SA
22685.0000
Complete valve assy
P-240
ES2A/ES2SA
Complete valve assy.- items
22637.0000
Complete assy
22658.0000
ES2A/ES2SA
P-238
Water inlet hose supply to pump in
P-237
ES2A/ES2SA
1 .................. Red push button on/off switch
Replacement Parts Not Illustrated
Description
ES2SA
SCHEMATIC
P-243
ES2A
P-244
Top
Page
Image
Contents