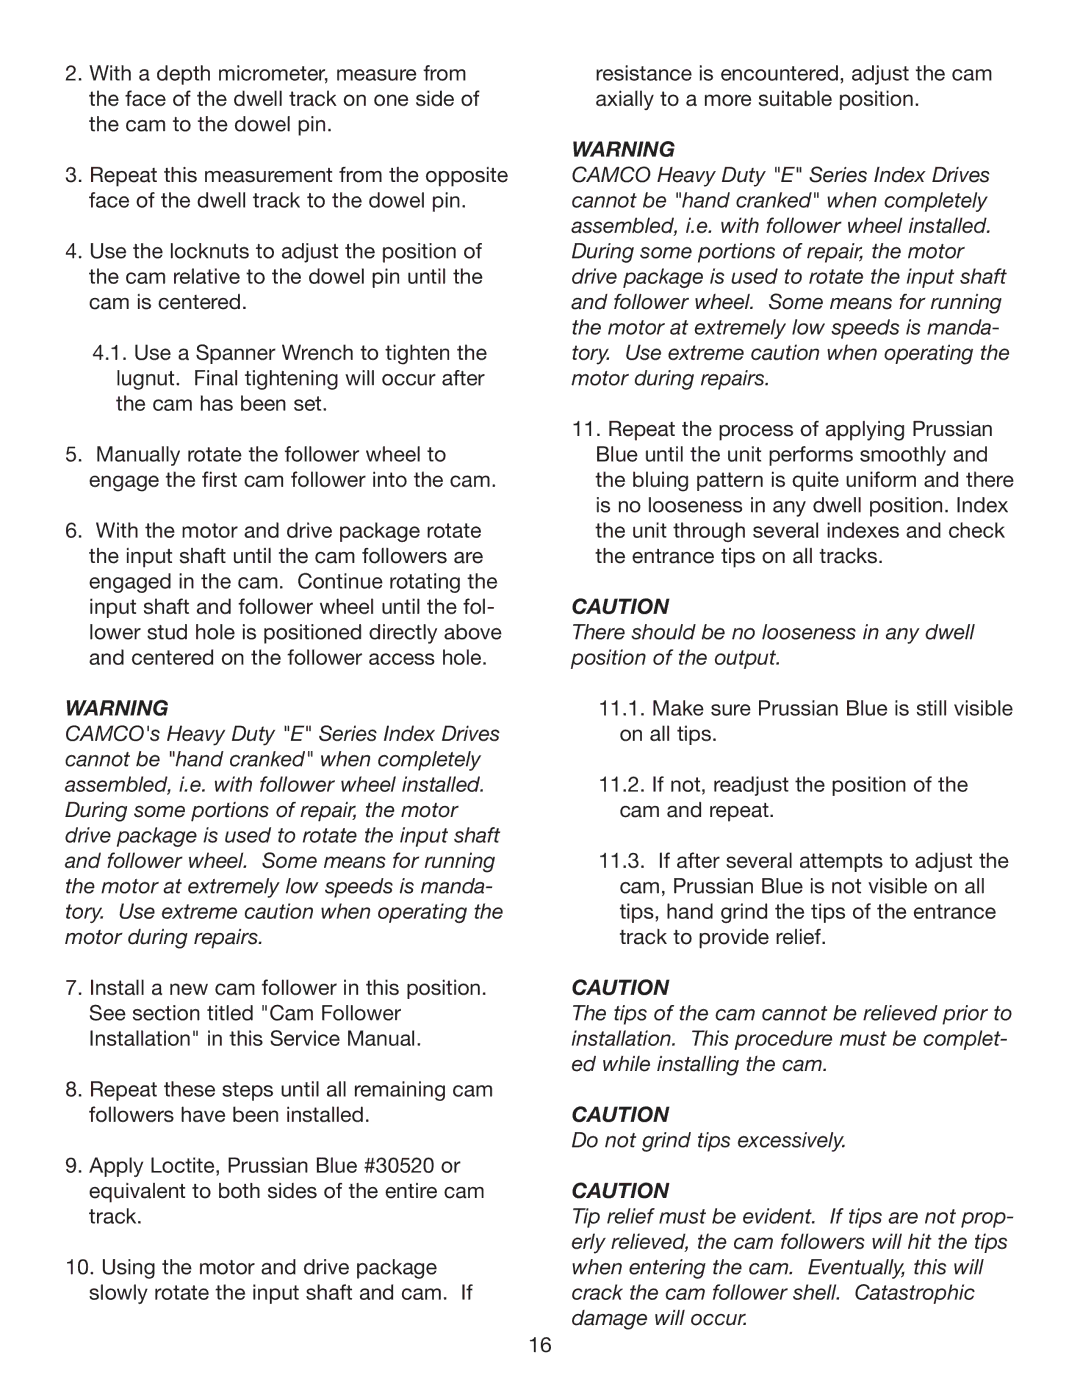
2.With a depth micrometer, measure from the face of the dwell track on one side of the cam to the dowel pin.

3.Repeat this measurement from the opposite face of the dwell track to the dowel pin.

4.Use the locknuts to adjust the position of the cam relative to the dowel pin until the cam is centered.

4.1.Use a Spanner Wrench to tighten the lugnut. Final tightening will occur after the cam has been set.

5.Manually rotate the follower wheel to engage the first cam follower into the cam.

6.With the motor and drive package rotate the input shaft until the cam followers are engaged in the cam. Continue rotating the input shaft and follower wheel until the fol- lower stud hole is positioned directly above and centered on the follower access hole.

WARNING

CAMCO's Heavy Duty "E" Series Index Drives cannot be "hand cranked" when completely assembled, i.e. with follower wheel installed. During some portions of repair, the motor drive package is used to rotate the input shaft and follower wheel. Some means for running the motor at extremely low speeds is manda- tory. Use extreme caution when operating the motor during repairs.

7.Install a new cam follower in this position. See section titled "Cam Follower Installation" in this Service Manual.

8.Repeat these steps until all remaining cam followers have been installed.

9.Apply Loctite‚ Prussian Blue #30520 or equivalent to both sides of the entire cam track.

10.Using the motor and drive package slowly rotate the input shaft and cam. If

resistance is encountered, adjust the cam axially to a more suitable position.

WARNING

CAMCO Heavy Duty "E" Series Index Drives cannot be "hand cranked" when completely assembled, i.e. with follower wheel installed. During some portions of repair, the motor drive package is used to rotate the input shaft and follower wheel. Some means for running the motor at extremely low speeds is manda- tory. Use extreme caution when operating the motor during repairs.

11.Repeat the process of applying Prussian Blue until the unit performs smoothly and the bluing pattern is quite uniform and there is no looseness in any dwell position. Index the unit through several indexes and check the entrance tips on all tracks.

CAUTION

There should be no looseness in any dwell position of the output.

11.1.Make sure Prussian Blue is still visible on all tips.

11.2.If not, readjust the position of the cam and repeat.

11.3.If after several attempts to adjust the cam, Prussian Blue is not visible on all tips, hand grind the tips of the entrance track to provide relief.

CAUTION

The tips of the cam cannot be relieved prior to installation. This procedure must be complet- ed while installing the cam.

CAUTION

Do not grind tips excessively.

CAUTION

Tip relief must be evident. If tips are not prop- erly relieved, the cam followers will hit the tips when entering the cam. Eventually, this will crack the cam follower shell. Catastrophic damage will occur.

16

Page 17
Image 17
Camco 2050E, 950E, 1550E, 1150E service manual

950E, 1550E, 2050E, 1150E specifications

Camco, an industry leader in innovative recreational vehicle (RV) and marine products, offers a range of portable waste tanks designed for convenience and efficiency. The Camco 1150E, 2050E, 1550E, and 950E are key products in this lineup, each designed with unique features and technologies to cater to different user needs.

The Camco 1150E is a robust 11-gallon portable waste tank made from high-density polyethylene. Featuring a patented, heavy-duty design, it can be easily transported and features integrated wheels for smooth maneuverability. The tank includes a large capacity dump valve and a 3" sewer hose with a 90-degree elbow, making emptying a simple and mess-free process. This model also comes with a built-in indicator to alert users when it’s time to empty, ensuring hassle-free maintenance.

The Camco 2050E is a larger 20-gallon option that offers enhanced capacity for extended trips. This model boasts a durable construction resistant to punctures and UV damage, ensuring longevity in various environments. The 2050E is designed with an extra-wide opening for easier filling and features a user-friendly tow design that ensures stability during transport. Its integrated handle and sturdy wheels allow for effortless movement, even on uneven surfaces.

The Camco 1550E is a middle-ground solution with a 15-gallon capacity, perfect for those who need more than the 11-gallon but less than the 20-gallon capacity. It features the same heavy-duty construction found in the 1150E and 2050E models, ensuring durability. It includes a level indicator to gauge fill levels and is designed for easy cleaning post-use, featuring smooth surfaces that reduce dirt accumulation.

Lastly, the Camco 950E is the most compact option at a 9-gallon capacity. Its lightweight design makes it ideal for short trips or users with limited storage space. Despite its smaller size, it retains the essential features such as a 3" drain hose, an easy-grip handle, and sufficient capacity for less frequent RV users.

Each tank in the Camco lineup offers high-quality construction, user-friendly features, and advanced technology to enhance the RV experience. Whether it’s the larger capacity of the 2050E or the compact design of the 950E, Camco has tailored their products to meet a range of consumer needs while ensuring ease of use and maintenance.