GB

TIMER (ELECTRIC OVEN)

The programmer makes it possible to preset the oven and the grill in terms of:

delay start with a preset length of time for cooking;

immediate start with a preset length of time for cooking;

timer.

Button functions:

: Timer with hour and minutes;

:Length of cooking time; : End cooking time;

: Manual change;

-: Change time (backwards); + : Change time (forwards).

How to Reset the Digital Clock

After the appliance has been connected to the power source or following a power outage, the clock display will begin to blink and read: 0:00

• Press the buttons at the same time. Then use (within 4 seconds) the - and + buttons to set the exact time.

Use the + button to move the time forwards. Use the - button to move the time backwards.

The time can also be changed in the following two ways:

1.Repeat all of the foregoing steps.

2.Press the button, and then use the - and + buttons to reset the time.

Manual Operation Mode for the Oven

After the time has been set, the programmer is automatically set to manual mode.

Note: Press the button to return the oven to

manual mode after every "Automatic" cooking session.

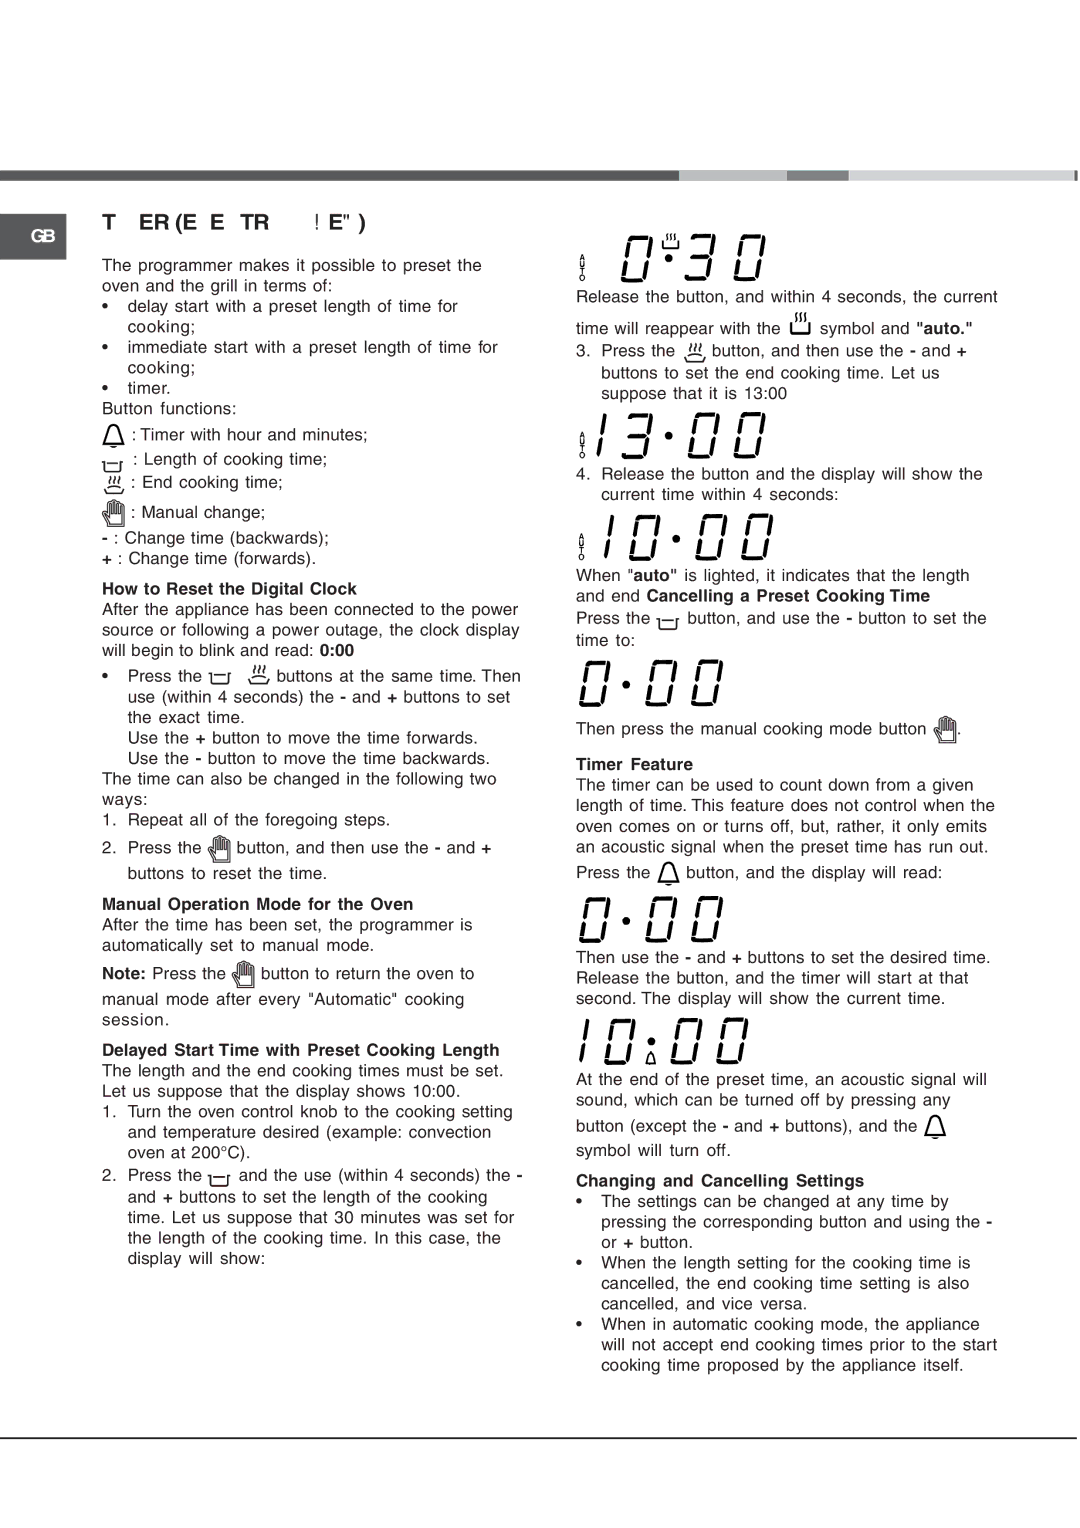
Delayed Start Time with Preset Cooking Length The length and the end cooking times must be set. Let us suppose that the display shows 10:00.

1.Turn the oven control knob to the cooking setting and temperature desired (example: convection oven at 200°C).

2.Press the and the use (within 4 seconds) the - and + buttons to set the length of the cooking time. Let us suppose that 30 minutes was set for the length of the cooking time. In this case, the display will show:

Release the button, and within 4 seconds, the current

time will reappear with the symbol and "auto."

3.Press the button, and then use the - and + buttons to set the end cooking time. Let us suppose that it is 13:00

4.Release the button and the display will show the current time within 4 seconds:

When "auto" is lighted, it indicates that the length and end Cancelling a Preset Cooking Time

Press the


button, and use the - button to set the


time to:


Then press the manual cooking mode button .

Timer Feature

The timer can be used to count down from a given length of time. This feature does not control when the oven comes on or turns off, but, rather, it only emits an acoustic signal when the preset time has run out.

Press the button, and the display will read:

Then use the - and + buttons to set the desired time. Release the button, and the timer will start at that second. The display will show the current time.

At the end of the preset time, an acoustic signal will sound, which can be turned off by pressing any

button (except the - and + buttons), and the symbol will turn off.

Changing and Cancelling Settings

The settings can be changed at any time by pressing the corresponding button and using the - or + button.

When the length setting for the cooking time is cancelled, the end cooking time setting is also cancelled, and vice versa.

When in automatic cooking mode, the appliance will not accept end cooking times prior to the start cooking time proposed by the appliance itself.

12

Page 12
Image 12
Cannon C90DPX manual Timer Electric Oven

C90DPX specifications

The Cannon C90DPX is an innovative printer that has emerged as a game-changer in the world of digital printing. Designed for both small businesses and larger enterprises, the C90DPX marries efficiency with high-quality output, making it a preferred choice for many professionals.

One of the main features of the Cannon C90DPX is its impressive print speed. With a maximum output of up to 90 pages per minute, this printer can handle high-volume jobs with ease. The efficiency does not compromise the quality; it offers exceptional resolution with sharp text and vibrant images, thanks to its advanced imaging technology.

The printer utilizes a sophisticated inkjet technology that allows for a wider color gamut and more precise color reproduction. This feature is crucial for businesses that require high-quality brochures, presentations, or marketing materials. The printer also supports a variety of media types, including glossy photo paper, cardstock, and specialty media, making it versatile enough to meet different printing needs.

Another notable characteristic of the Cannon C90DPX is its user-friendly interface. The printer comes equipped with a touchscreen display that simplifies navigation and settings adjustments. This intuitive design minimizes the learning curve for new users and can enhance overall productivity.

Connectivity options are another strong suit of the C90DPX. The printer supports USB, Ethernet, and Wi-Fi connections, allowing users to print from various devices, including laptops, tablets, and smartphones. This wireless capability makes it convenient for multi-user environments and remote printing projects, keeping productivity seamless across different locations.

The Cannon C90DPX also emphasizes sustainability. It is designed for energy efficiency, significantly reducing power consumption without sacrificing performance. Furthermore, the printer has features that facilitate the use of eco-friendly inks and recyclable materials, aligning with the increasing need for environmentally conscious practices in business operations.

In conclusion, the Cannon C90DPX stands out in the digital printing landscape due to its combination of speed, quality, and user-friendly features. With advanced technologies that enhance connectivity and sustainability, it represents a significant investment for businesses looking to streamline their printing processes while maintaining top-notch output. Whether for marketing materials, internal documents, or creative projects, the C90DPX proves to be a robust solution that combines functionality with cutting-edge technology.