
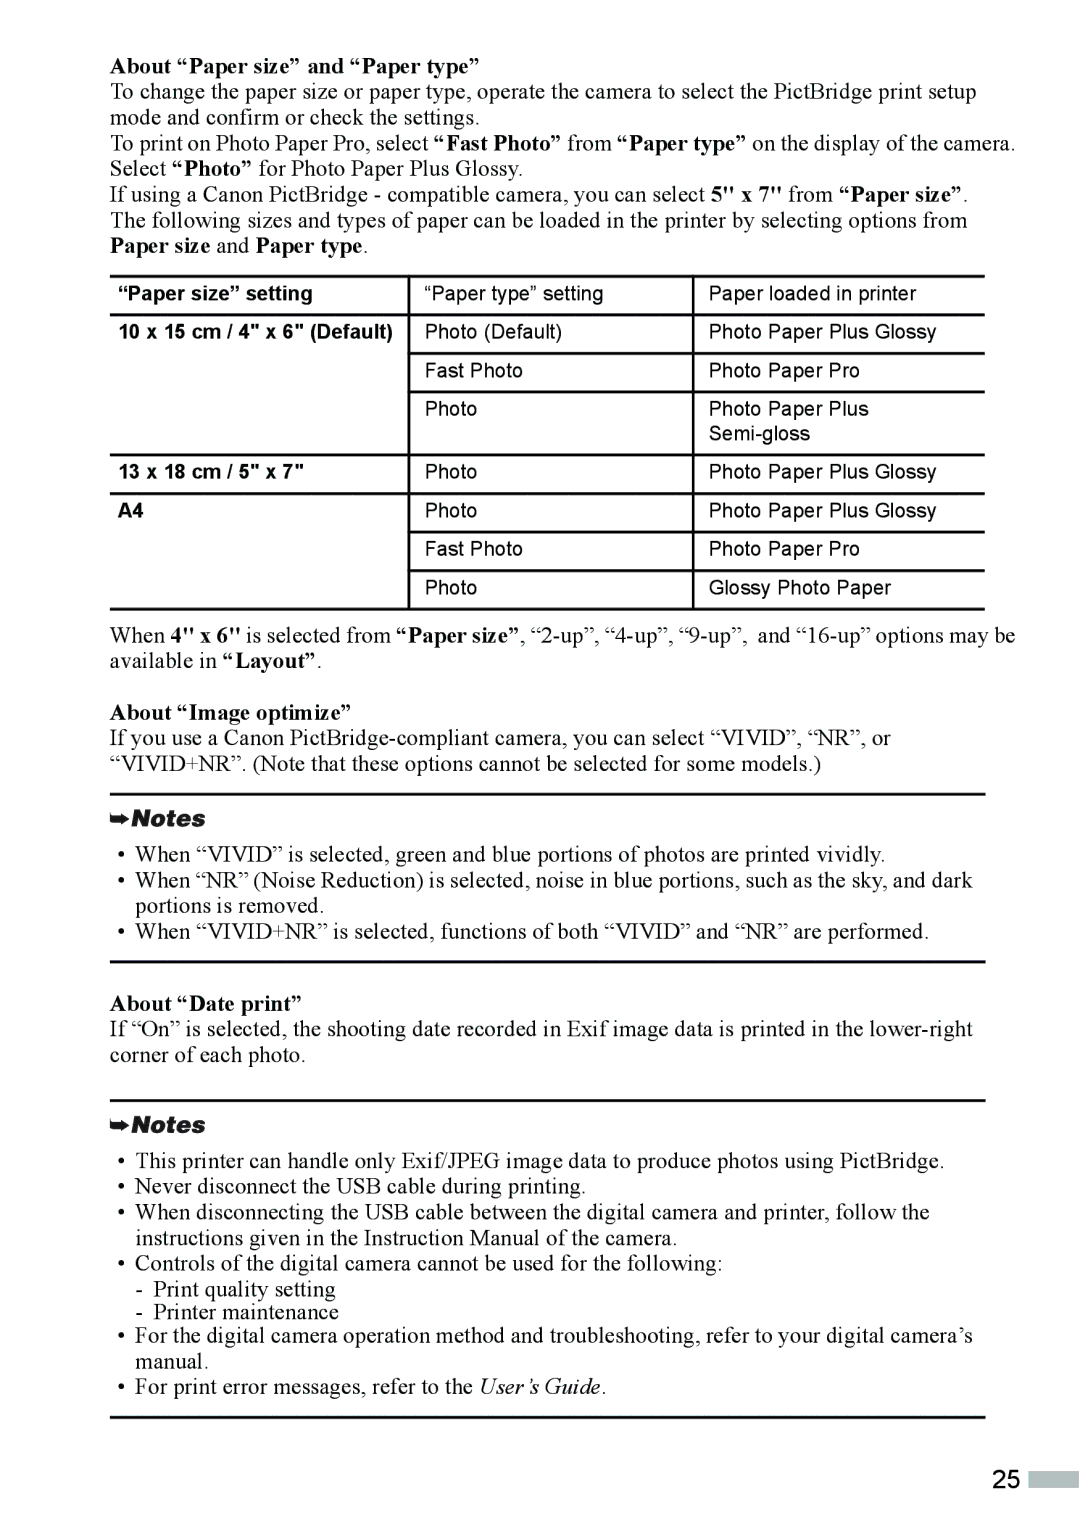
IP4000, ip3000 specifications
The Canon iP3000 is a versatile inkjet printer that made a mark in the personal and small office printing world when it was released. It combines robust functionality with quality output, making it an attractive option for home users and small businesses alike.One of the standout features of the iP3000 is its impressive print quality. The printer utilizes Canon's FINE technology, which stands for Full-photolithography Inkjet Nozzle Engineering, delivering high-resolution prints of up to 4800 x 1200 dots per inch (dpi). This results in sharp text and stunning photo-quality images. The six-color ink system enhances color depth and vibrancy, allowing users to produce professional-looking prints for photos, documents, and graphics.
In terms of speed, the iP3000 does not disappoint. It can print black and white documents at a rate of approximately 25 pages per minute (ppm) and color documents at around 17 ppm. This makes it a suitable choice for users who need to print substantial quantities without sacrificing quality.
The iP3000 also features dual paper trays, which provide versatility for different types of media. The front tray can handle everyday printing tasks, while the rear tray allows for specialized formats, such as photo paper and envelopes. This dual-tray design makes switching between paper types quick and easy, enhancing the overall user experience.
Another significant characteristic of the Canon iP3000 is its borderless printing capability. Users can print photos without any margins, which is perfect for creating full-sized images suitable for framing. This feature is particularly appealing to photographers and artists looking to showcase their work in the best possible light.
On the connectivity front, the iP3000 offers USB connectivity, ensuring a straightforward setup and compatibility with various operating systems. While it lacks advanced networking options present in more modern printers, its reliability and direct connection make it a user-friendly choice for those who do not require wireless capabilities.
Overall, the Canon iP3000 stands out as a solid inkjet printer, offering a blend of quality, speed, and functionality. Its range of features, including high-resolution printing, dual paper trays, and borderless printing, make it an excellent option for anyone looking to achieve high-quality prints without breaking the bank. Whether for casual home use or small office tasks, the iP3000 delivers on performance and reliability.