Install Nozzle Seal for BCI – 24BK
In order to strengthen the connection of cartridges and the printer head, prevent air leaking, ink back flowing, ink leaking, we need to add a silicon seal on cartridge nozzle, the processed are as follows:
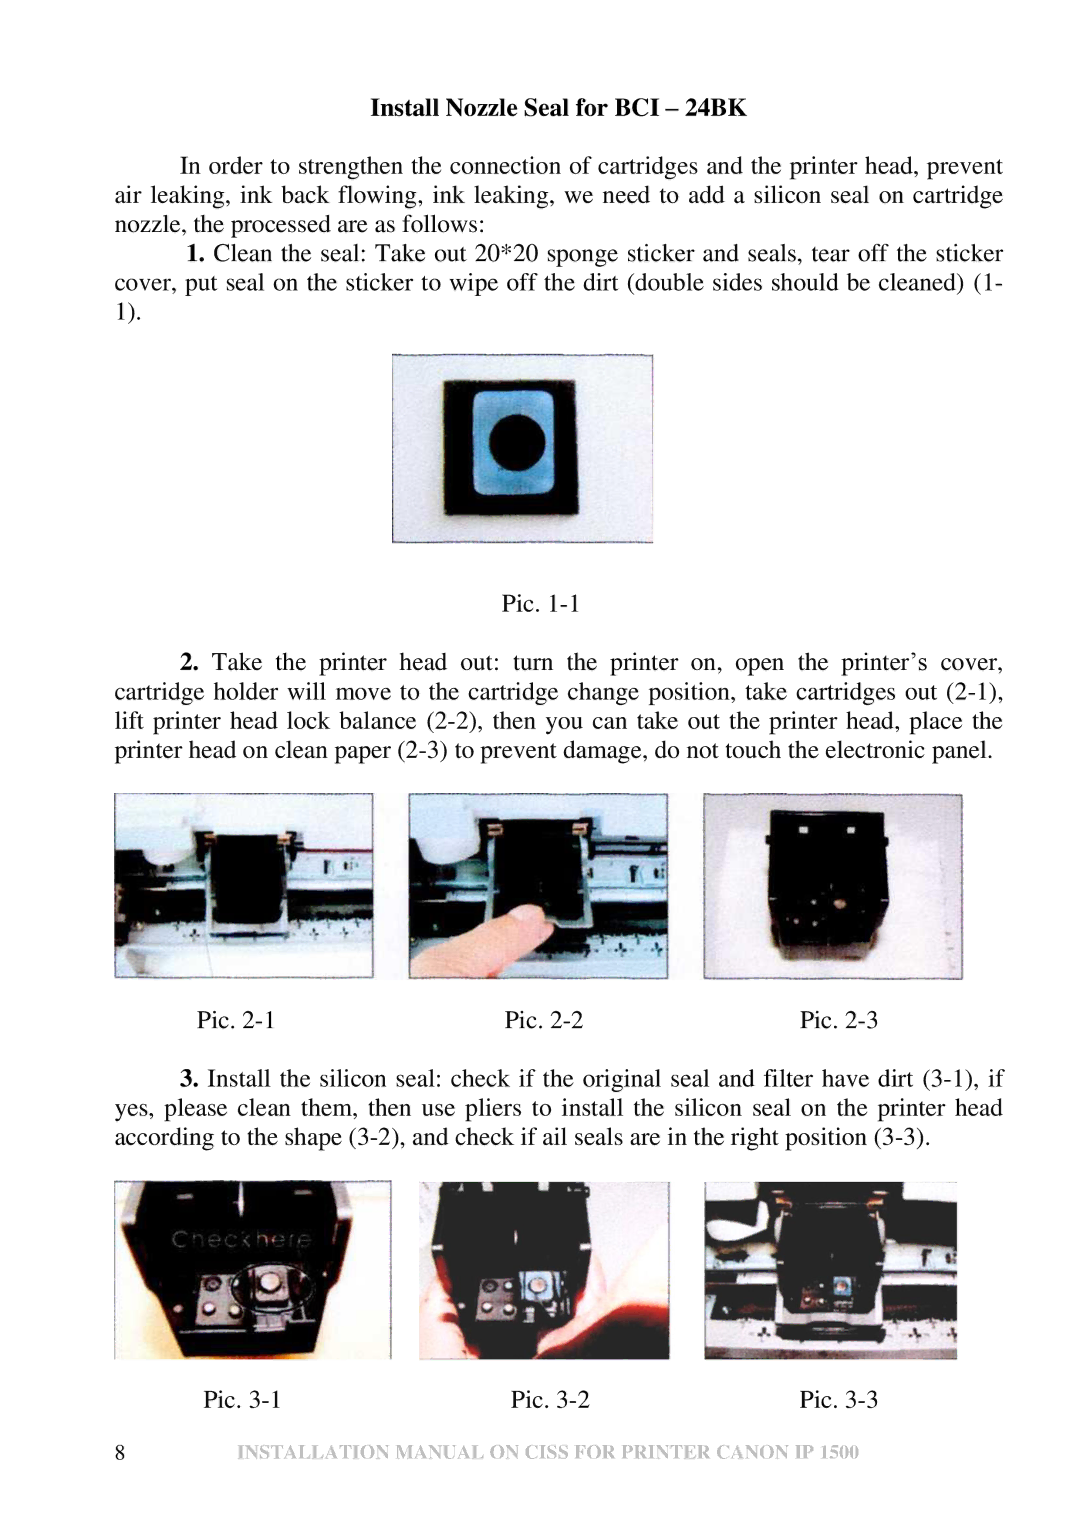
1.Clean the seal: Take out 20*20 sponge sticker and seals, tear off the sticker cover, put seal on the sticker to wipe off the dirt (double sides should be cleaned) (1- 1).
Pic.
2.Take the printer head out: turn the printer on, open the printer’s cover, cartridge holder will move to the cartridge change position, take cartridges out
Pic. | Pic. | Pic. |
3.Install the silicon seal: check if the original seal and filter have dirt
Pic. | Pic. | Pic. |
8 | INSTALLATION MANUAL ON CISS FOR PRINTER CANON IP 1500 |