SX150 IS specifications
The Canon SX150 IS is a compact digital camera that stands out for its powerful features and user-friendly design, making it a great choice for both beginners and enthusiasts alike. Released as part of Canon's acclaimed SX series, the SX150 IS is equipped with a range of technologies to enhance imaging performance and versatility.One of the key features of the Canon SX150 IS is its impressive 12x optical zoom lens. This allows photographers to capture stunning images from a distance while maintaining sharp details and vibrant colors. The focal length of the lens spans from 28mm to 336mm, giving users the capability to shoot wide-angle landscapes as well as close-up portraits. The camera also incorporates Canon’s Image Stabilization technology, which significantly reduces blur caused by camera shake, ensuring clear and crisp images even in low-light conditions.
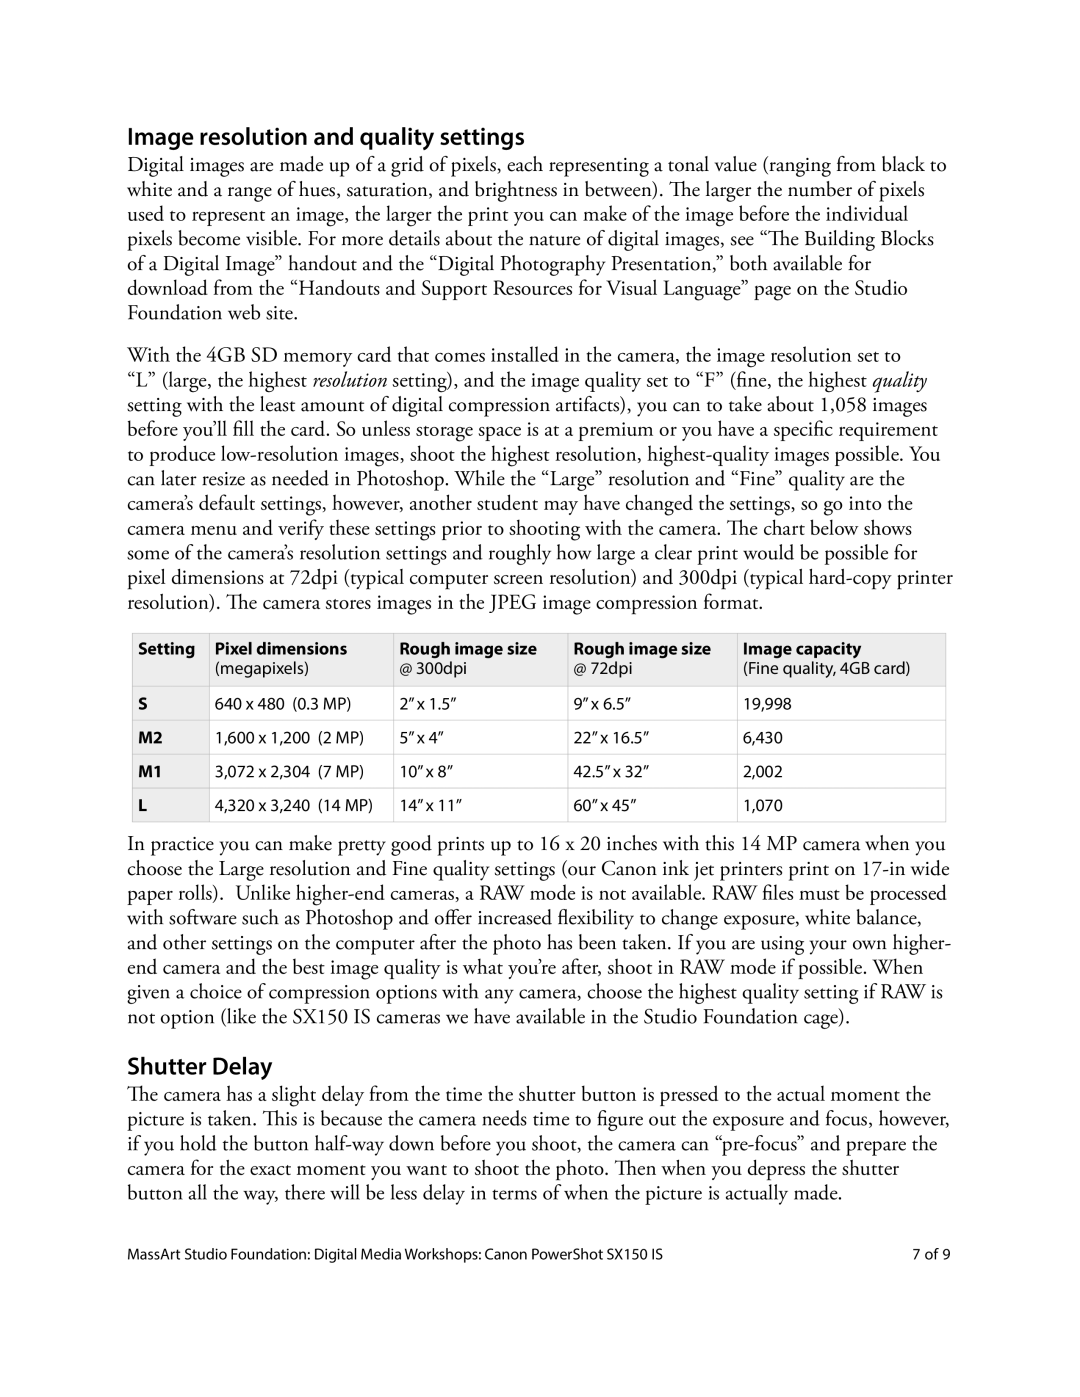
At the heart of the camera is a 14.1-megapixel CCD image sensor that delivers high-resolution photos. This sensor works in conjunction with Canon’s DIGIC 4 image processor, which enhances image quality and optimizes performance, providing faster processing speeds and reducing noise in images. This combination allows users to capture vibrant images with realistic colors and excellent detail.
The Canon SX150 IS features a 3.0-inch LCD screen, providing a clear and bright display for composing shots and reviewing images. The screen’s large size makes it easier to navigate through menus and settings, which are designed for intuitive operation. Also, the camera offers various shooting modes, including Smart Auto, which automatically selects the best settings based on the scene, as well as Different creative filters for added artistic control.
For those who enjoy video recording, the SX150 IS provides 720p HD video capabilities, enabling users to shoot detailed movies with minimal effort. The camera includes a dedicated video button for easy access, allowing users to switch from stills to video quickly.
Additionally, the Canon SX150 IS is powered by AA batteries, making it convenient for users who prefer easily accessible power sources. It has a lightweight and compact design, making it portable and ideal for travel.
In conclusion, the Canon SX150 IS brings together a blend of advanced features and ease of use, making it a versatile camera suitable for a wide range of photography enthusiasts. With its powerful zoom, high-resolution sensor, user-friendly interface, and solid video capabilities, it remains a reliable choice for capturing life’s moments.

