VC-C50i specifications
The Canon VC-C50i is a versatile and powerful camera designed primarily for video conferencing, remote monitoring, and live streaming applications. This camera boasts a range of features and technologies aimed at delivering high-quality visuals and ease of use for professionals and organizations alike.One of the standout characteristics of the VC-C50i is its capability to capture detailed and vibrant images, thanks to its 1/3-inch CCD image sensor. This sensor allows the camera to perform well in various lighting conditions, ensuring that footage remains clear and sharp, even in lower light environments. The camera supports a maximum resolution of 1280x720, producing high definition video that meets the demands of modern broadcasting and video conferencing.
A notable feature of the VC-C50i is its powerful 20x optical zoom lens. This affords users the flexibility to focus on subjects from a distance without sacrificing image quality. The camera's pan, tilt, and zoom (PTZ) capabilities allow for precise and smooth movements, making it easier to capture dynamic scenes or highlight specific areas of interest within a live setting. This functionality is essential in professional environments, such as lecture halls, conference rooms, and houses of worship.
Moreover, the VC-C50i incorporates advanced digital signal processing technology to enhance image quality further. It features automatic white balance, backlight compensation, and a wide dynamic range, contributing to optimal performance across varying conditions. These technologies ensure that the camera adapts intelligently to changes in the environment, delivering consistent video output.
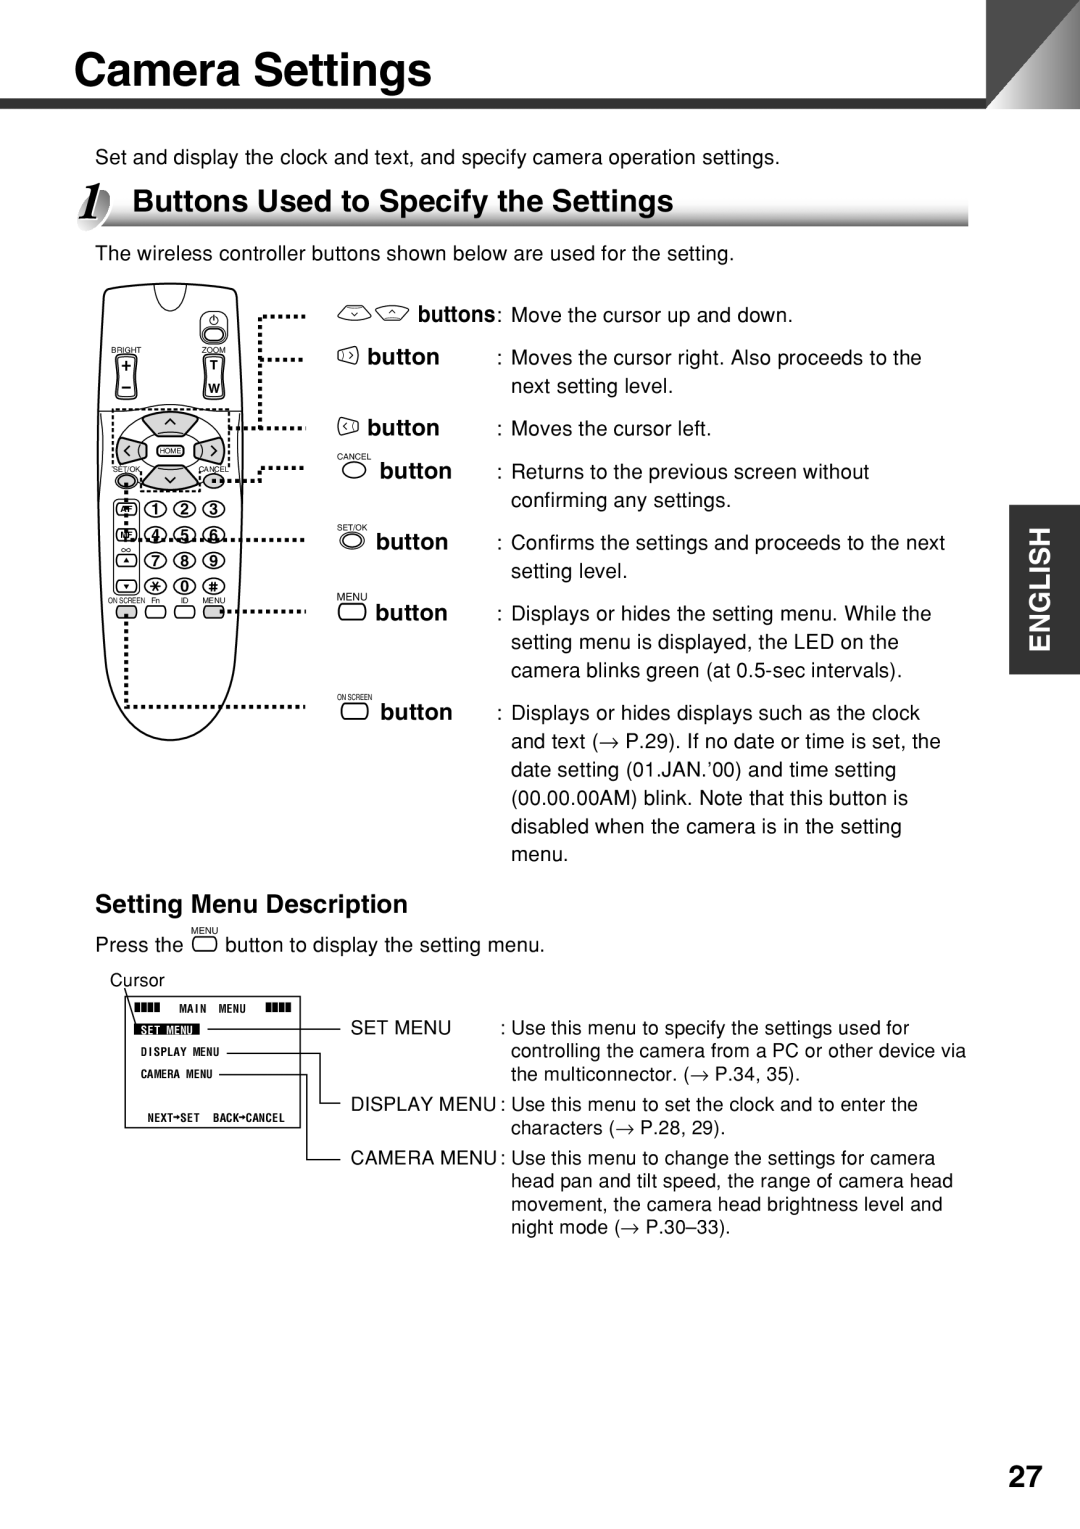
The camera is equipped with comprehensive connectivity options, including both analog and digital interfaces. This makes it compatible with a variety of systems, allowing seamless integration with existing setups. Users can control the VC-C50i remotely via RS-232 or Ethernet connections, providing flexibility in operation and setup. Additionally, the network transmission capability supports streaming over IP, making it suitable for online broadcasting.
Built with durability in mind, the VC-C50i features a compact and robust design ideal for installations in various settings. Its straightforward configuration process ensures that users, regardless of technical expertise, can get the camera up and running quickly. Overall, the Canon VC-C50i stands out as a reliable and efficient choice for anyone seeking professional-grade video performance.

