7. Preparing Espresso
a)Fill the water container (chapter 3),
b)Place one or two espresso cups underneath the porta filter.
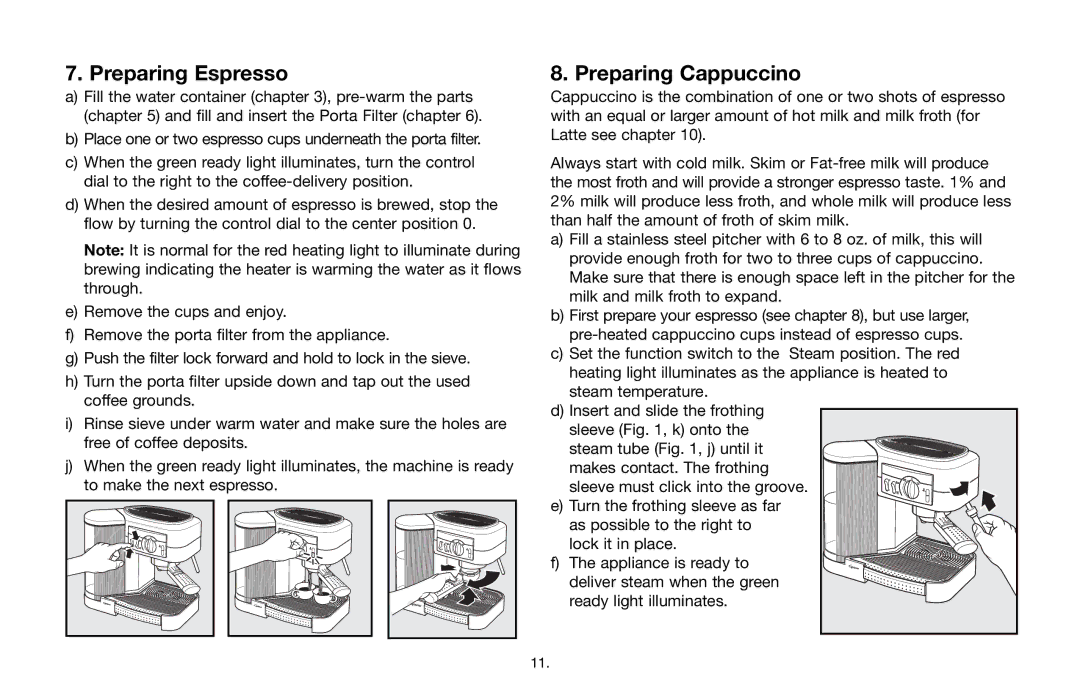
c)When the green ready light illuminates, turn the control dial to the right to the
d)When the desired amount of espresso is brewed, stop the flow by turning the control dial to the center position 0.
Note: It is normal for the red heating light to illuminate during brewing indicating the heater is warming the water as it flows through.
e)Remove the cups and enjoy.
f)Remove the porta filter from the appliance.
g)Push the filter lock forward and hold to lock in the sieve.
h)Turn the porta filter upside down and tap out the used coffee grounds.
i)Rinse sieve under warm water and make sure the holes are free of coffee deposits.
j)When the green ready light illuminates, the machine is ready to make the next espresso.
8. Preparing Cappuccino
Cappuccino is the combination of one or two shots of espresso with an equal or larger amount of hot milk and milk froth (for Latte see chapter 10).
Always start with cold milk. Skim or
a)Fill a stainless steel pitcher with 6 to 8 oz. of milk, this will provide enough froth for two to three cups of cappuccino. Make sure that there is enough space left in the pitcher for the milk and milk froth to expand.
b)First prepare your espresso (see chapter 8), but use larger,
c)Set the function switch to the Steam position. The red heating light illuminates as the appliance is heated to steam temperature.
d)Insert and slide the frothing sleeve (Fig. 1, k) onto the
steam tube (Fig. 1, j) until it makes contact. The frothing sleeve must click into the groove.
e) Turn the frothing sleeve as far as possible to the right to lock it in place.
f) The appliance is ready to deliver steam when the green ready light illuminates.
11.
