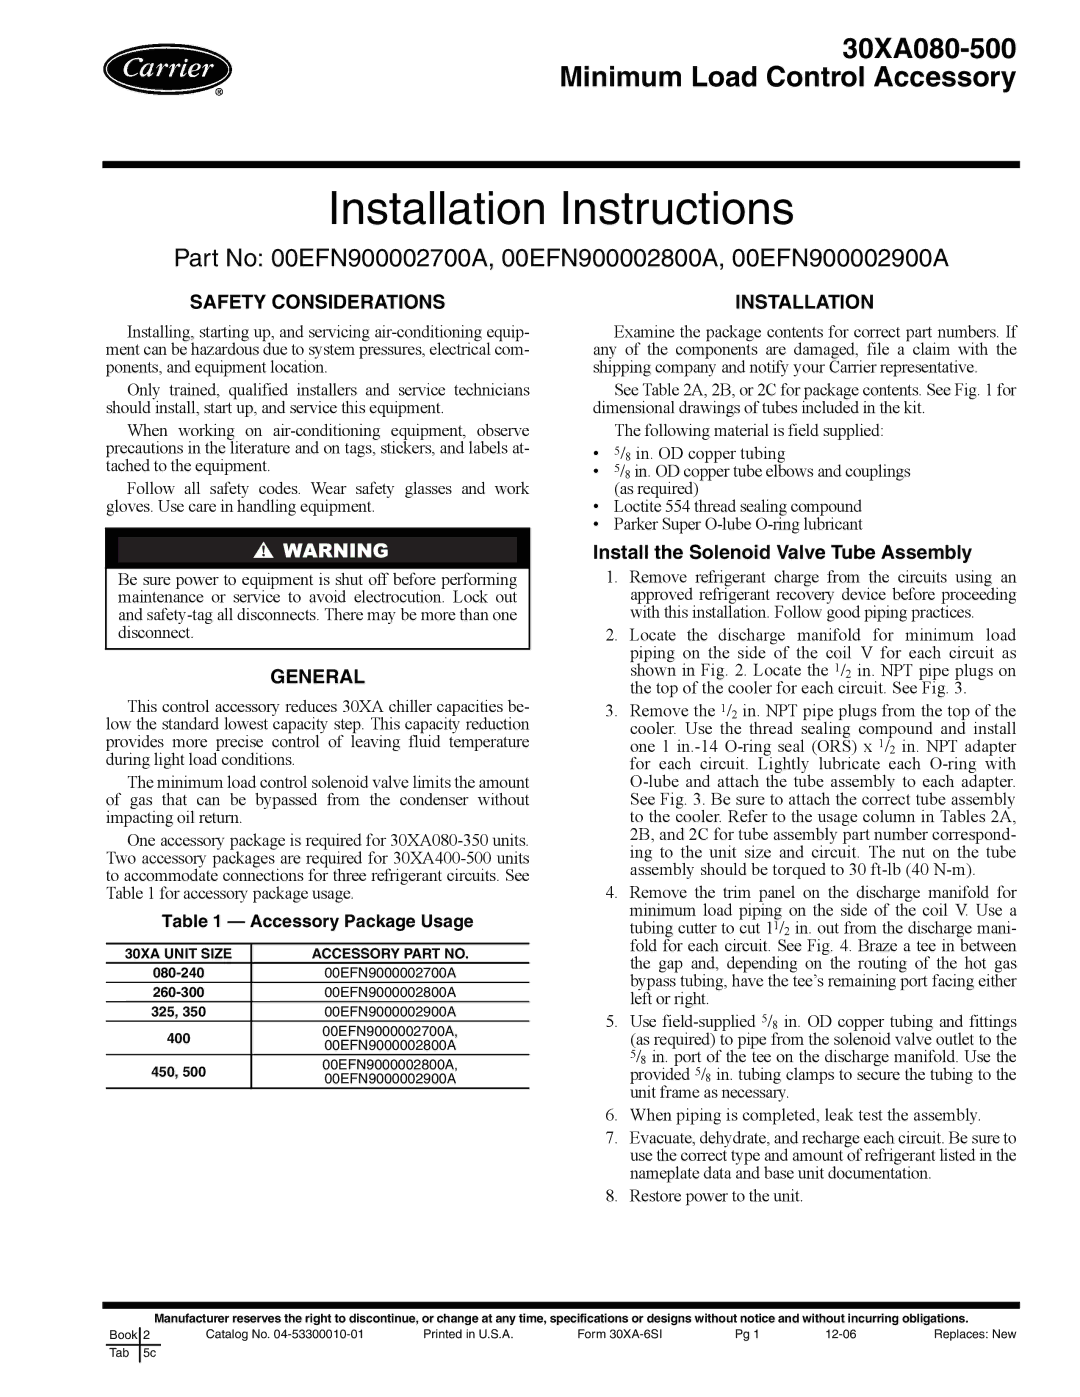
30XA080-500 specifications
The Carrier 30XA080-500 is a sophisticated air-cooled chiller designed for large commercial and industrial applications, renowned for its energy efficiency and reliability. This model is part of Carrier's extensive range of chillers, providing an optimal solution for space cooling needs while supporting sustainability goals.One of the main features of the 30XA080-500 is its advanced scroll compressor technology. This design not only enhances the chiller's efficiency but also ensures quieter operation. The compressors operate with a high efficiency at partial loads, making the 30XA080-500 ideal for buildings with varying cooling demands. The unit also incorporates multiple compressors, allowing for enhanced reliability through redundancy; if one compressor fails, others can maintain performance.
The 30XA080-500 is equipped with high-performance evaporators and condensers which facilitate superior heat exchange. The unit features a fin-and-tube heat exchanger design, optimized for maximum surface area and minimal air resistance, thus enhancing overall performance. Moreover, the chiller is built with microchannel technology, which significantly reduces the refrigerant charge while improving efficiency through better heat transfer.
In terms of controls, the Carrier 30XA080-500 utilizes advanced VFD (Variable Frequency Drive) technology. This allows the system to adjust motor speed to match building loads, further increasing efficiency and reducing energy consumption. The intuitive control options enable users to monitor performance and make adjustments easily, helping optimize system operations in real time.
Another highlight of the 30XA080-500 is its environmentally conscious refrigerant, R-410A, which is known for its low Global Warming Potential (GWP). This makes the unit compliant with current and future environmental regulations, ensuring that users can operate within legal limits while reducing their carbon footprint.
The durability of the 30XA080-500 is enhanced by a rugged construction designed to withstand various weather conditions, making it suitable for outdoor installation. Insulated panels and protective coatings guard against corrosion, extending the lifespan of components and reducing maintenance costs.
In conclusion, the Carrier 30XA080-500 is a high-efficiency chiller that offers advanced technology, reliable performance, and environmental consciousness, making it an excellent choice for modern commercial buildings seeking to balance cooling needs with sustainability and energy savings. Its combination of innovative features positions it as a leader in the chiller market.

