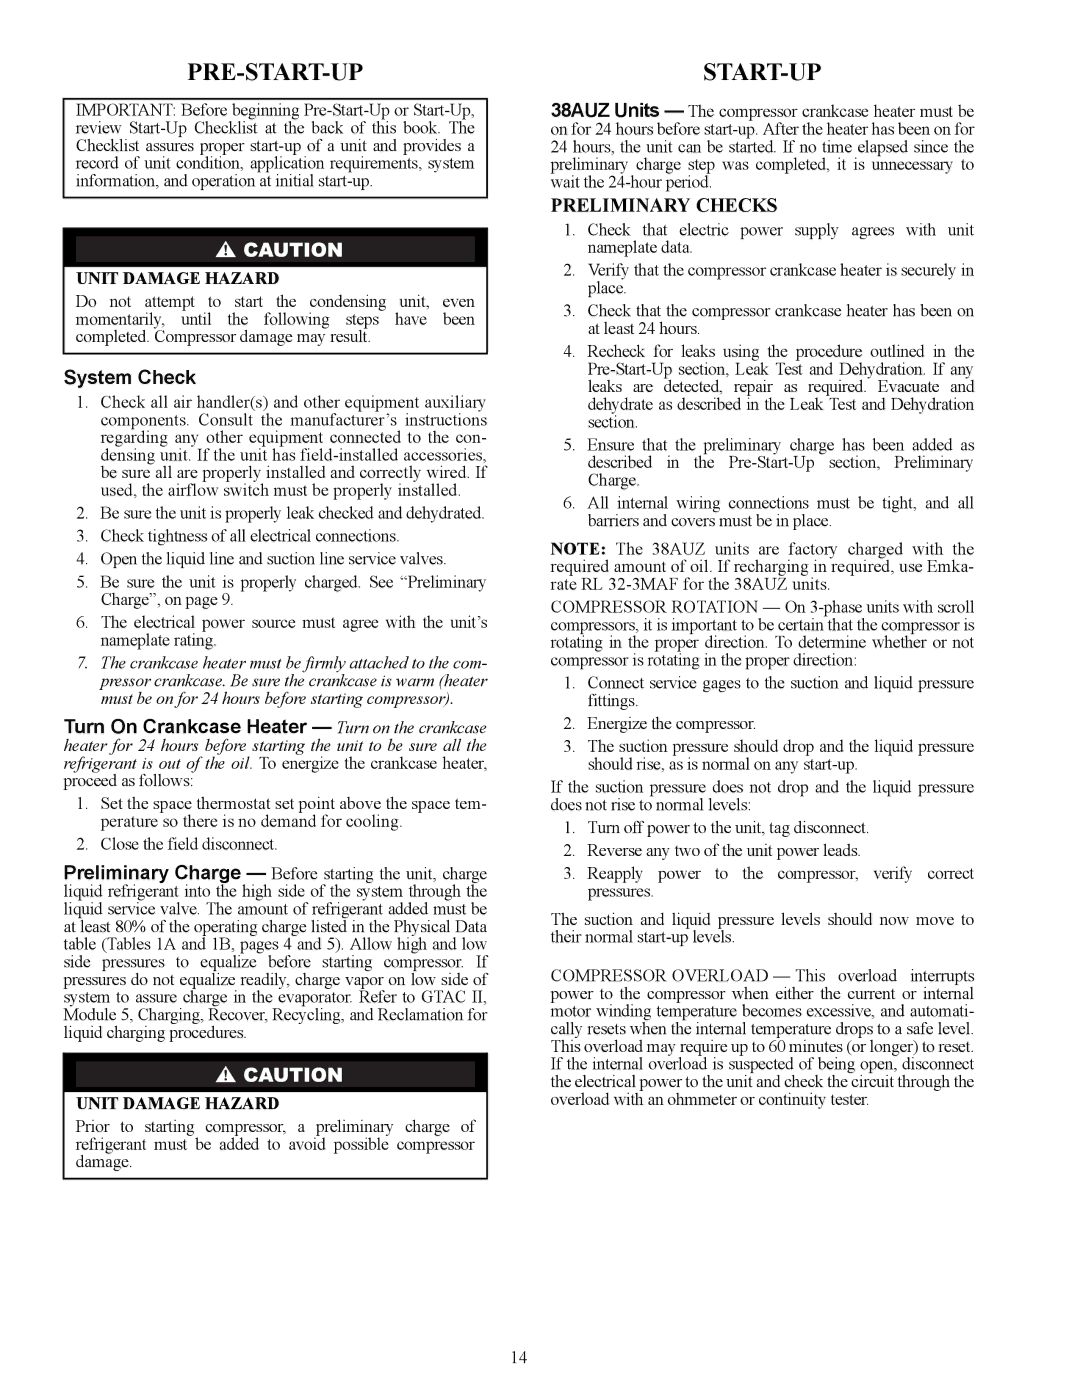
38AUZ specifications
The Carrier 38AUZ series is a line of air conditioning systems specifically designed to deliver optimal comfort and energy efficiency for both residential and commercial applications. Known for their advanced technology and robust performance, these units are ideal for a variety of climate conditions, ensuring consistent cooling and heating throughout the year.One of the standout features of the Carrier 38AUZ series is its inverter technology, which allows the unit to adjust its cooling or heating output in real-time based on the ambient conditions. This results in lower energy consumption and reduced operating costs, making the system not only environmentally friendly but also budget-conscious. By minimizing temperature fluctuations, the inverter design promotes a more stable and comfortable indoor environment.
The 38AUZ units are equipped with high-efficiency compressors that enhance the system’s performance. These compressors operate quietly and efficiently, contributing to a lower noise level that is ideal for residential settings. Furthermore, they come with variable speed fan motors which offer precise airflow control, allowing users to customize their comfort level while ensuring energy savings.
In terms of build quality, the Carrier 38AUZ is constructed using durable materials designed to withstand harsh weather conditions. Its compact design allows for easy installation and maintenance, making it an ideal choice for urban environments where space is limited. Additionally, the system features a corrosion-resistant cabinet that extends its lifespan and maintains aesthetic appeal.
The 38AUZ series also includes a range of advanced control options. Users can benefit from smart technology integration, allowing for remote temperature control and scheduling through mobile devices. This feature not only enhances convenience but also provides users with complete control over their energy usage.
Moreover, the Carrier 38AUZ units come with various capacity options, catering to different space requirements. With a focus on energy efficiency, these systems often meet or exceed industry standards, including SEER ratings, ensuring optimal performance without sacrificing energy consumption.
In summary, the Carrier 38AUZ series is an exemplary choice for anyone looking to invest in a reliable, efficient, and advanced air conditioning system. With its inverter technology, high-efficiency compressors, smart control options, and durable construction, the 38AUZ not only delivers exceptional comfort but also promotes energy conservation, making it a smart choice for sustainable living.

