NOTE: If 2 dashes
Service filter feature
Your thermostat reminds you when it’s time to change or clean your filter by displaying the SERVICE FILTER indicator.
1.Press the RESET FILTER button after you have changed or cleaned your filter to restart the timer.
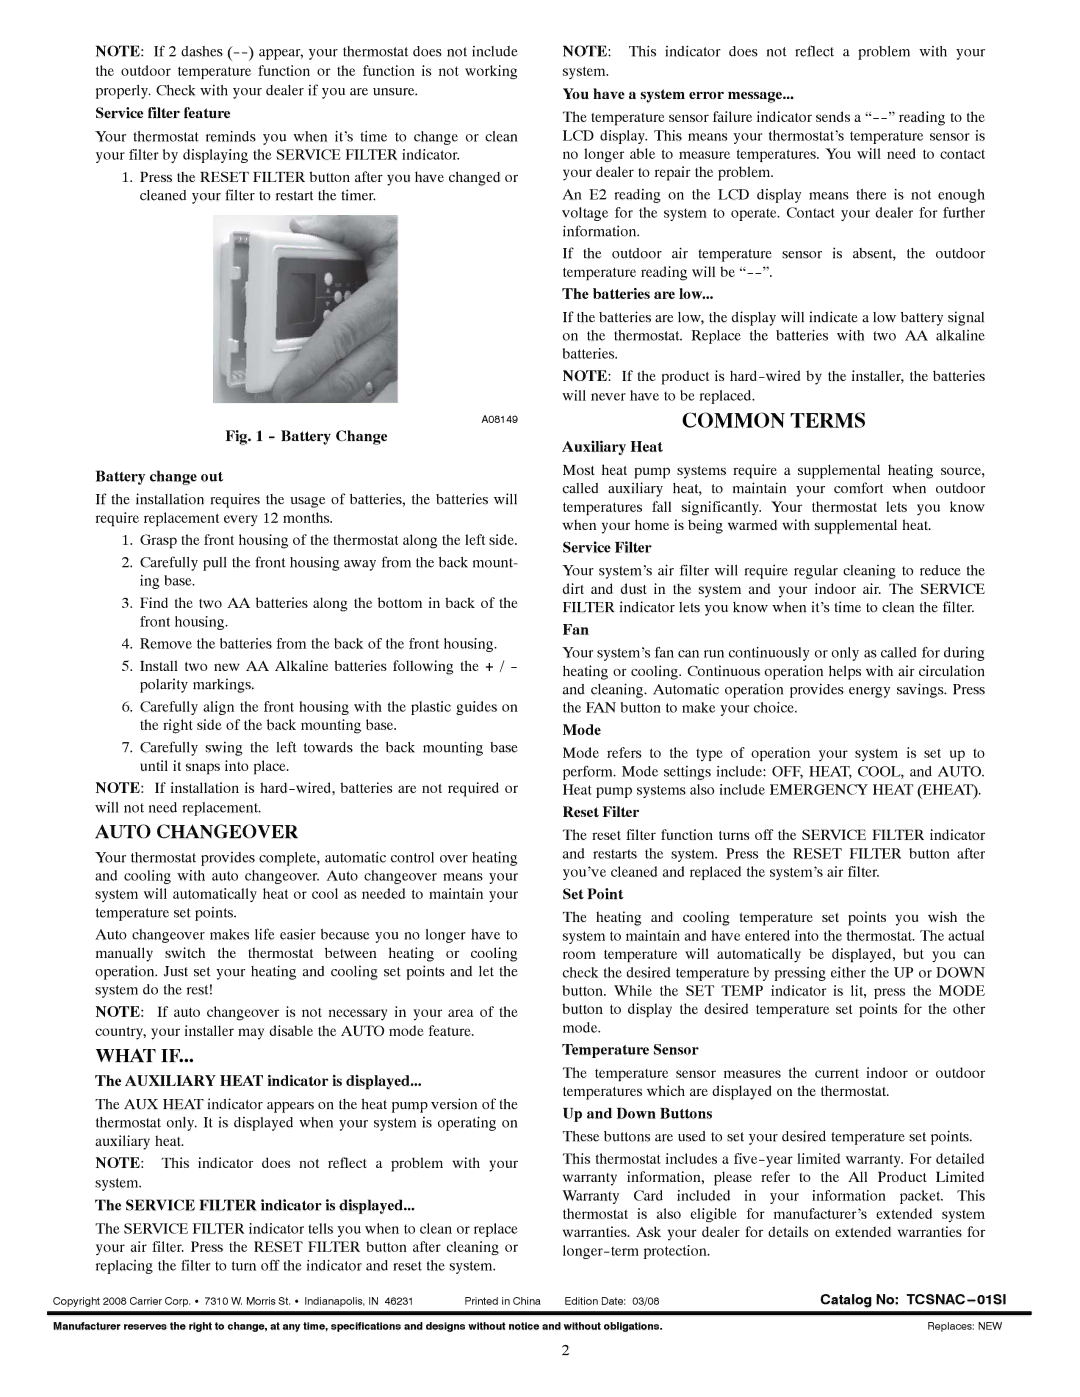
A08149
Fig. 1 - Battery Change
NOTE: This indicator does not reflect a problem with your system.
You have a system error message...
The temperature sensor failure indicator sends a
An E2 reading on the LCD display means there is not enough voltage for the system to operate. Contact your dealer for further information.
If the outdoor air temperature sensor is absent, the outdoor temperature reading will be
The batteries are low...
If the batteries are low, the display will indicate a low battery signal on the thermostat. Replace the batteries with two AA alkaline batteries.
NOTE: If the product is
COMMON TERMS
Auxiliary Heat
Battery change out
If the installation requires the usage of batteries, the batteries will require replacement every 12 months.
1.Grasp the front housing of the thermostat along the left side.
2.Carefully pull the front housing away from the back mount- ing base.
3.Find the two AA batteries along the bottom in back of the front housing.
4.Remove the batteries from the back of the front housing.
5.Install two new AA Alkaline batteries following the + / - polarity markings.
6.Carefully align the front housing with the plastic guides on the right side of the back mounting base.
7.Carefully swing the left towards the back mounting base until it snaps into place.
NOTE: If installation is
AUTO CHANGEOVER
Your thermostat provides complete, automatic control over heating and cooling with auto changeover. Auto changeover means your system will automatically heat or cool as needed to maintain your temperature set points.
Auto changeover makes life easier because you no longer have to manually switch the thermostat between heating or cooling operation. Just set your heating and cooling set points and let the system do the rest!
NOTE: If auto changeover is not necessary in your area of the country, your installer may disable the AUTO mode feature.
WHAT IF...
The AUXILIARY HEAT indicator is displayed...
The AUX HEAT indicator appears on the heat pump version of the thermostat only. It is displayed when your system is operating on auxiliary heat.
NOTE: This indicator does not reflect a problem with your system.
The SERVICE FILTER indicator is displayed...
The SERVICE FILTER indicator tells you when to clean or replace your air filter. Press the RESET FILTER button after cleaning or replacing the filter to turn off the indicator and reset the system.
Most heat pump systems require a supplemental heating source, called auxiliary heat, to maintain your comfort when outdoor temperatures fall significantly. Your thermostat lets you know when your home is being warmed with supplemental heat.
Service Filter
Your system’s air filter will require regular cleaning to reduce the dirt and dust in the system and your indoor air. The SERVICE FILTER indicator lets you know when it’s time to clean the filter.
Fan
Your system’s fan can run continuously or only as called for during heating or cooling. Continuous operation helps with air circulation and cleaning. Automatic operation provides energy savings. Press the FAN button to make your choice.
Mode
Mode refers to the type of operation your system is set up to perform. Mode settings include: OFF, HEAT, COOL, and AUTO. Heat pump systems also include EMERGENCY HEAT (EHEAT).
Reset Filter
The reset filter function turns off the SERVICE FILTER indicator and restarts the system. Press the RESET FILTER button after you’ve cleaned and replaced the system’s air filter.
Set Point
The heating and cooling temperature set points you wish the system to maintain and have entered into the thermostat. The actual room temperature will automatically be displayed, but you can check the desired temperature by pressing either the UP or DOWN button. While the SET TEMP indicator is lit, press the MODE button to display the desired temperature set points for the other mode.
Temperature Sensor
The temperature sensor measures the current indoor or outdoor temperatures which are displayed on the thermostat.
Up and Down Buttons
These buttons are used to set your desired temperature set points.
This thermostat includes a
Copyright 2008 Carrier Corp. S 7310 W. Morris St. S Indianapolis, IN 46231 | Printed in China | Edition Date: 03/08 | Catalog No: |
|
| ||
Manufacturer reserves the right to change, at any time, specifications and designs without notice and without obligations. | Replaces: NEW | ||
2
