Deleting Snapshots and Movies
If memory becomes full, you can delete snapshots and movies you no longer need in order to free up storage and record more images.
 IMPORTANT!
•Remember that a file (image) delete operation cannot be undone.
•For information about images recorded using continuous shutter (CS), see page
• The delete menu will not appear if you press [2] (  ) while “On” is selected for the camera’s “Ü Disabled” setting (page 165). You can delete files only while “Off” is selected for “Ü Disabled”.

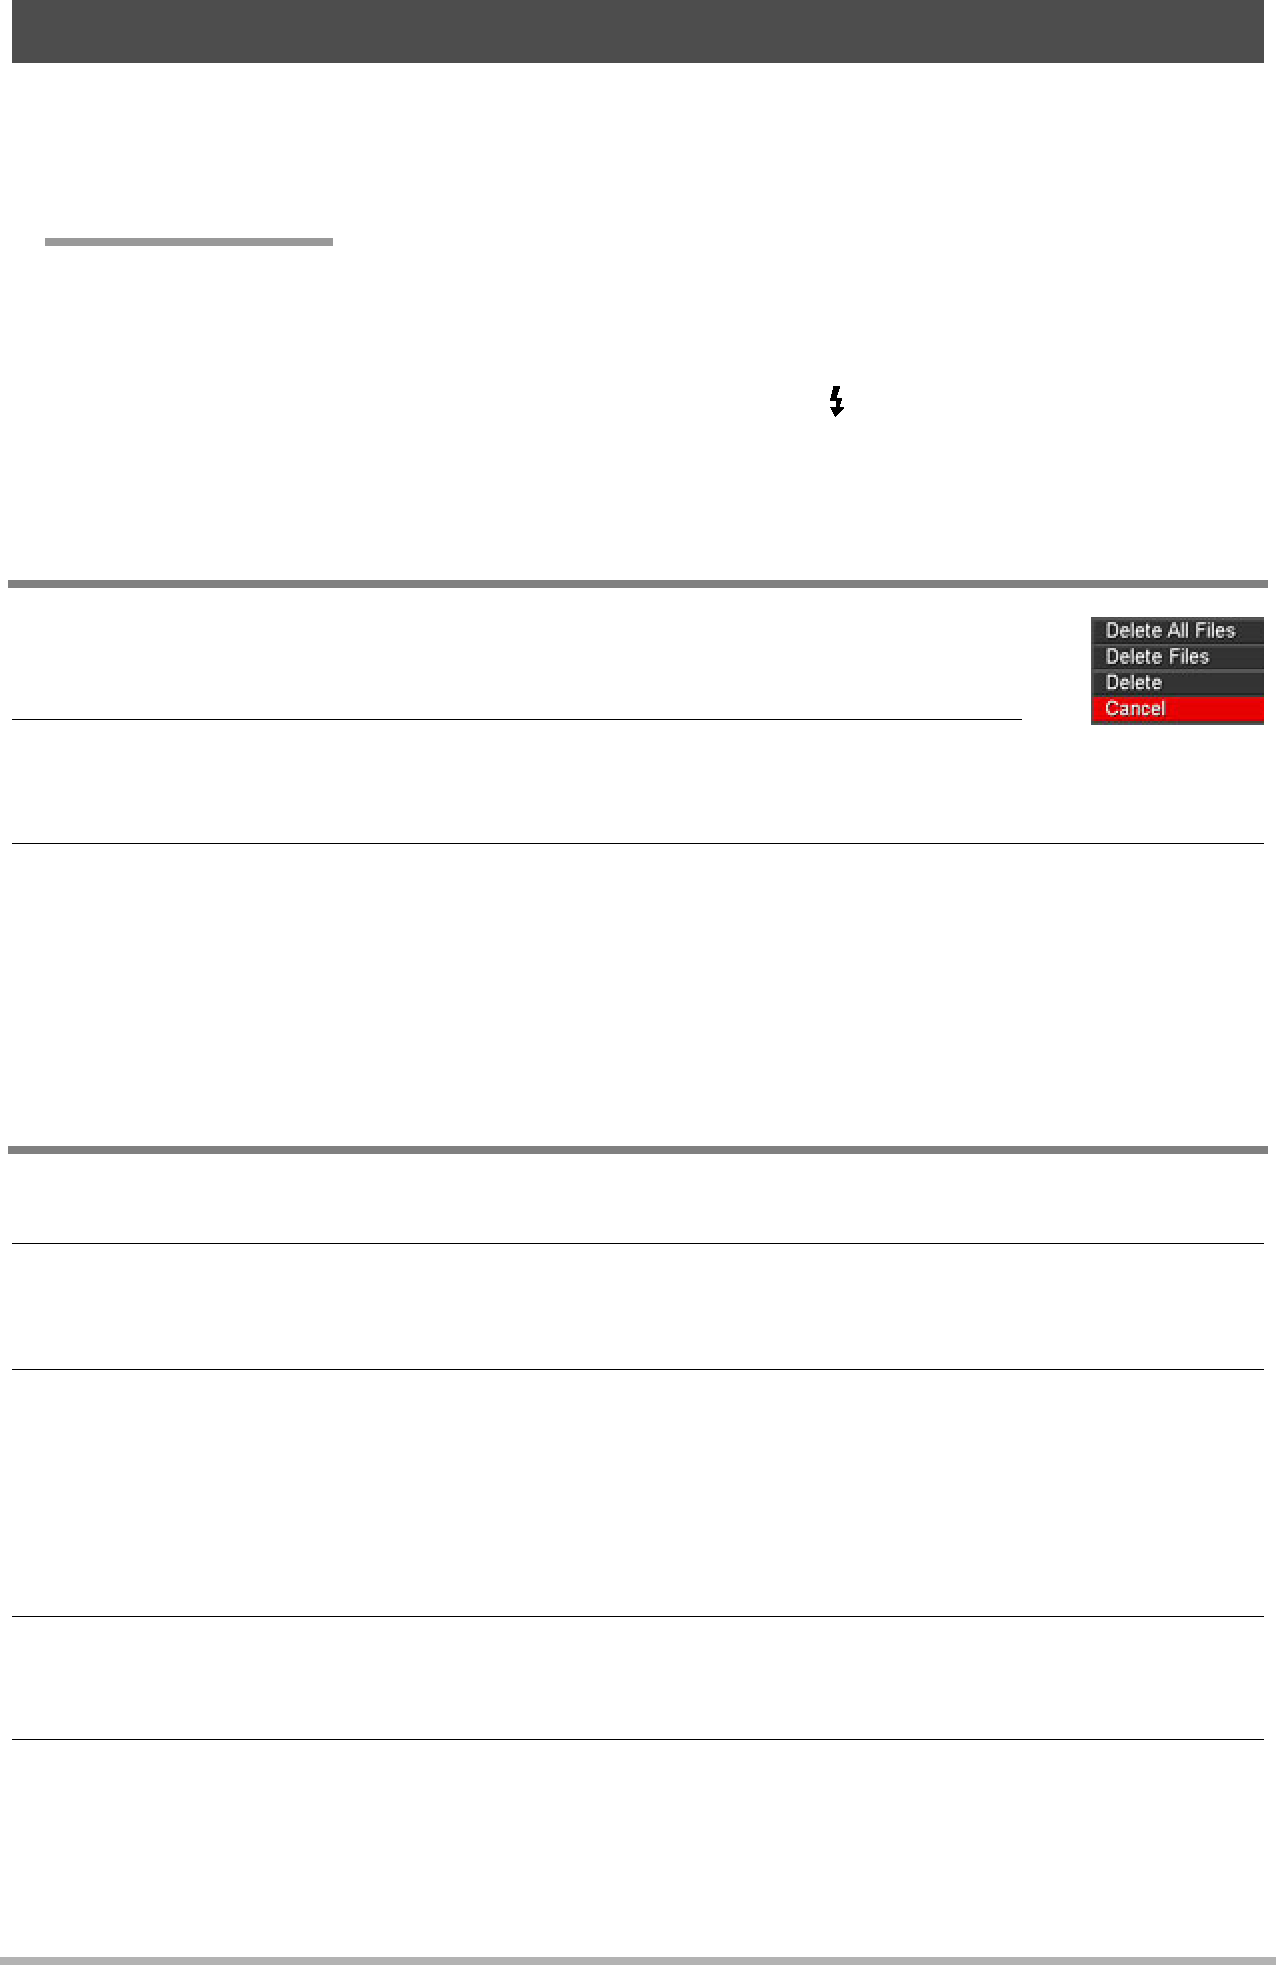
 To delete a single file
1.Press [p] (PLAY) to enter the PLAY mode and then press [2] ( 
 ).
).
2.Use [4] and [6] to scroll through the files until the one you want to delete is displayed.
3.Use [8] and [2] to select “Delete” and then press [SET].
•To delete other files, repeat steps 2 and 3.
•To exit the delete operation, press [MENU].
•If a CS group (page 106) is displayed when you perform the above procedure, all of the images in the currently displayed CS group will be deleted.

 To delete specific files
1.Press [p] (PLAY) to enter the PLAY mode and then press [2] ( 
 ).
).
2.Use [8] and [2] to select “Delete Files” and then press [SET].
•This displays a file selection screen.
3.Use [8], [2], [4], and [6] to move the selection boundary to the file you want to delete, and then press [SET].
•This will select the check box of the currently selected file.
•You can enlarge the selected image before deleting it by sliding the zoom controller towards z ([).
4.Repeat step 3 to select other files, if you want. After you are finished selecting files, press [MENU].
5.Use [8] and [2] to select “Yes” and then press [SET].
•This deletes the files you selected.
•To cancel the delete operation, select “No” in step 5 and then press [SET].
34 | Quick Start Basics |
|