Snapshot Tutorial
Selecting the Recording Mode
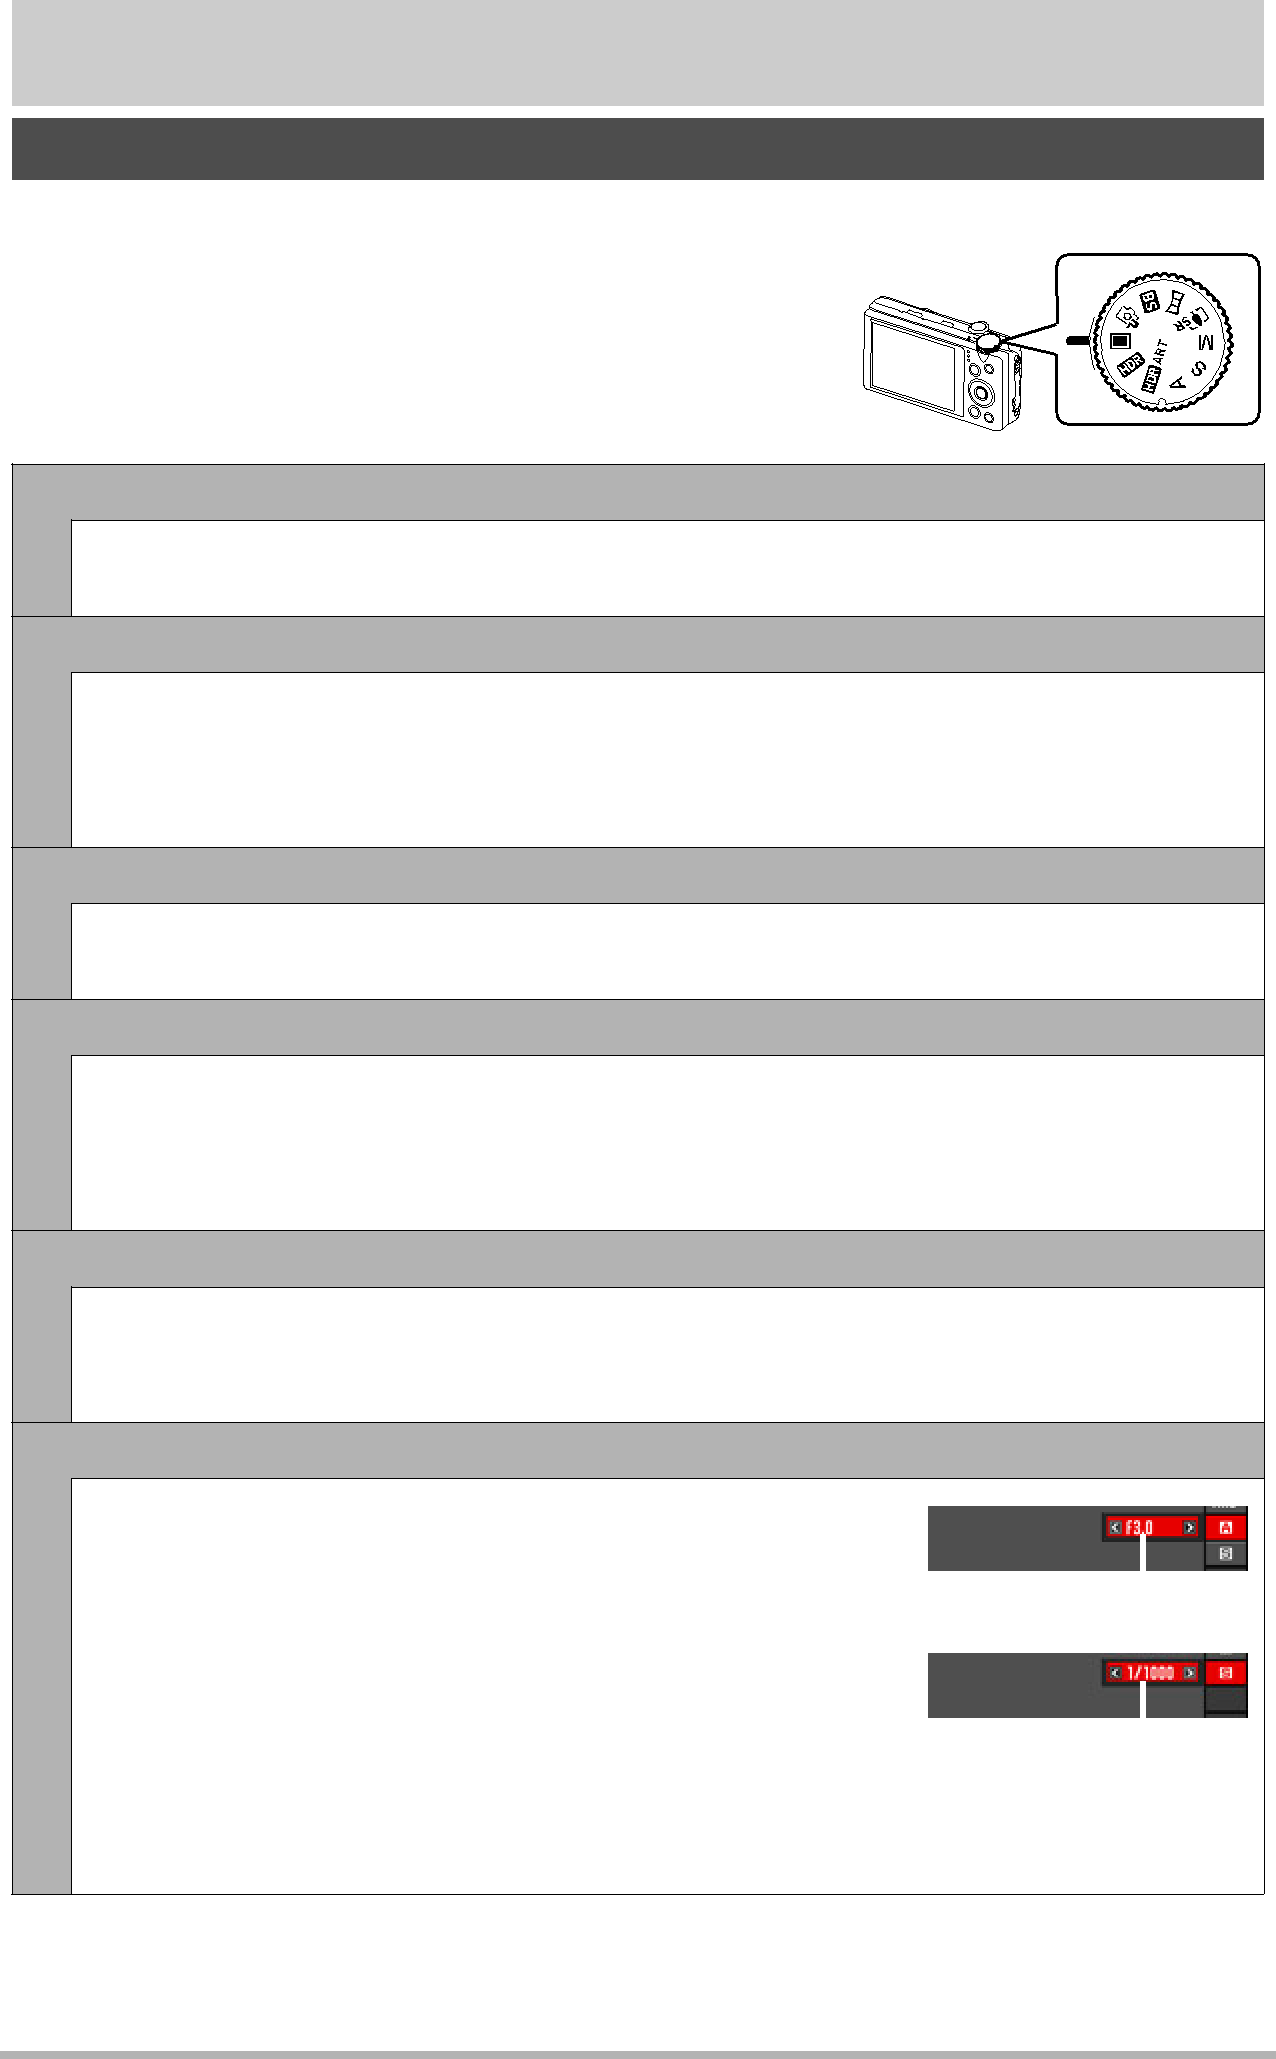
Your camera has a variety of different recording | Mode dial |
modes. Before recording an image, rotate the mode |
|
dial to select the recording mode that suits the type of |
|
image you are trying to record. |
|
tAuto
Standard Auto recording mode. This is the mode you normally should use (page 29).
ŸPremium Auto PRO
With Premium Auto PRO recording, the camera automatically determines whether you are shooting a subject or scenery, and other conditions. Premium Auto PRO recording delivers higher image quality than standard Auto recording (page 29).
bBEST SHOT
Simply select one of a collection of
sSlide Panorama
With Slide Panorama, you move the camera to compose and record multiple images, which are then combined to a panorama. This feature lets you shoot a panorama of up to 360 degrees, which is dramatically greater than the physical capabilities of the lens (page 64).
jMulti SR Zoom
This feature uses super resolution technology and multiple Continuous Shutter (CS) images to expand the zoom range for overall images of higher quality and clarity (page 64).
M M (Manual Exposure) mode
This mode gives you total control over aperture and |
|
| |
shutter speed settings. |
|
| |
|
| ||
1Press [SET] to open the control panel. |
|
| |
2Use [8] and [2] to select the third control panel | Aperture value | ||
option from the bottom (aperture). |
|
| |
3Use [4] and [6] to change the aperture setting. |
|
| |
4Use [8] and [2] to select the second control panel |
|
| |
Shutter speed | |||
option from the bottom (shutter speed). | |||
|
| ||
5Use [4] and [6] to change the shutter speed |
|
| |
setting. |
|
| |
37 | Snapshot Tutorial |
|