Fig.3
Fig.4
Fig.5
Fig.6
How to Use as a Cyclocomputer
|
|
|
|
|
|
|
|
|
|
|
| 1. Main Unit Preparation | E |
|
|
|
|
|
|
|
|
|
|
|
| The following must be completed before operation. |
|
|
|
|
|
|
|
|
|
|
|
|
|
|
|
|
|
|
|
|
|
|
|
|
| L |
| In order to get the accurate value, measure the wheel circumference (L) actually from the |
|
|
|
|
|
|
|
|
|
|
|
|
| tire of your bicycle (Fig.3). Put a mark on the tire tread, and ride one full wheel revolution; |
|
|
|
|
|
|
|
|
|
|
|
|
| then mark the ground at the end of one revolution and measure the distance between the |
|
|
|
|
|
|
|
|
|
|
|
|
| two marks. Or, "Setting Values Cross Reference Table" (page 19) can tell you the approxi- |
|
|
|
|
|
|
|
|
|
|
|
|
| mate wheel circumference according to the tire size. |
|
|
|
|
|
|
|
|
|
|
|
|
|
|
|
|
|
|
|
|
|
|
|
|
|
|
| First, press the AC button; all displays illuminate and then "km/h" symbol appears. With |
|
|
|
|
|
|
|
|
|
|
|
|
| each press of the right button, "km/h" and "mile/h" appears alternately. Select the desired |
|
|
|
|
|
|
|
|
|
|
|
|
| scale and press the Set button to fix the scale. |
|
|
|
|
|
|
|
|
|
|
|
|
|
|
|
|
|
|
|
|
|
|
|
|
|
|
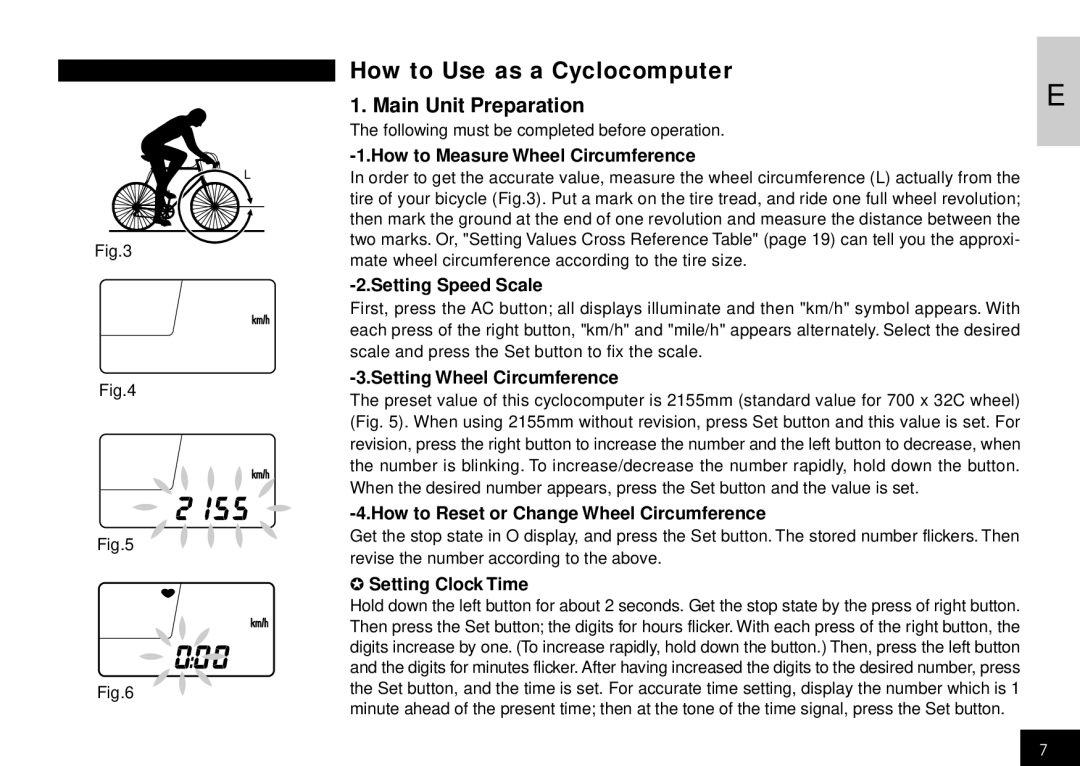
| The preset value of this cyclocomputer is 2155mm (standard value for 700 x 32C wheel) |
|
|
|
|
|
|
|
|
|
|
|
|
| (Fig. 5). When using 2155mm without revision, press Set button and this value is set. For |
|
|
|
|
|
|
|
|
|
|
|
|
| revision, press the right button to increase the number and the left button to decrease, when |
|
|
|
|
|
|
|
|
|
|
|
|
| the number is blinking. To increase/decrease the number rapidly, hold down the button. |
|
|
|
|
|
|
|
|
|
|
|
|
|
| |
|
|
|
|
|
|
|
|
|
|
|
| When the desired number appears, press the Set button and the value is set. |
|
|
|
|
|
|
|
|
|
|
|
|
|
| |
|
|
|
|
|
|
|
|
|
|
|
|
|
|
|
|
|
|
|
|
|
|
|
|
|
|
| |
|
|
|
|
|
|
|
|
|
|
|
| Get the stop state in O display, and press the Set button. The stored number flickers. Then |
|
|
|
|
|
|
|
|
|
|
|
|
| revise the number according to the above. |
|
|
|
|
|
|
|
|
|
|
|
|
| ✪ Setting Clock Time |
|
|
|
|
|
|
|
|
|
|
|
|
| Hold down the left button for about 2 seconds. Get the stop state by the press of right button. |
|
|
|
|
|
|
|
|
|
|
|
|
| Then press the Set button; the digits for hours flicker. With each press of the right button, the |
|
|
|
|
|
|
|
|
|
|
|
|
| digits increase by one. (To increase rapidly, hold down the button.) Then, press the left button |
|
|
|
|
|
|
|
|
|
|
|
|
| and the digits for minutes flicker. After having increased the digits to the desired number, press |
|
|
|
|
|
|
|
|
|
|
|
|
| the Set button, and the time is set. For accurate time setting, display the number which is 1 |
|
|
|
|
|
|
|
|
|
|
|
|
| minute ahead of the present time; then at the tone of the time signal, press the Set button. |
|
7