Slide
Front
Fig.15
Fig.16
Fig.17
Mounting Main Unit
Lever | Slide the main unit onto the bracket from front until it clicks into position. The contacts will | E | |
|
| ||
|
| automatically connect. To remove the unit, pull it off forward while pushing down the lever |
|
|
| (Fig. 15). |
|
Test
Mount the main unit. Spin the wheel to check if the sensor pulse symbol ( ![]()
![]()
![]()
![]() ) flashes. If not, adjust the relative positions of the magnet and sensor following the instructions.
) flashes. If not, adjust the relative positions of the magnet and sensor following the instructions.
This completes the mounting process.
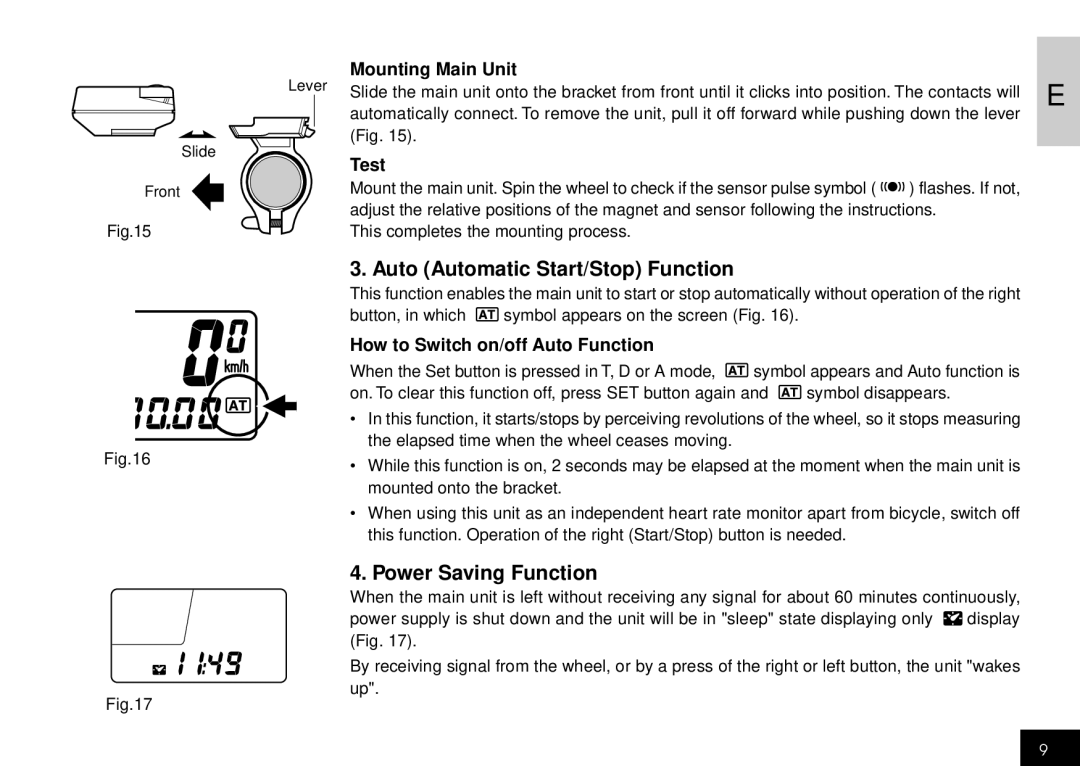
3. Auto (Automatic Start/Stop) Function
This function enables the main unit to start or stop automatically without operation of the right
button, in which ![]() symbol appears on the screen (Fig. 16).
symbol appears on the screen (Fig. 16).
How to Switch on/off Auto Function
When the Set button is pressed in T, D or A mode, ![]() symbol appears and Auto function is
symbol appears and Auto function is
on. To clear this function off, press SET button again and ![]() symbol disappears.
symbol disappears.
•In this function, it starts/stops by perceiving revolutions of the wheel, so it stops measuring the elapsed time when the wheel ceases moving.
•While this function is on, 2 seconds may be elapsed at the moment when the main unit is mounted onto the bracket.
•When using this unit as an independent heart rate monitor apart from bicycle, switch off this function. Operation of the right (Start/Stop) button is needed.
4. Power Saving Function
When the main unit is left without receiving any signal for about 60 minutes continuously,
power supply is shut down and the unit will be in "sleep" state displaying only ![]() display (Fig. 17).
display (Fig. 17).
By receiving signal from the wheel, or by a press of the right or left button, the unit "wakes up".
9