Fitting Out Your Appliance
1. Side racks (E on fig. 4)
The side racks allow five different cooking heights for the drip tray and shelf.
When cooking using the grill functions and rotisserie, use the drip tray or shelf at height 5 to collect the juices from the food.
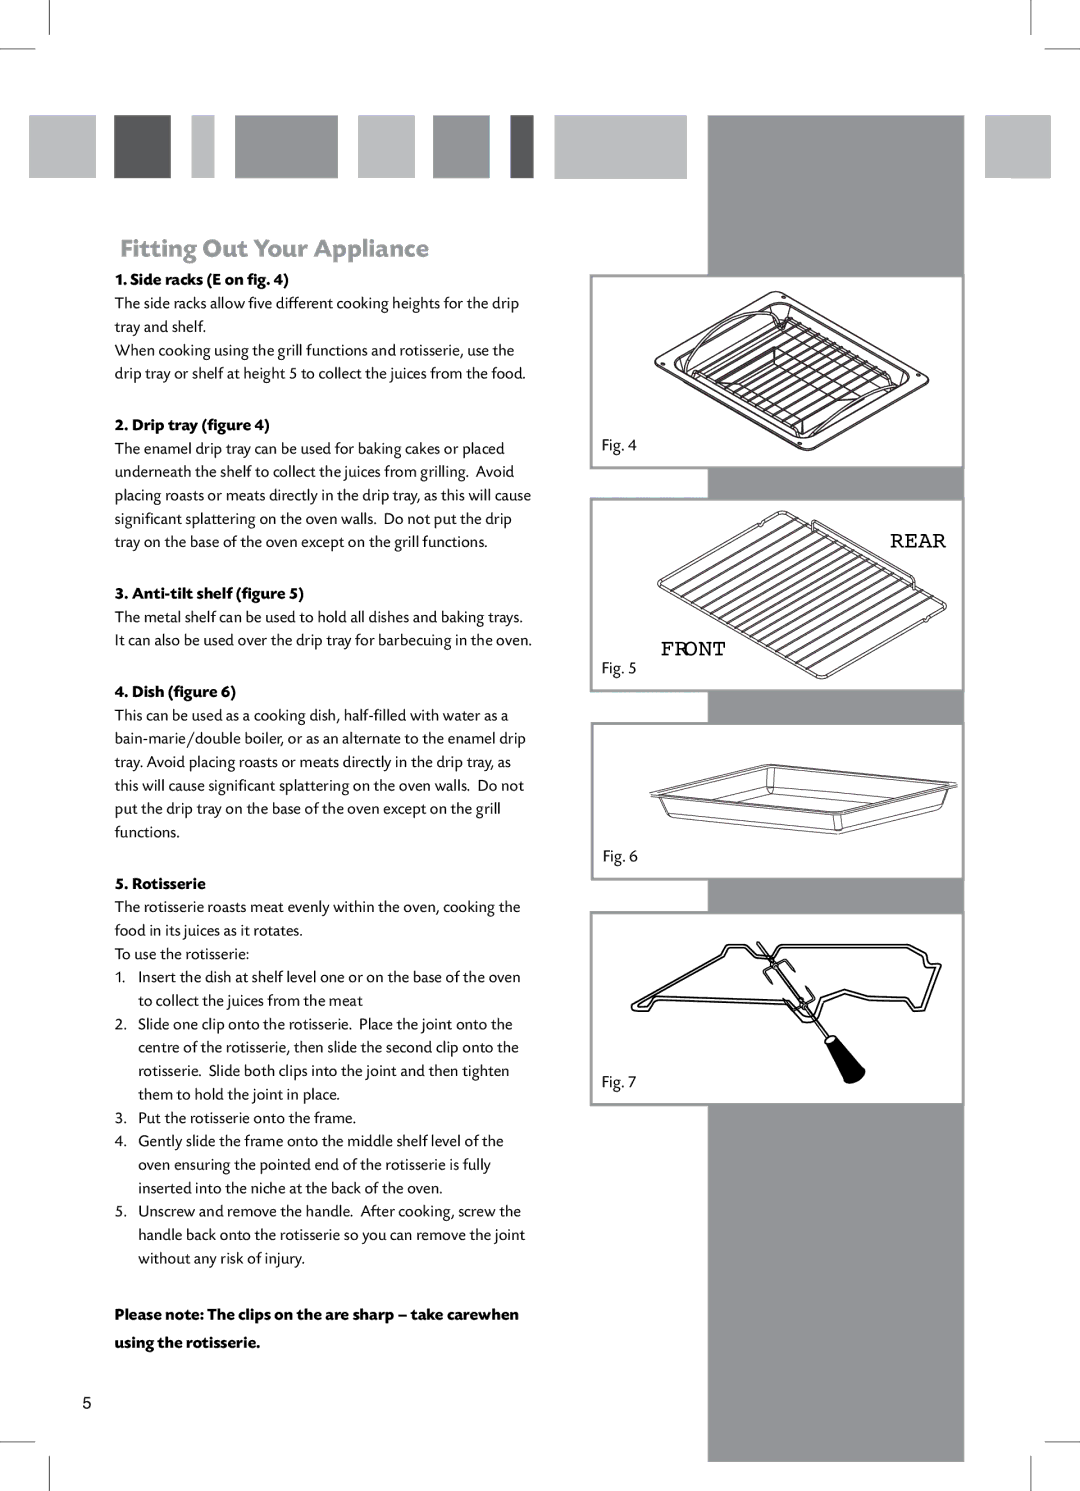
2. Drip tray (figure 4)
The enamel drip tray can be used for baking cakes or placed underneath the shelf to collect the juices from grilling. Avoid placing roasts or meats directly in the drip tray, as this will cause significant splattering on the oven walls. Do not put the drip tray on the base of the oven except on the grill functions.
3. Anti-tilt shelf (figure 5)
The metal shelf can be used to hold all dishes and baking trays. It can also be used over the drip tray for barbecuing in the oven.
4. Dish (figure 6)
This can be used as a cooking dish,
5. Rotisserie
The rotisserie roasts meat evenly within the oven, cooking the food in its juices as it rotates.
To use the rotisserie:
1.Insert the dish at shelf level one or on the base of the oven to collect the juices from the meat
2.Slide one clip onto the rotisserie. Place the joint onto the centre of the rotisserie, then slide the second clip onto the rotisserie. Slide both clips into the joint and then tighten them to hold the joint in place.
3.Put the rotisserie onto the frame.
4.Gently slide the frame onto the middle shelf level of the oven ensuring the pointed end of the rotisserie is fully inserted into the niche at the back of the oven.
5.Unscrew and remove the handle. After cooking, screw the handle back onto the rotisserie so you can remove the joint without any risk of injury.
Please note: The clips on the are sharp – take carewhen using the rotisserie.
Fig. 4
REAR |
FRONT |
Fig. 5 |
Fig. 6 |
Fig. 7 |
5