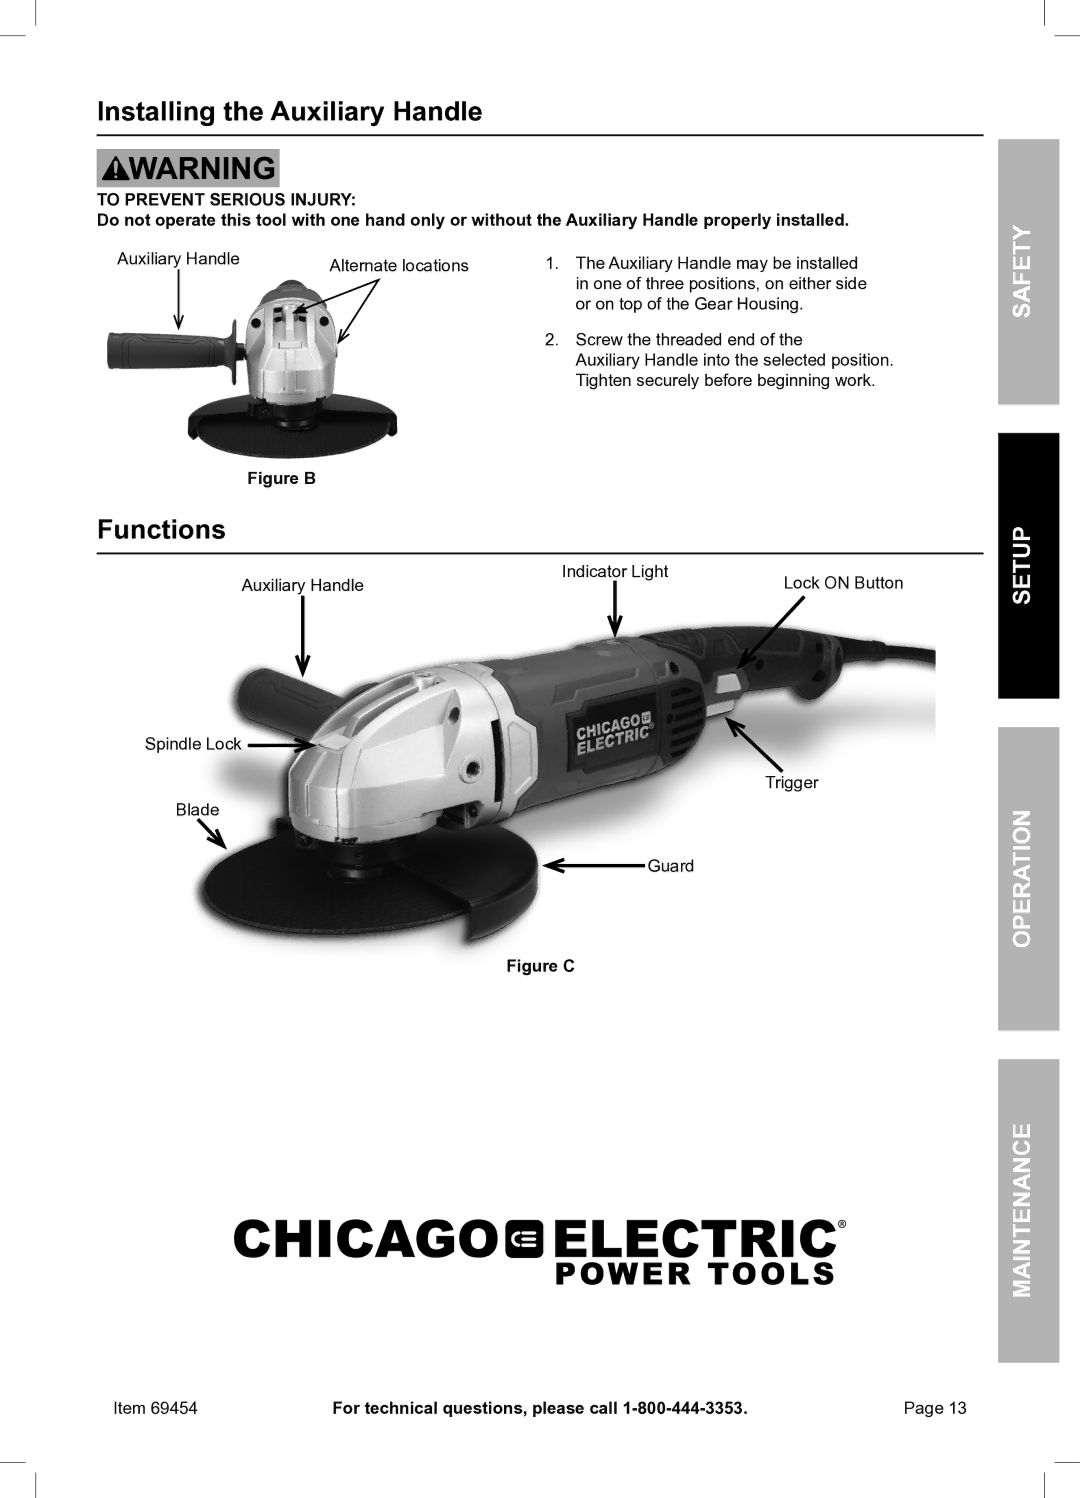
Installing the Auxiliary Handle
TO PREVENT SERIOUS INJURY:
Do not operate this tool with one hand only or without the Auxiliary Handle properly installed.
Auxiliary | Handle | Alternate locations | 1. | The Auxiliary Handle may be installed |
|
|
|
| in one of three positions, on either side |
|
|
|
| or on top of the Gear Housing. |
|
|
| 2. | Screw the threaded end of the |
|
|
| ||
|
|
|
| Auxiliary Handle into the selected position. |
|
|
|
| Tighten securely before beginning work. |
Figure B
Functions
Auxiliary Handle | Indicator Light | Lock ON Button | ||
|
| |||
|
|
|
|
|
|
|
|
|
|
Spindle Lock ![]()
Trigger
Blade
Guard
Figure C
Safety
Setup
Operation
Maintenance
Item 69454 | For technical questions, please call | Page 13 |