MSA Series, MTA Series specifications
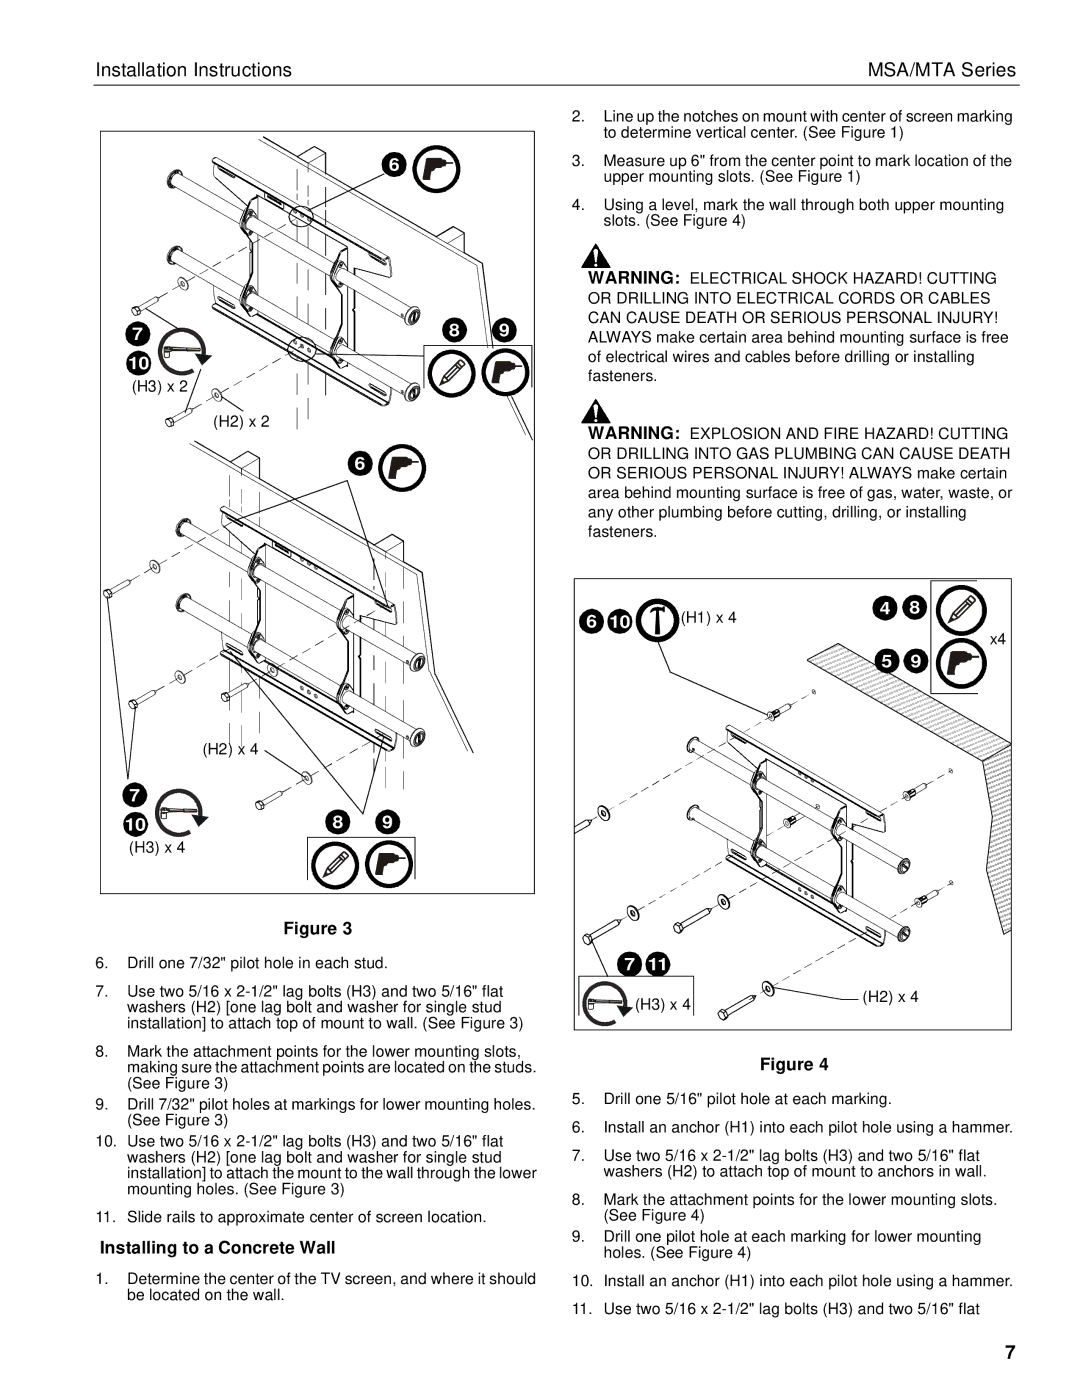
Chief Manufacturing is a renowned leader in the AV mounting industry, offering a wide range of products designed to enhance the installation and usage of audiovisual equipment. Among their most notable offerings are the MTA and MSA Series, which showcase innovative designs, advanced technologies, and user-friendly features tailored to meet the diverse needs of professionals in various sectors.The MTA Series, known for its versatility, is primarily designed for mounting displays in a variety of commercial environments. One of the standout features of the MTA Series is its robust construction, which provides exceptional stability and support for large screens, ensuring that they remain securely in place even in high-traffic areas. The series is equipped with easy-to-use adjustment mechanisms that allow for precise positioning of the display, making it simple to achieve the optimal viewing angle. This adaptability is further enhanced by the series’ compatibility with various mounting surfaces, including walls, ceilings, and even mobile carts.
Similarly, the MSA Series is designed with a focus on seamless integration and advanced technology. This series is distinguished by its innovative Quick Release system, which enables fast and efficient installation and maintenance of displays. Such functionality is especially beneficial in dynamic environments where AV equipment may need to be changed or serviced frequently. The MSA Series also features cable management solutions that help keep installations tidy and professional-looking by concealing unsightly wires and connectors.
Both series benefit from advanced technologies that prioritize user experience and safety. For instance, the incorporation of tilt and swivel capabilities allows users to customize their display orientation easily. Additionally, the MTA and MSA Series come with built-in safety features, such as locking mechanisms, to prevent unwanted movement of the mounted equipment.
In terms of aesthetics, both series are designed with a sleek and modern look that complements contemporary installations. This attention to design ensures that the mounted displays not only function well but also enhance the overall visual appeal of the environment in which they are placed.
In conclusion, Chief Manufacturing's MTA and MSA Series stand out in the highly competitive market of AV mounts. By combining strong construction, ease of installation, advanced technologies, and attractive design, these series cater to the needs of various commercial and professional applications. Whether for conferencing, education, or public displays, the MTA and MSA Series are designed to deliver reliability and performance, making them indispensable tools for AV professionals.

