RLT1 | Installation Instructions |
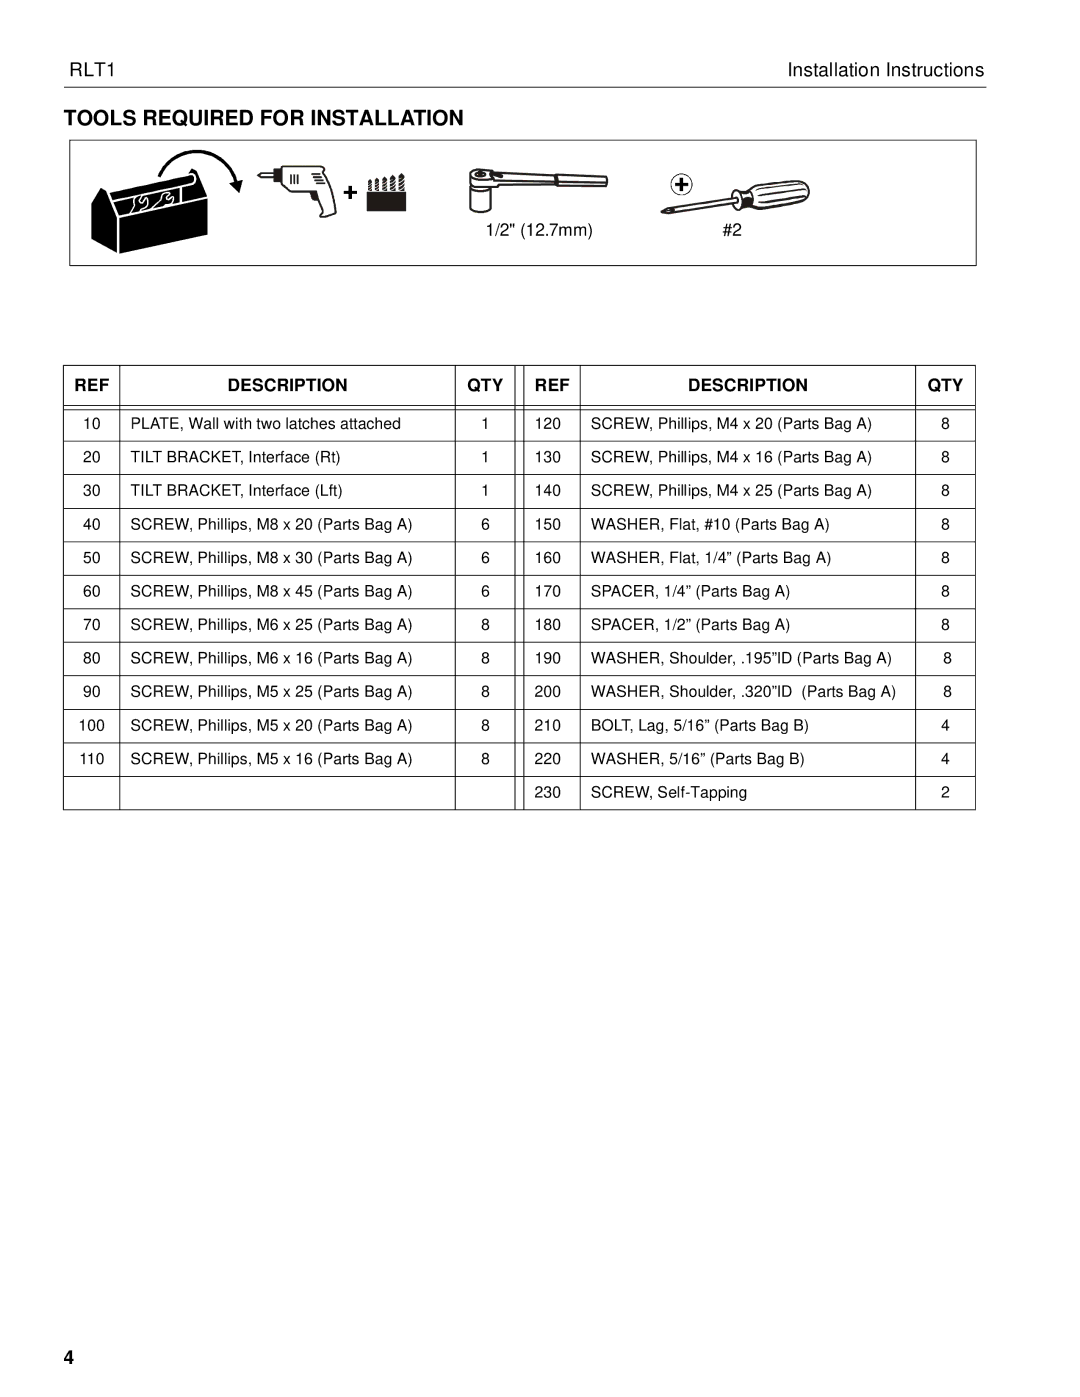
TOOLS REQUIRED FOR INSTALLATION
|
| 1/2" (12.7mm) | #2 |
|
| ||
|
| ||
|
|
|
|
REF | DESCRIPTION | QTY |
| REF | DESCRIPTION | QTY |
|
|
|
|
|
|
|
|
|
|
|
|
|
|
10 | PLATE, Wall with two latches attached | 1 |
| 120 | SCREW, Phillips, M4 x 20 (Parts Bag A) | 8 |
|
|
|
|
|
|
|
20 | TILT BRACKET, Interface (Rt) | 1 |
| 130 | SCREW, Phillips, M4 x 16 (Parts Bag A) | 8 |
|
|
|
|
|
|
|
30 | TILT BRACKET, Interface (Lft) | 1 |
| 140 | SCREW, Phillips, M4 x 25 (Parts Bag A) | 8 |
|
|
|
|
|
|
|
40 | SCREW, Phillips, M8 x 20 (Parts Bag A) | 6 |
| 150 | WASHER, Flat, #10 (Parts Bag A) | 8 |
|
|
|
|
|
|
|
50 | SCREW, Phillips, M8 x 30 (Parts Bag A) | 6 |
| 160 | WASHER, Flat, 1/4” (Parts Bag A) | 8 |
|
|
|
|
|
|
|
60 | SCREW, Phillips, M8 x 45 (Parts Bag A) | 6 |
| 170 | SPACER, 1/4” (Parts Bag A) | 8 |
|
|
|
|
|
|
|
70 | SCREW, Phillips, M6 x 25 (Parts Bag A) | 8 |
| 180 | SPACER, 1/2” (Parts Bag A) | 8 |
|
|
|
|
|
|
|
80 | SCREW, Phillips, M6 x 16 (Parts Bag A) | 8 |
| 190 | WASHER, Shoulder, .195”ID (Parts Bag A) | 8 |
|
|
|
|
|
|
|
90 | SCREW, Phillips, M5 x 25 (Parts Bag A) | 8 |
| 200 | WASHER, Shoulder, .320”ID (Parts Bag A) | 8 |
|
|
|
|
|
|
|
100 | SCREW, Phillips, M5 x 20 (Parts Bag A) | 8 |
| 210 | BOLT, Lag, 5/16” (Parts Bag B) | 4 |
|
|
|
|
|
|
|
110 | SCREW, Phillips, M5 x 16 (Parts Bag A) | 8 |
| 220 | WASHER, 5/16” (Parts Bag B) | 4 |
|
|
|
|
|
|
|
|
|
|
| 230 | SCREW, | 2 |
|
|
|
|
|
|
|
4