Installation Instructions |
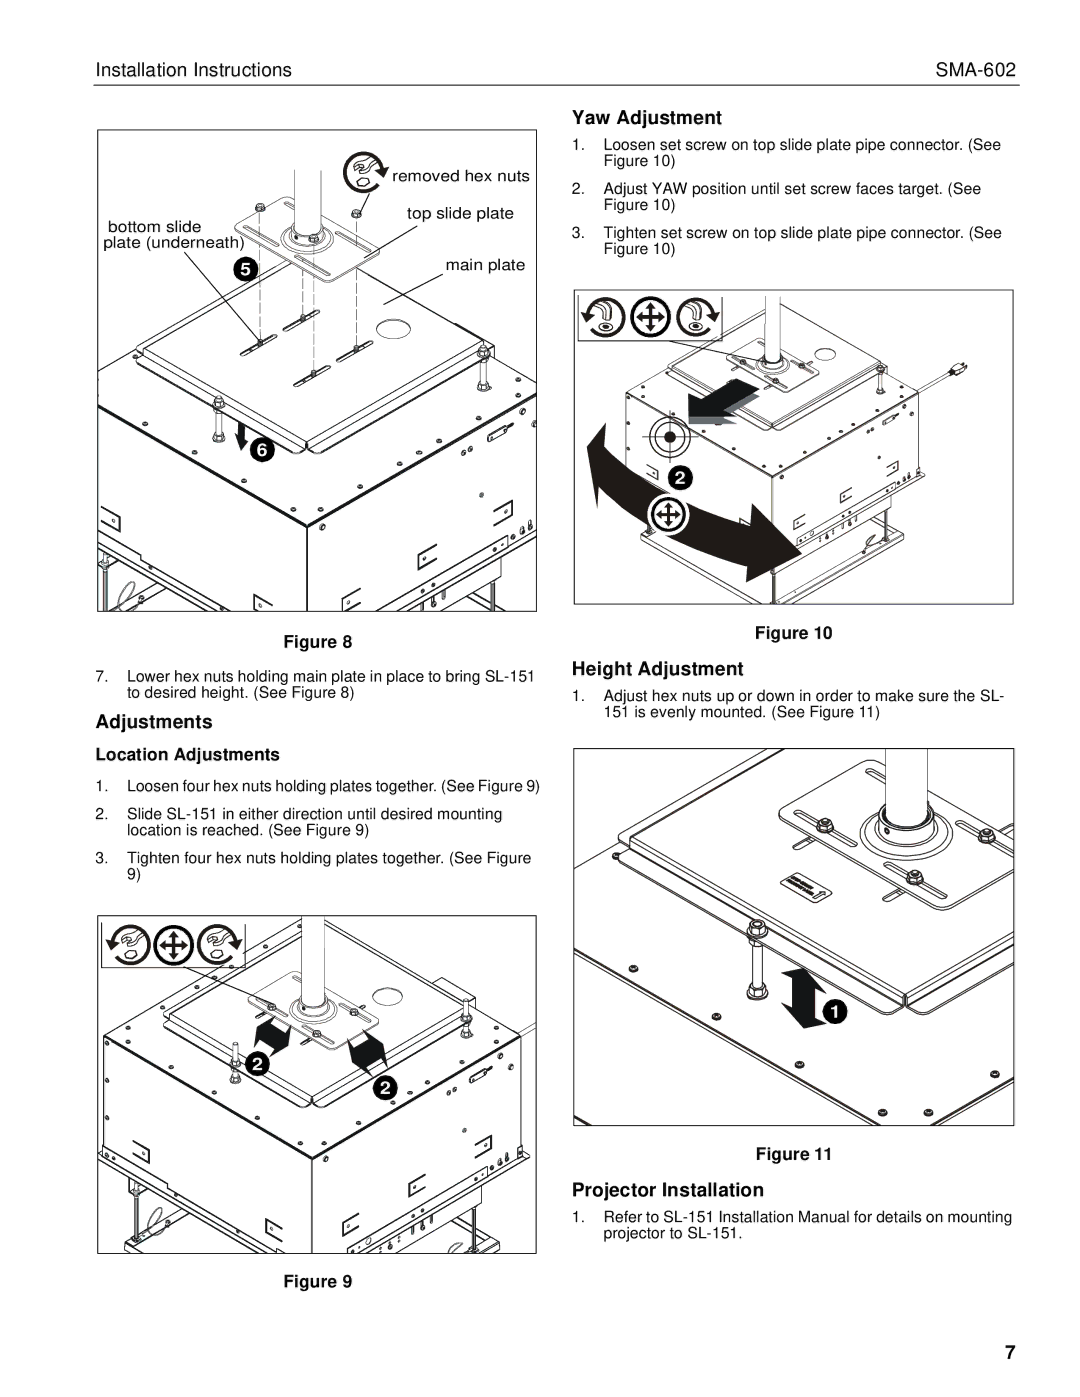
| removed hex nuts |
bottom slide | top slide plate |
| |
plate (underneath) |
|
5 | main plate |
| 6 |
Figure 8
7.Lower hex nuts holding main plate in place to bring
Adjustments
Location Adjustments
1.Loosen four hex nuts holding plates together. (See Figure 9)
2.Slide
3.Tighten four hex nuts holding plates together. (See Figure 9)
2 |
2 |
Figure 9
Yaw Adjustment
1.Loosen set screw on top slide plate pipe connector. (See Figure 10)
2.Adjust YAW position until set screw faces target. (See Figure 10)
3.Tighten set screw on top slide plate pipe connector. (See Figure 10)
2 |
Figure 10
Height Adjustment
1.Adjust hex nuts up or down in order to make sure the SL- 151 is evenly mounted. (See Figure 11)
1 |
Figure 11
Projector Installation
1.Refer to
7