
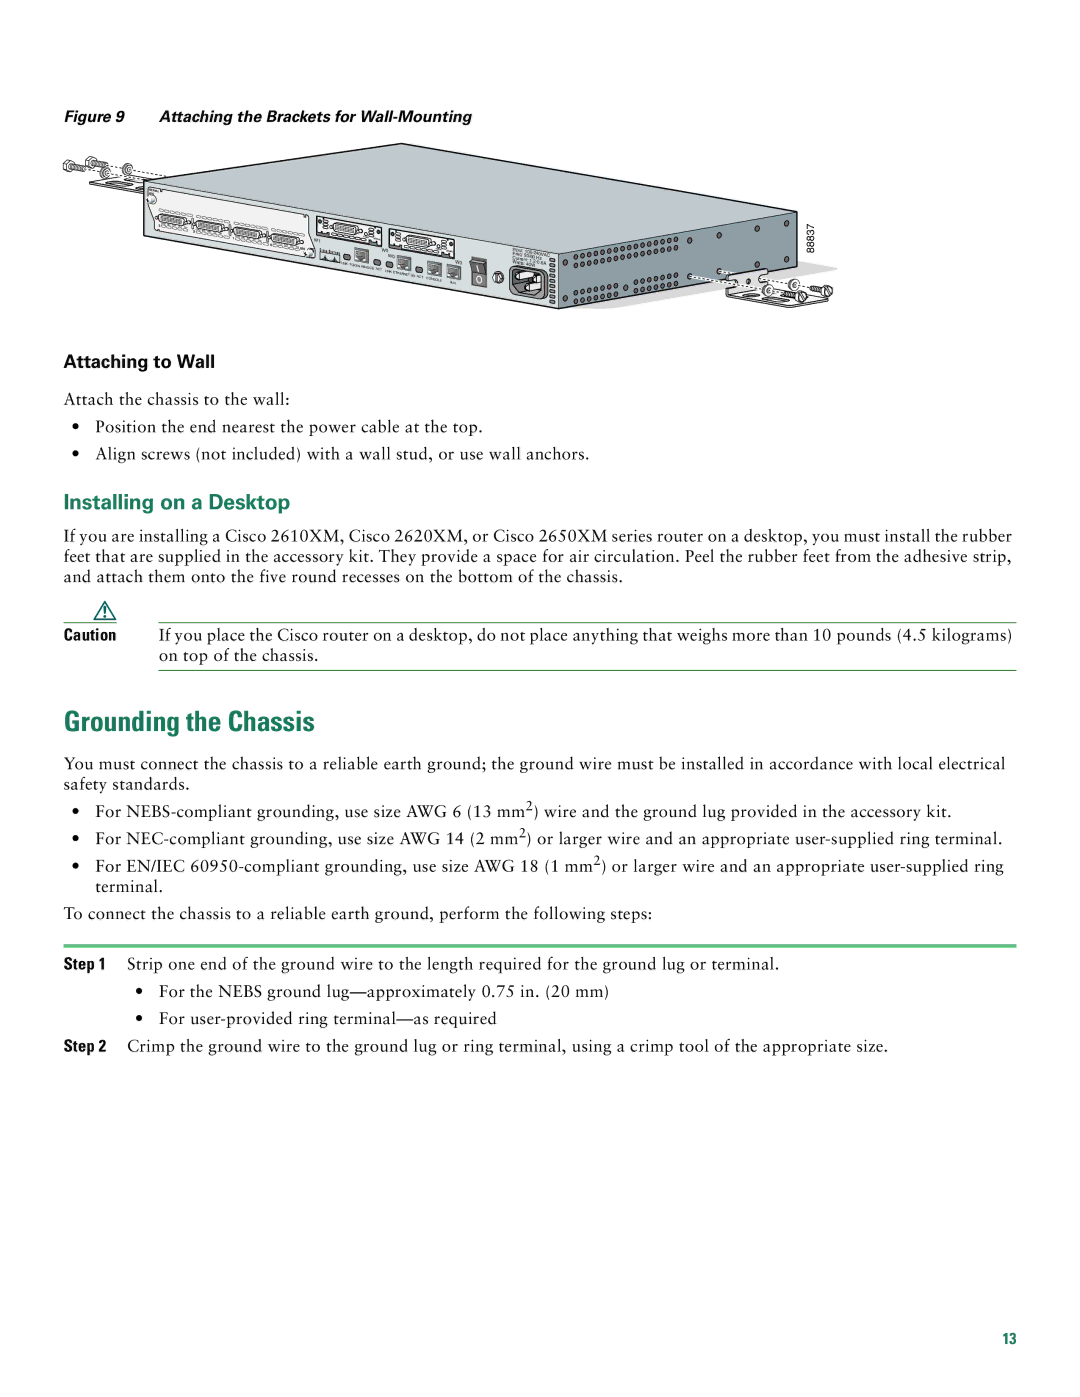
2612, 2600XM specifications
The Cisco Systems 2600XM series, notably including the 2612 model, represents a significant evolution in the world of routers, offering medium-sized businesses and branch offices a robust platform for meeting their networking needs. Released as part of the Cisco 2600 series, the 2612 router is renowned for its versatility and performance, striving to address various connectivity and networking challenges.One of the standout features of the Cisco 2612 is its modular architecture, allowing users to customize the router based on specific requirements. It has two slots for interface cards, enabling the integration of various WAN technologies like T1, E1, ISDN, and more. This flexibility ensures that organizations can adapt their routing capabilities to changing demands without needing a complete hardware overhaul.
The router showcases advanced capabilities for both routing and security. It supports a wide range of routing protocols, including OSPF, EIGRP, and RIP, making it suitable for diverse network environments. Additionally, the Cisco 2612 incorporates security features such as access control lists (ACLs) and encryption options, facilitating secure data transmission and protection against unauthorized access.
Performance is another critical aspect of the Cisco 2612, which is equipped with a powerful CPU and sufficient RAM to handle multiple processes simultaneously. This makes it capable of delivering reliable performance even under heavy workloads. The router can handle both voice and data traffic, supporting voice-over-IP (VoIP) applications and providing a seamless communication experience for users.
In terms of connectivity, the Cisco 2612 supports Ethernet interfaces along with modular WAN connection options, ensuring compatibility with various networking setups. This adaptability makes it an ideal choice for businesses looking to integrate legacy systems with more modern technologies.
Moreover, the Cisco 2600XM series, including the 2612, offers enhanced scalability. As an organization grows, the router can be upgraded with new interface cards or modules to support increased bandwidth or new services, ensuring continued relevance in a rapidly changing technological landscape.
In conclusion, the Cisco 2600XM series 2612 router stands out due to its modularity, robust performance, and security features. It successfully addresses the needs of medium-sized enterprises, making it a go-to solution for businesses aiming to build a reliable and scalable network infrastructure. With its comprehensive array of features, the 2612 continues to play a crucial role in meeting modern connectivity demands.