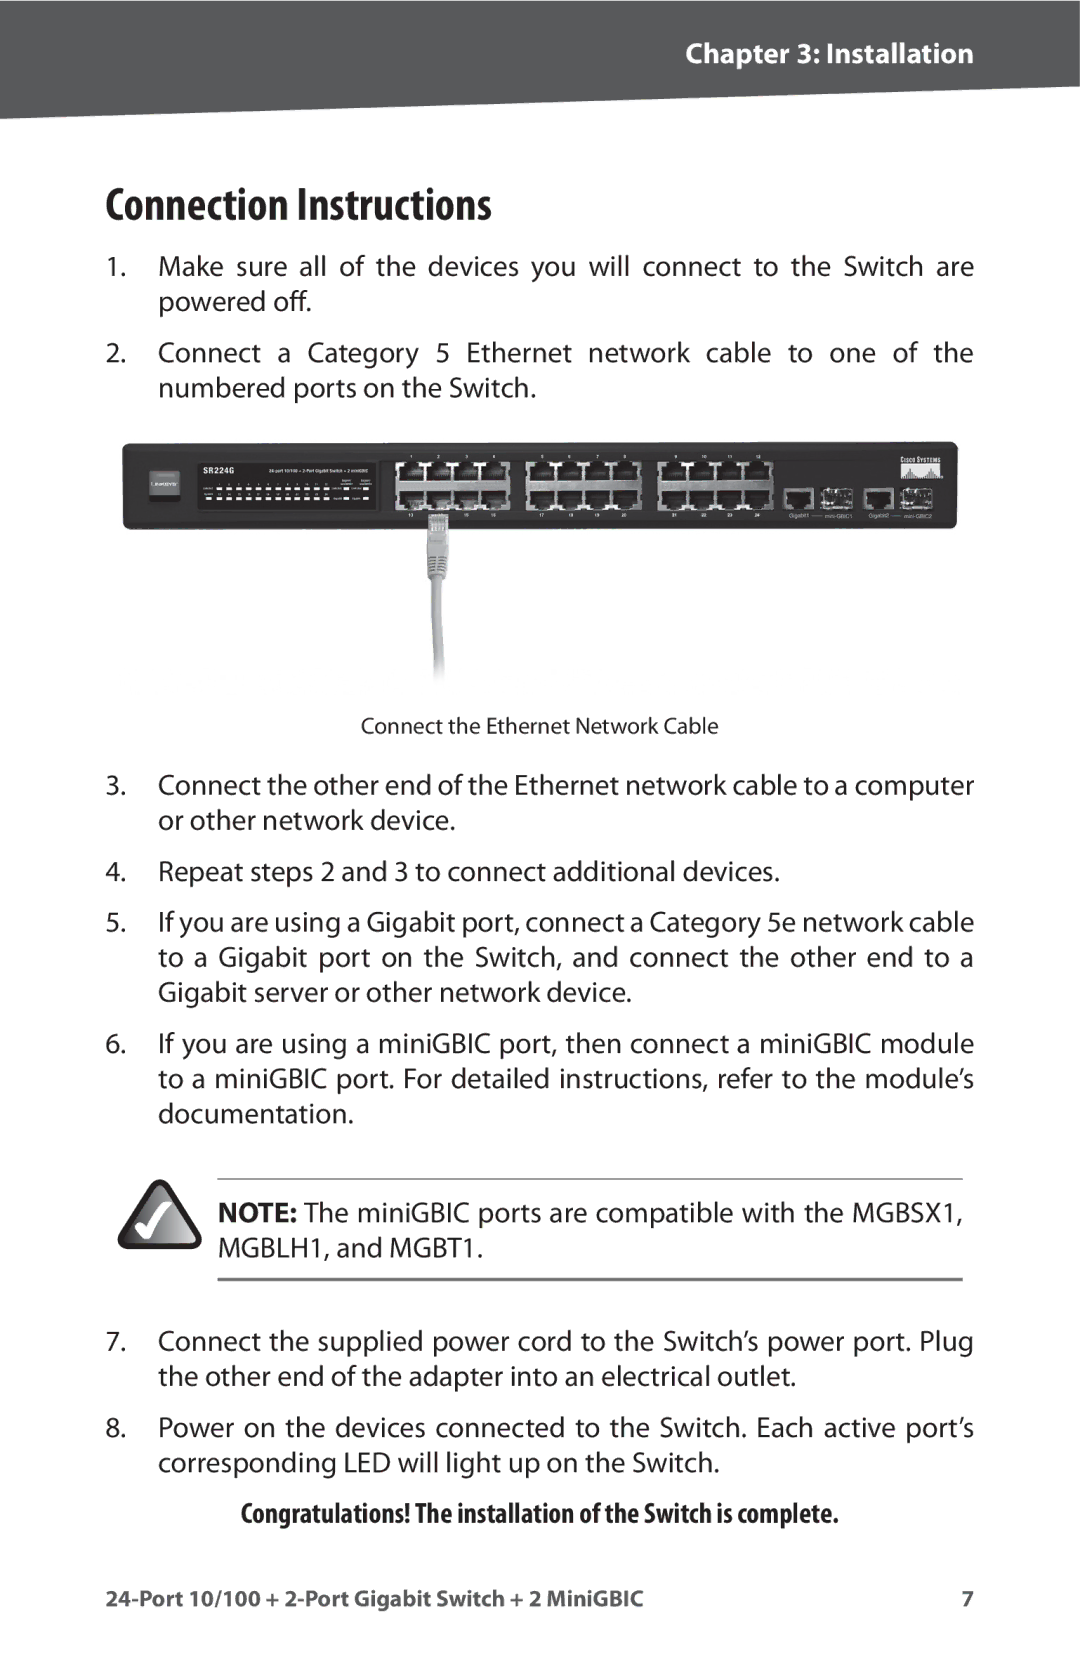
SR224G specifications
Cisco Systems SR224G is a versatile and robust switch designed for organizations seeking to enhance their network infrastructure. As part of Cisco's line of network solutions, the SR224G provides the performance, reliability, and advanced features that modern businesses require to support their operations.One of the main features of the SR224G is its ability to deliver up to 24 Gigabit Ethernet ports. This extensive port availability enables seamless connectivity for numerous devices, making it ideal for medium and large-scale networks. The switch supports both copper and fiber connections, offering flexibility in deployment options to cater to different organizational needs.
The SR224G operates on a Layer 2 switching architecture, facilitating efficient data packet routing within local area networks (LAN). It employs advanced Ethernet technologies, including VLAN (Virtual Local Area Network) support, which allows administrators to segment traffic for improved security and performance. By isolating groups of devices, VLANs help to minimize broadcast traffic and optimize bandwidth utilization.
In terms of performance, the SR224G features non-blocking architecture and provides a switching capacity of up to 48 Gbps. This high throughput ensures that the switch can handle multiple data streams without latency, maintaining a consistently fast network experience for users. Additionally, the switch supports high-density stacking, which enables multiple units to be combined to form a single, unified management entity, further simplifying network management.
The Cisco SR224G also incorporates comprehensive security protocols, ensuring that sensitive data remains protected. With features such as port security, 802.1X authentication, and access control lists (ACLs), administrators can enforce strict security measures on the network, protecting against unauthorized access and potential vulnerabilities.
Moreover, with energy efficiency in mind, the SR224G complies with the Energy Efficient Ethernet standard, allowing for lower power consumption when the network is in idle mode. This not only reduces operational costs but also contributes to a more environmentally friendly IT infrastructure.
In conclusion, Cisco Systems SR224G is a reliable and feature-rich network switch tailored for enterprises looking to enhance their connectivity and network performance. With its expansive ports, support for advanced Ethernet features, and security protocols, the SR224G stands out as a compelling choice for organizations seeking high-performance networking solutions.

