WUSB54GX4 specifications
The Cisco Systems WUSB54GX4 is a versatile and efficient wireless USB adapter designed to enhance connectivity for a range of devices. This compact hardware solution, developed by Cisco, is particularly popular for users looking to upgrade their network capabilities with minimal fuss.One of the standout features of the WUSB54GX4 is its support for the 802.11g wireless standard, which allows for data transfer rates of up to 54 Mbps. This provides a reliable and robust connection, making it suitable for demanding tasks such as streaming videos or online gaming. Additionally, the device is backward compatible with the older 802.11b standard, ensuring that it can connect seamlessly to an array of routers and networks, regardless of their specifications.
Leveraging advanced MIMO (Multiple Input Multiple Output) technology, the WUSB54GX4 offers not only improved range but also enhanced signal quality. MIMO technology utilizes multiple antennas to transmit and receive data, significantly boosting wireless performance and reducing interference. This is particularly useful in environments with heavy obstructions or where the signal must traverse longer distances.
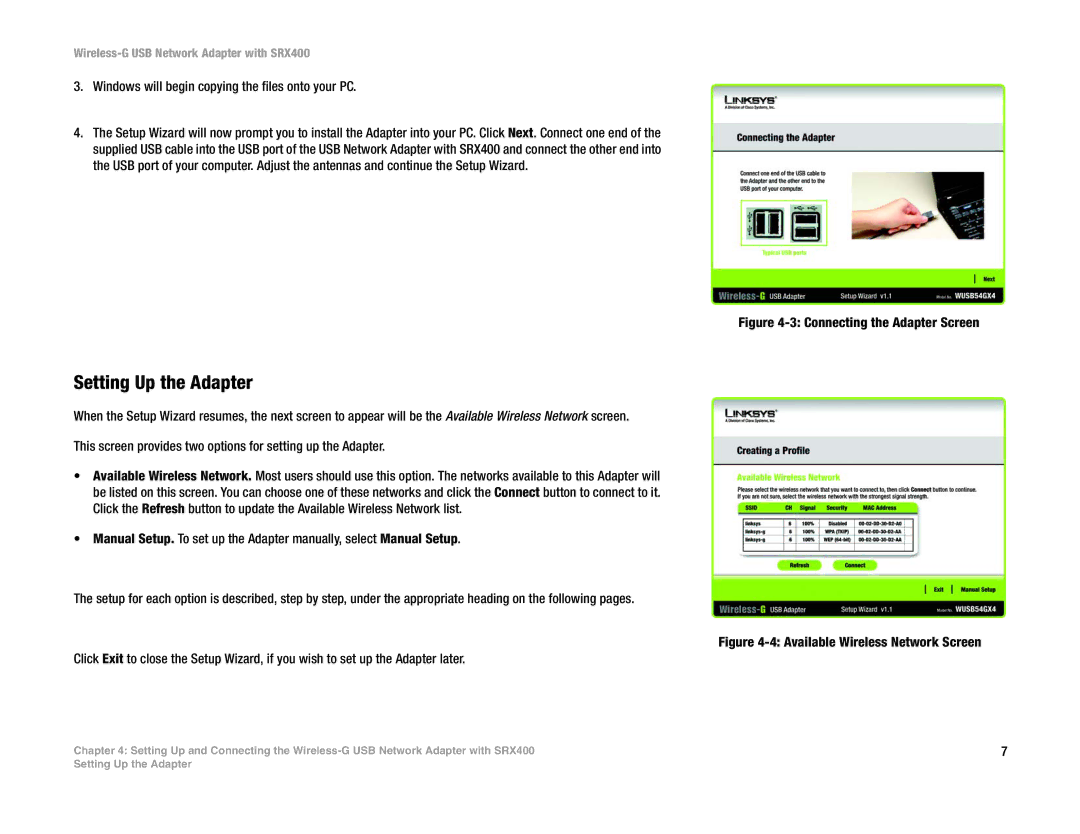
The installation process for the WUSB54GX4 is user-friendly, making it accessible even for those who may not be tech-savvy. The adapter typically comes with a plug-and-play setup, which means that users can quickly connect it to their computers without complicated configurations. Additionally, the included software provides easy management of network settings, allowing users to monitor their connection and troubleshoot issues efficiently.
Another notable characteristic of the WUSB54GX4 is its portability. The compact design allows users to easily carry it and use it with various devices, making it an excellent choice for mobile professionals or individuals frequently on the move. Furthermore, it supports both Windows and Mac OS, broadening its usability across different platforms.
In conclusion, the Cisco Systems WUSB54GX4 exemplifies a robust wireless USB adapter offering useful features such as high-speed connectivity, MIMO technology, and ease of installation. Its compact size and compatibility with multiple operating systems make it a popular choice for enhancing wireless capabilities in various settings, from home offices to on-the-go scenarios.

