DRX8675z specifications
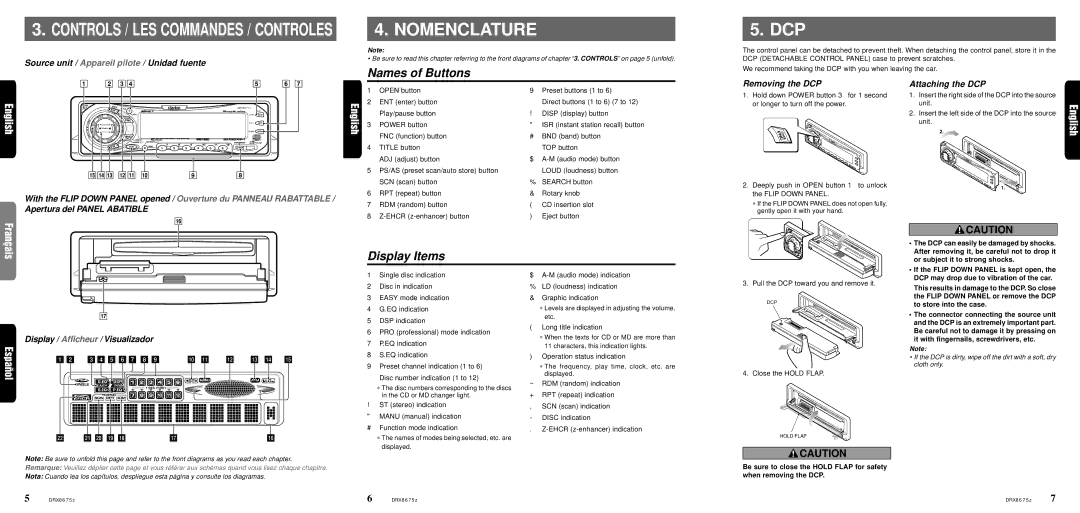
The Clarion DRX8675z is a high-performance in-car CD receiver that exemplifies quality and convenience, tailored for audiophiles and casual listeners alike. With its sleek design and robust build, this receiver not only enhances vehicle aesthetics but also elevates audio performance, making it a noteworthy addition to any car audio system.One of the main features of the DRX8675z is its extensive connectivity options. It supports multiple media formats, including MP3, WMA, and AAC, allowing users to enjoy their favorite tracks with superior sound quality. The front USB port makes it easy to connect digital devices, while the built-in SD memory card slot offers additional flexibility for playing back stored music.
The receiver is equipped with a powerful built-in amplifier that delivers 4 x 50 watts of maximum power, ensuring that audio output is both loud and clear. The advanced sound processing technologies integrated within the Clarion DRX8675z further enhance user experience. Its Digital Signal Processing (DSP) features customizable sound settings, allowing listeners to fine-tune their audio experience through equalizer presets and sound enhancements.
Another notable characteristic is the support for various audio sources, including CD, USB, and Bluetooth connectivity. The Bluetooth functionality enables hands-free calling and wireless audio streaming, making it easy to enjoy music from smartphones and other Bluetooth-enabled devices. This level of integration promotes both convenience and safety while driving.
The Clarion DRX8675z also prioritizes user interface and control. An intuitive, user-friendly display provides clear information, allowing drivers to navigate their music library seamlessly. The unit’s remote control adds an extra layer of convenience, enabling users to adjust settings without distraction.
In terms of expandability, this receiver features multiple preamp outputs, facilitating the connection of external amplifiers and subwoofers. This scalability makes it an excellent choice for car enthusiasts looking to build a comprehensive audio system.
In summary, the Clarion DRX8675z stands out in the crowded market of car audio receivers by combining premium sound quality, versatile connectivity options, and user-friendly features. Whether for everyday use or dedicated listening sessions, this receiver delivers performance and convenience, making it a valuable addition to any vehicle.

