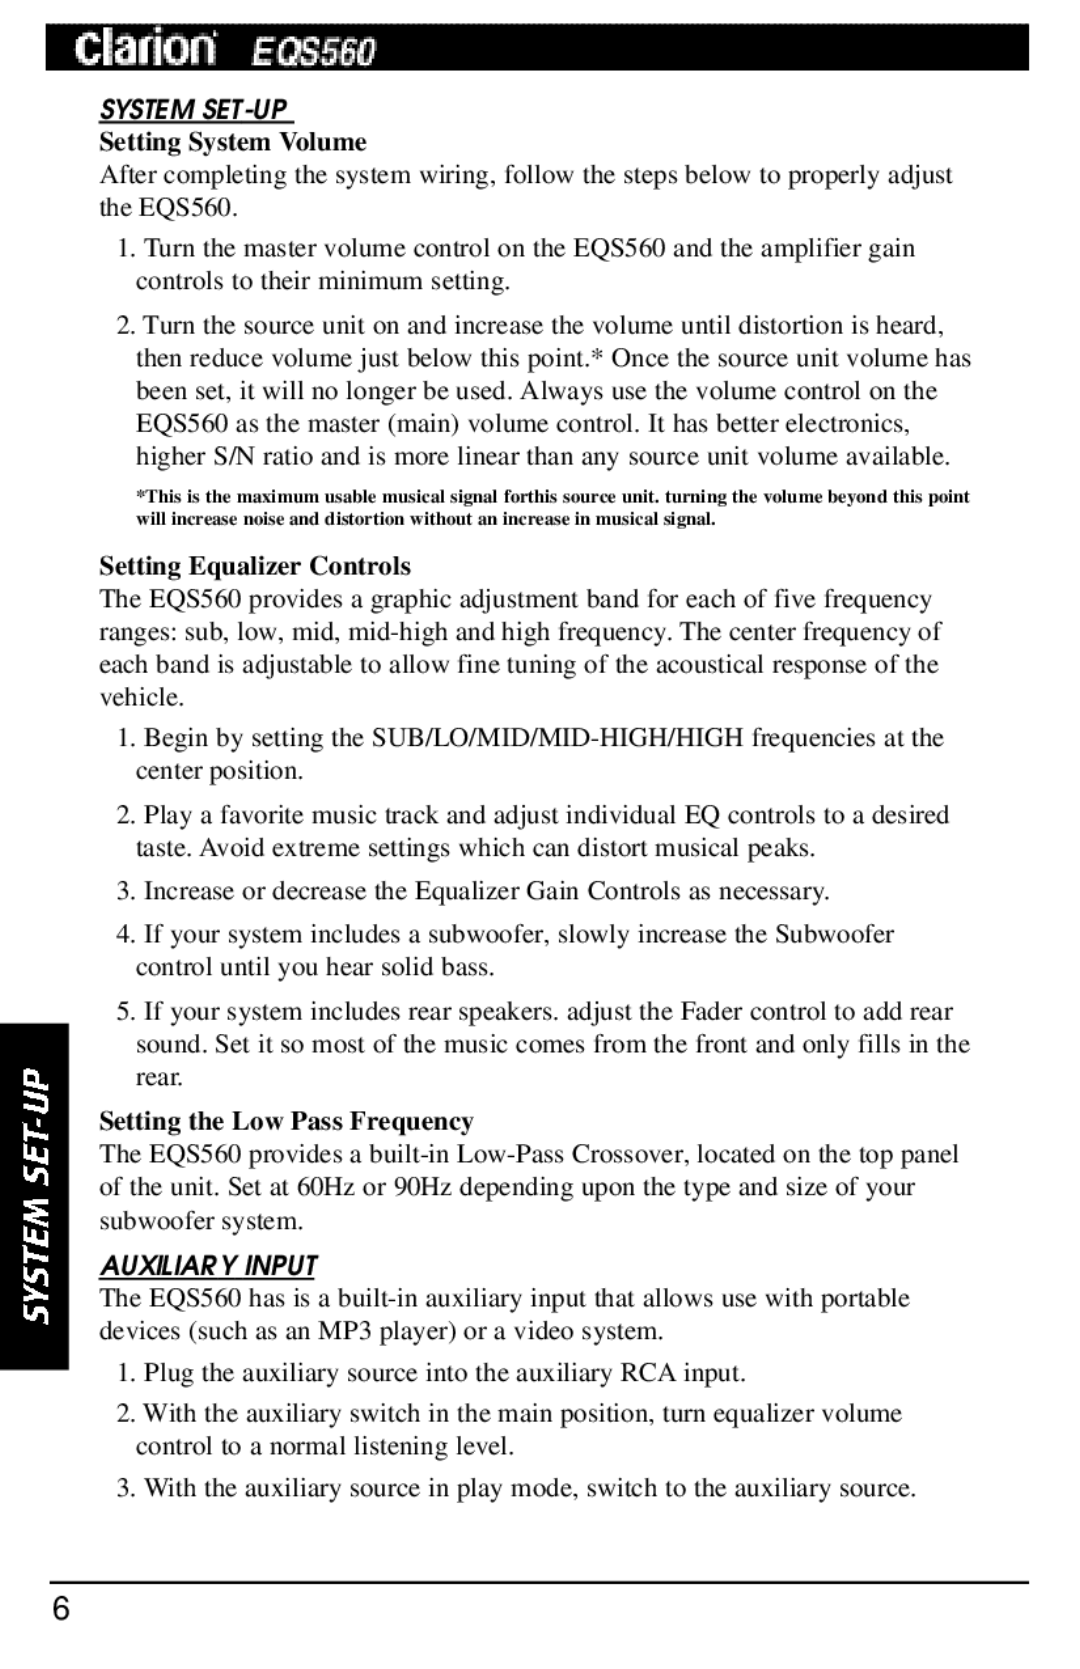
EQS560 specifications
The Clarion EQS560 is a premium graphic equalizer designed for car audio enthusiasts who demand exceptional sound quality and control over their audio environment. With its sophisticated features and user-friendly design, the EQS560 allows users to fine-tune their audio settings to achieve the perfect sound stage in their vehicle.A standout feature of the EQS560 is its 31-band graphic equalizer, which provides precise control over frequency response across a wide range of sound frequencies. This level of detail allows users to make intricate adjustments, enhancing the overall audio experience by tailoring the sound to their personal preferences and the acoustics of their vehicle.
The EQS560 is equipped with adjustable input sensitivity, allowing it to accept signals from various audio sources without distortion. This flexibility ensures compatibility with most aftermarket or OEM audio systems, making it a versatile choice for car audio upgrades. Additionally, it features a low-pass filter, which can help to manage subwoofer output and improve bass performance.
One of the key technologies incorporated into the Clarion EQS560 is its signal-to-noise ratio (SNR) of 100 dB. This results in cleaner audio playback with minimal noise, providing an immersive listening experience that truly enhances the musical nuances. Furthermore, the EQS560 includes both high-level and low-level input options, offering additional versatility for installation in a variety of vehicles.
Another notable characteristic of the EQS560 is its intuitive layout and backlit controls. The clearly labeled sliders and buttons make adjustments easy, even while driving, boosting convenience and safety. Users can make real-time changes to the settings without significant distraction, allowing for a more enjoyable audio experience.
In summary, the Clarion EQS560 is a stellar option for those looking to elevate their car audio setup. With its 31-band graphic equalizer, adjustable input sensitivity, advanced signal-to-noise ratio, and user-friendly interface, it combines sophisticated audio technology with practical usability. Whether you're a casual listener or a dedicated audiophile, the EQS560 provides the tools needed to create a personalized sound stage tailored to your preferences. This makes it an essential component for any serious car audio enthusiast looking to enhance their driving soundtrack.