Important:
CT-M600 stand-alone installation instructions
18
Installation
Your new Classé amplifier is quite simple to set up and enjoy. Please follow the steps outlined below in order to safely set up and use your new amplifier.
The AC mains connection should be the last connection you make on your new power amplifier. In addition, it is always a good idea to power up your power amplifier(s) last, after everything else has been powered up and has stabilized.
Conversely, it is good practice to power the amplifier(s) down first when shutting down the system, as this prevents any transients from other components from getting through to your loudspeakers.
1.Unpack everything according to the included instructions.
Be careful when doing so, as this amplifier is quite heavy.
2.Place your amplifier (be sure to read “Unpacking and Placement”) and connect it to the AC mains. This includes deciding on the location, making sure you have adequate ventilation, and adequate clearance for all the wires behind the amplifier. Once accomplished, connect the amplifier directly to the AC mains. Do not use extension cords, as most are not suitable for the current sometimes required by your amplifier.
FOR RACK MOUNTING INSTALLATION CONTACT YOUR CLASSÉ PROFESSIONAL.
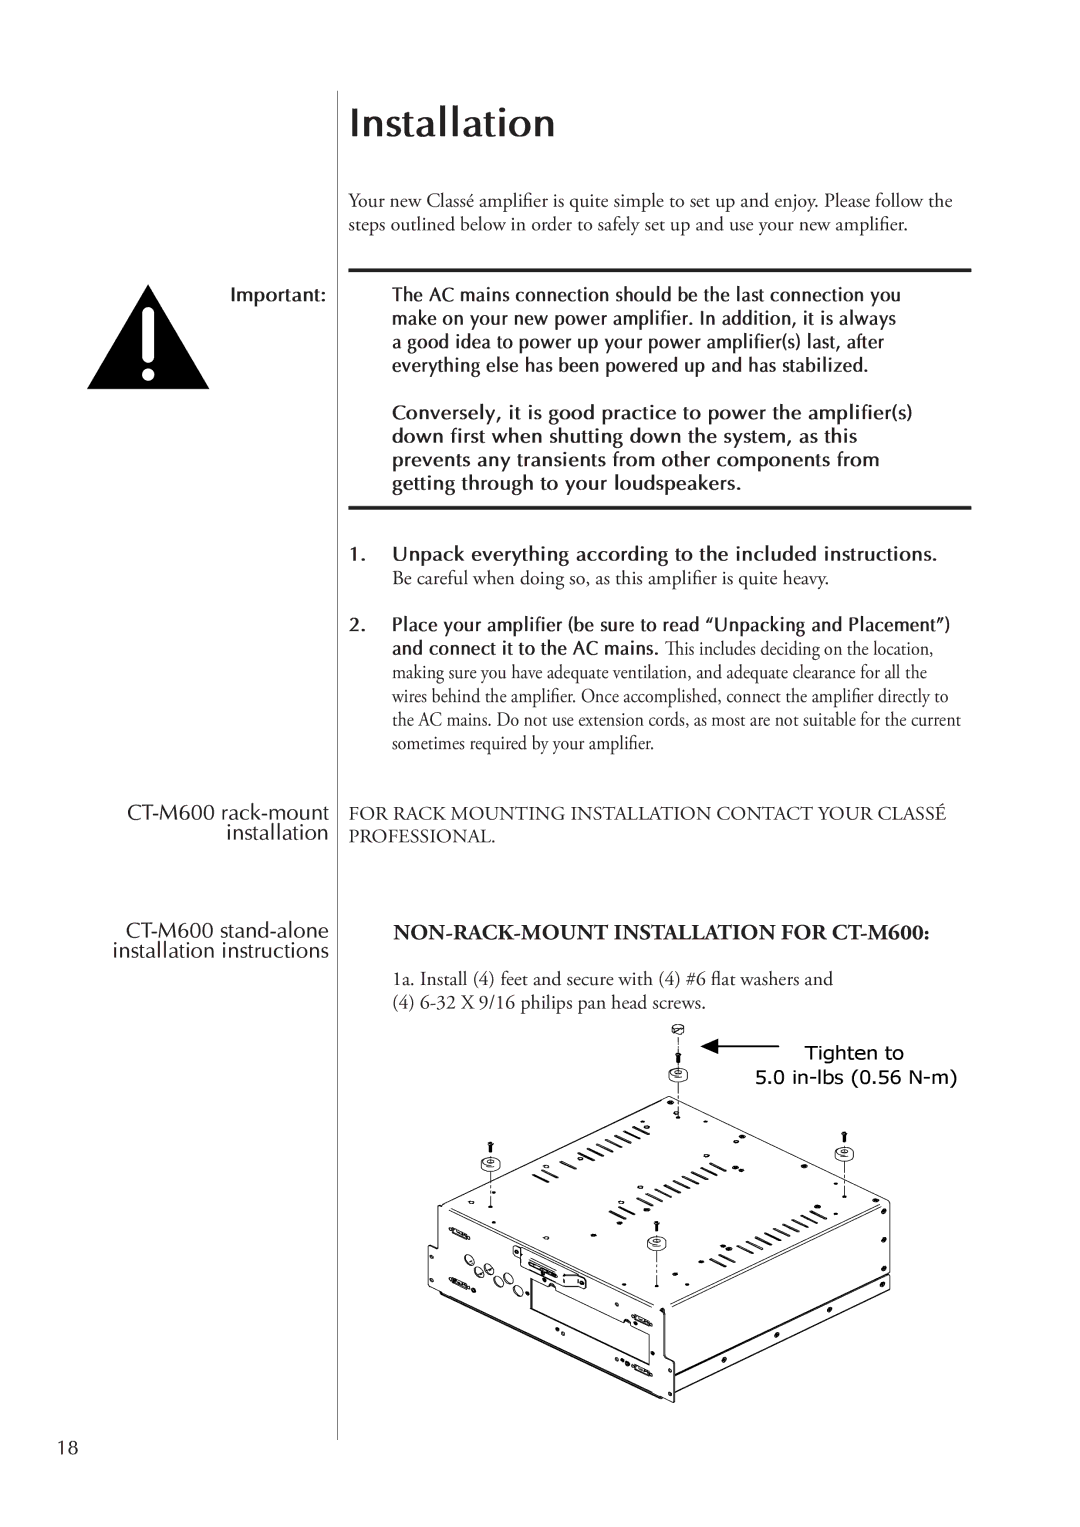
NON-RACK-MOUNT INSTALLATION FOR CT-M600:
1a. Install (4) feet and secure with (4) #6 flat washers and
(4) 6-32 X 9/16 philips pan head screws.
Tighten to
5.0