Care, Maintenance and Cleaning (continued)
Cleaning the Venturi
![]() WARNING
WARNING
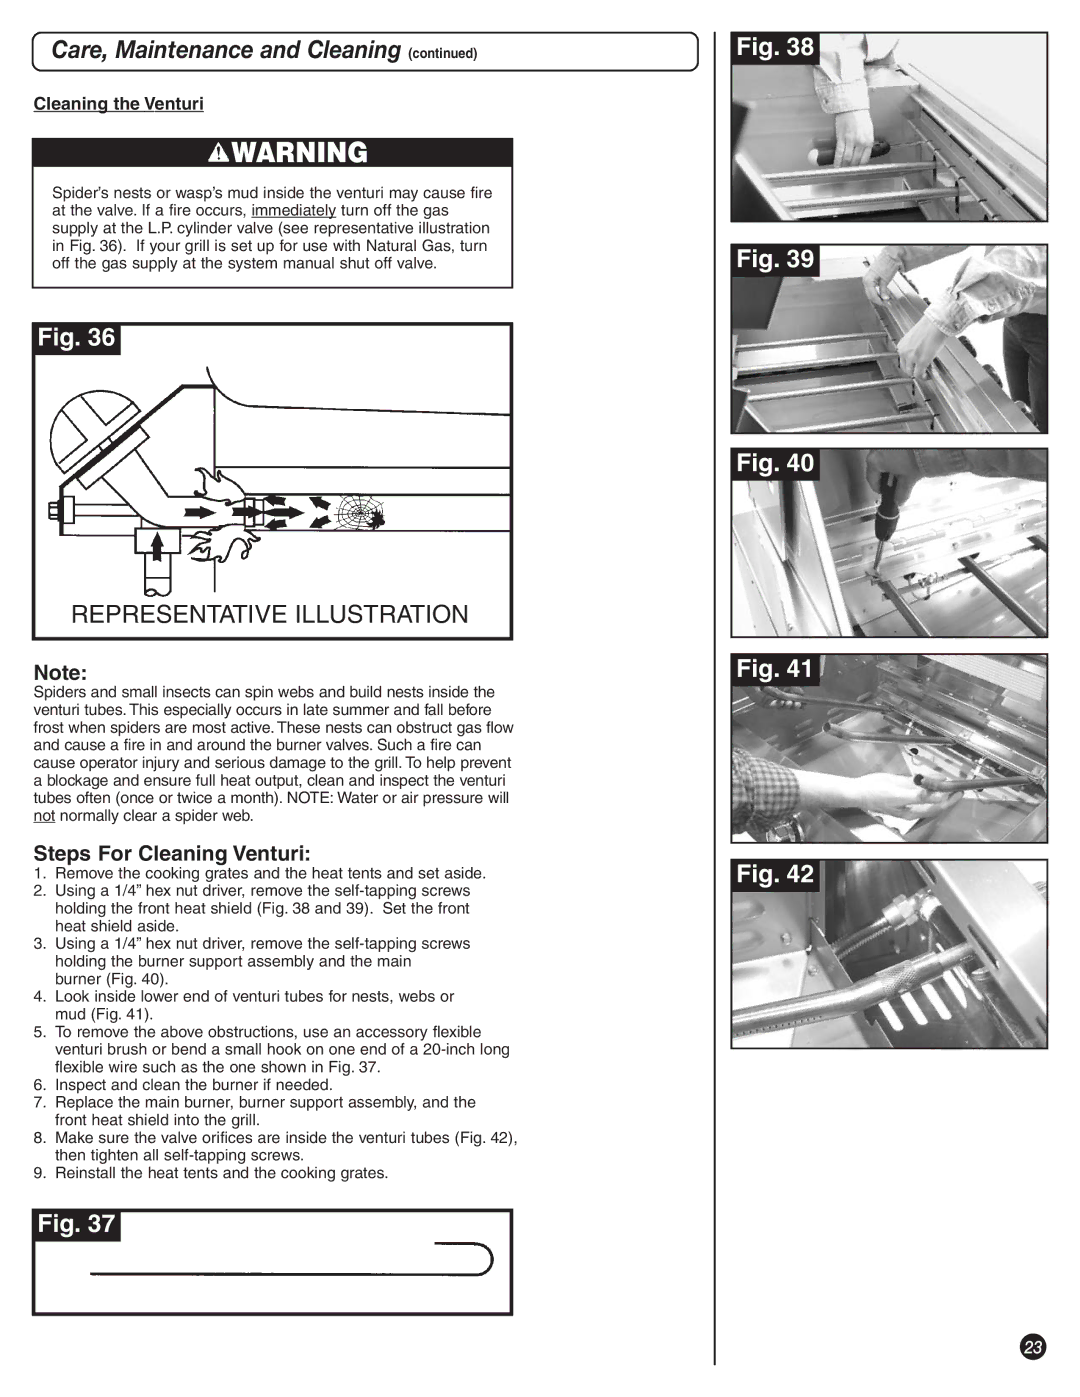
Spider’s nests or wasp’s mud inside the venturi may cause fire at the valve. If a fire occurs, immediately turn off the gas supply at the L.P. cylinder valve (see representative illustration in Fig. 36). If your grill is set up for use with Natural Gas, turn off the gas supply at the system manual shut off valve.
Fig. 36
REPRESENTATIVE ILLUSTRATION
Note:
Spiders and small insects can spin webs and build nests inside the venturi tubes. This especially occurs in late summer and fall before frost when spiders are most active. These nests can obstruct gas flow and cause a fire in and around the burner valves. Such a fire can cause operator injury and serious damage to the grill. To help prevent a blockage and ensure full heat output, clean and inspect the venturi tubes often (once or twice a month). NOTE: Water or air pressure will not normally clear a spider web.
Steps For Cleaning Venturi:
1.Remove the cooking grates and the heat tents and set aside.
2.Using a 1/4” hex nut driver, remove the
3.Using a 1/4” hex nut driver, remove the
4.Look inside lower end of venturi tubes for nests, webs or mud (Fig. 41).
5.To remove the above obstructions, use an accessory flexible venturi brush or bend a small hook on one end of a
6.Inspect and clean the burner if needed.
7.Replace the main burner, burner support assembly, and the front heat shield into the grill.
8.Make sure the valve orifices are inside the venturi tubes (Fig. 42), then tighten all
9.Reinstall the heat tents and the cooking grates.
Fig. 37
Fig. 38
Fig. 39
Fig. 40
Fig. 41
Fig. 42
23