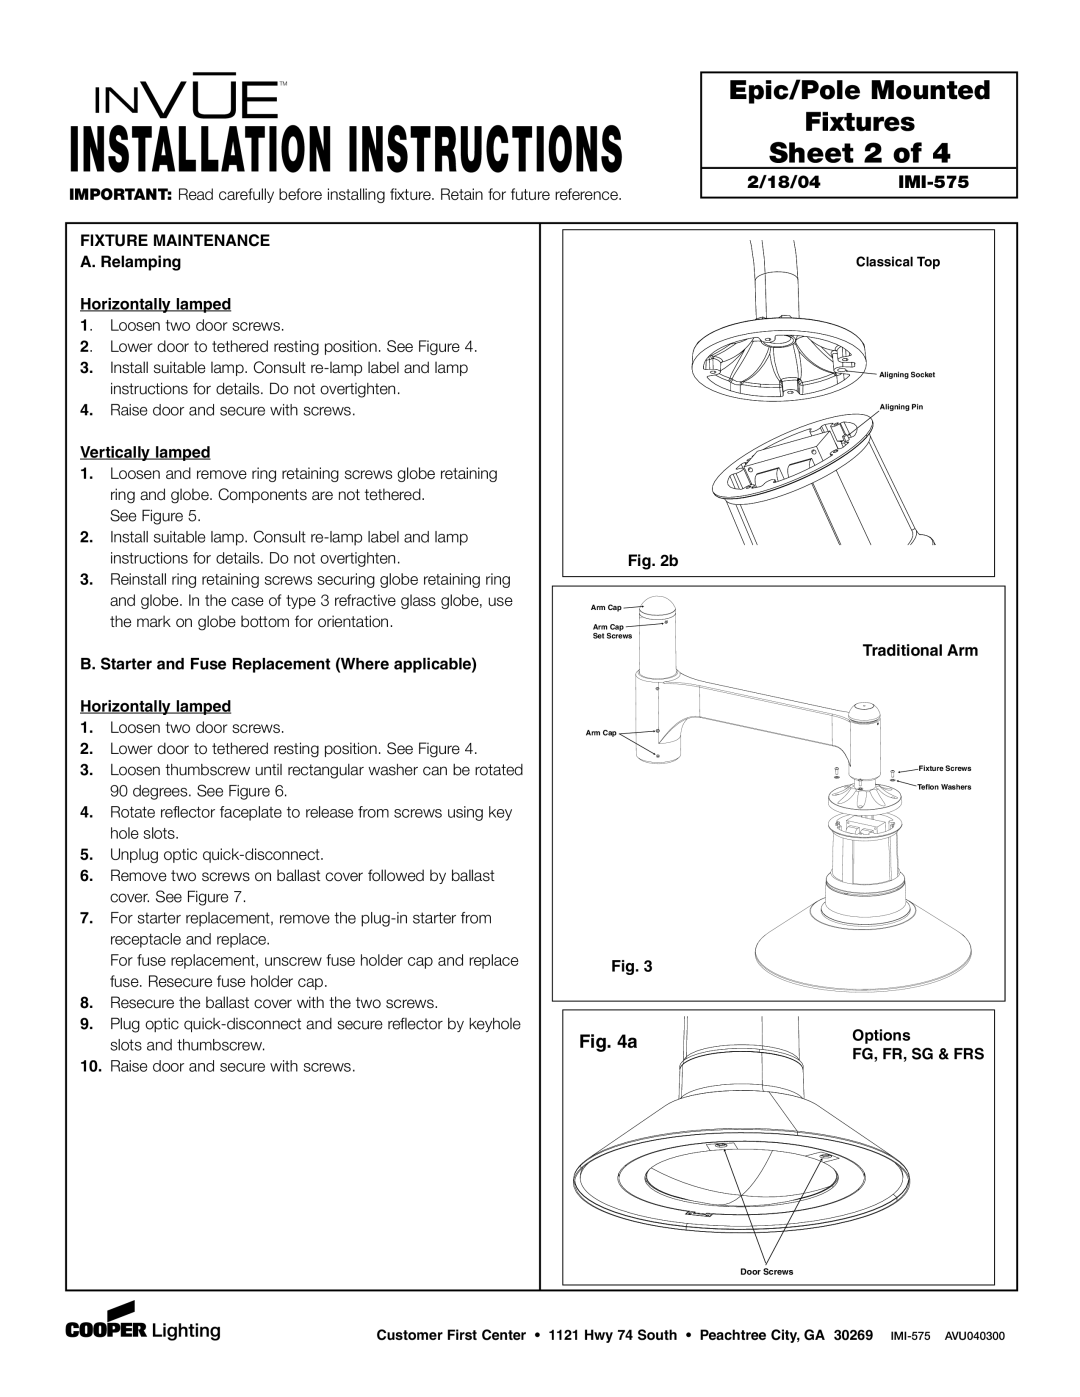
IMI-575 specifications
Cooper Lighting's IMI-575 is a highly versatile and efficient lighting solution that stands out in the world of commercial and industrial applications. This fixture is expertly designed to provide powerful illumination while ensuring energy savings and minimal maintenance. The IMI-575 is particularly popular in spaces such as warehouses, gymnasiums, and large retail areas where bright, dependable lighting is crucial.One of the defining features of the IMI-575 is its exceptional lumen output. Capable of delivering over 57,000 lumens, it ensures vast areas are evenly illuminated, significantly enhancing visibility and safety. The fixture’s high lumen efficacy allows for the application of fewer fixtures in wide spaces, which ultimately reduces installation costs and energy consumption.
A standout technology integrated into the IMI-575 is its LED capability. The use of LED technology not only extends the lifespan of the fixture—offering up to 100,000 hours of operation—but it also dramatically reduces energy consumption by up to 70% compared to traditional lighting solutions. This eco-friendly approach aligns with modern sustainability goals while providing significant cost savings on energy bills.
In addition to its energy efficiency, the IMI-575 features advanced optical designs. The product includes a precision-engineered lens that maximizes light output while controlling glare, ensuring a comfortable lighting experience for users. By minimizing unwanted brightness, the fixture creates an optimal environment that enhances productivity and reduces eye strain.
The IMI-575 is designed for ruggedness and durability, making it ideal for industrial settings. Constructed from high-quality materials, it boasts an IP65 rating which certifies its resistance to dust and water, ensuring reliable performance even in challenging conditions. This durability makes the IMI-575 a favored choice among facility managers looking for a fixture that can withstand the rigors of demanding environments.
Moreover, Cooper Lighting has incorporated smart technology into the IMI-575, allowing for intelligent lighting control. Options for integrating occupancy sensors, daylight harvesting, and dimming provide customization tailored to specific needs while improving energy efficiency further. The fixture can adapt to real-time conditions to minimize unnecessary energy use while maintaining optimal brightness.
In summary, the Cooper Lighting IMI-575 offers a robust blend of high lumen output, energy efficiency, durability, and smart technology. It stands as an excellent choice for those seeking advanced lighting solutions that meet the complexities of modern commercial and industrial spaces.

