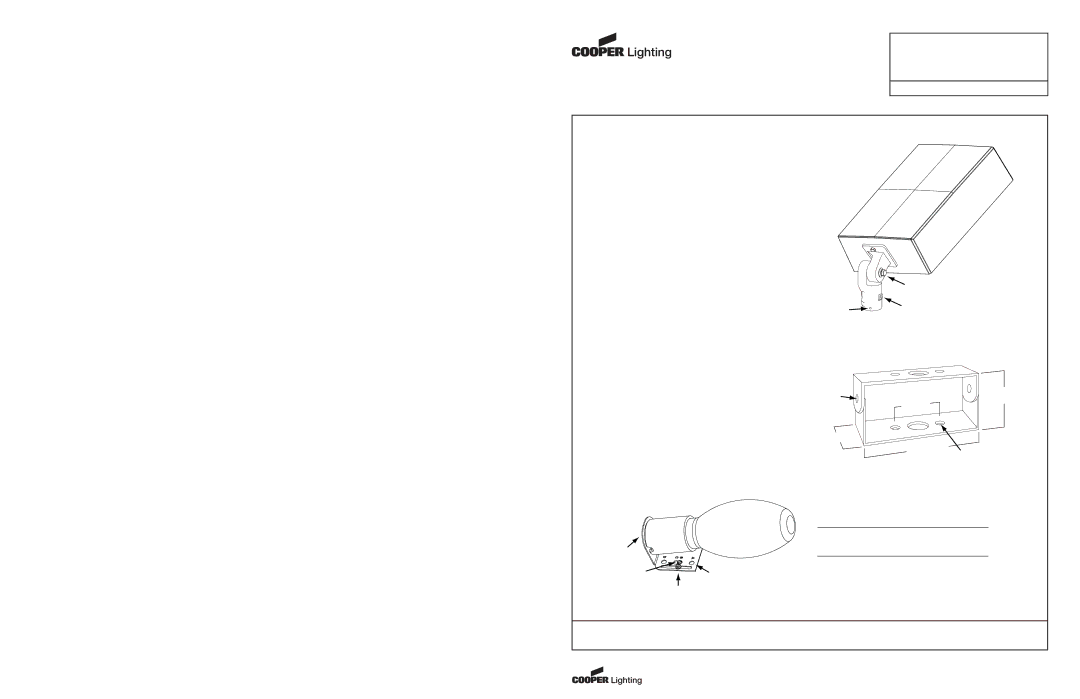
IMI-685 specifications
Cooper Lighting’s IMI-685 is a cutting-edge recessed lighting solution that effortlessly blends aesthetics with high-performance functionality. Designed with versatility and efficiency in mind, the IMI-685 is perfect for a wide variety of applications, including residential, commercial, and institutional spaces.One of the standout features of the IMI-685 is its innovative LED technology. Utilizing energy-efficient LEDs, this recessed fixture provides excellent illumination while significantly reducing energy consumption compared to traditional lighting options. The IMI-685 boasts a long lifespan, which not only minimizes maintenance costs but also contributes to sustainability efforts by decreasing waste.
The IMI-685 is equipped with a range of lumen output options, ensuring that users can achieve the desired brightness and ambiance for any environment. With adjustable lumens, users can select between different power levels to suit their specific lighting needs. This flexibility is particularly beneficial in spaces where lighting requirements may vary, allowing for tailored solutions.
Another remarkable characteristic of the IMI-685 is its sleek, low-profile design. The fixture seamlessly integrates with various ceiling types, providing a clean and unobtrusive look that complements contemporary architecture. The trim options available allow for further customization, enabling users to match their lighting to existing decor.
The IMI-685 also features advanced dimming capabilities, making it ideal for creating desirable lighting effects in different settings. With compatibility for various control systems, including dimmers and smart home technology, users can easily manage light levels and enhance the mood of their space.
In addition to its aesthetic appeal and flexible performance, the IMI-685 prioritizes safety and compliance with industry standards. The fixture has undergone rigorous testing to ensure it meets or exceeds the necessary safety regulations, providing peace of mind to both installers and end-users.
Overall, Cooper Lighting’s IMI-685 is an exemplary choice for anyone seeking an efficient, versatile, and stylish lighting solution. With its combination of energy efficiency, design flexibility, and smart technology integration, the IMI-685 represents the future of recessed lighting, making it an excellent investment for modern illumination needs.

