137.21825 specifications
The Craftsman 137.21825 is a versatile and dependable table saw designed to meet the needs of both amateur and professional woodworkers. Renowned for its stability and accuracy, this power tool is a staple in many workshops.One of the standout features of the 137.21825 is its powerful 15-amp motor, which delivers plenty of cutting power to tackle various materials. This robust motor enables users to make smooth and precise cuts through hardwoods, softwoods, and even engineered materials. With a no-load speed of up to 5,000 RPM, the table saw is efficient in completing tasks quickly without sacrificing quality.
The saw features a 10-inch cast aluminum blade, providing a generous cutting capacity that accommodates a breadth of materials. The blade can be easily tilted for angle cuts, making it suitable for various joinery techniques. Additionally, the rack and pinion fence system offers easy adjustments, allowing users to achieve accurate cuts consistently. The fence is designed to be stable yet easily maneuverable, making setups and adjustments straightforward.
Safety is a paramount consideration in the design of the Craftsman 137.21825. It comes equipped with a blade guard and anti-kickback pawls that help prevent injuries during operation. Moreover, the saw includes an emergency switch that enhances the overall safety of the tool, enabling quick power cut-off in urgent situations.
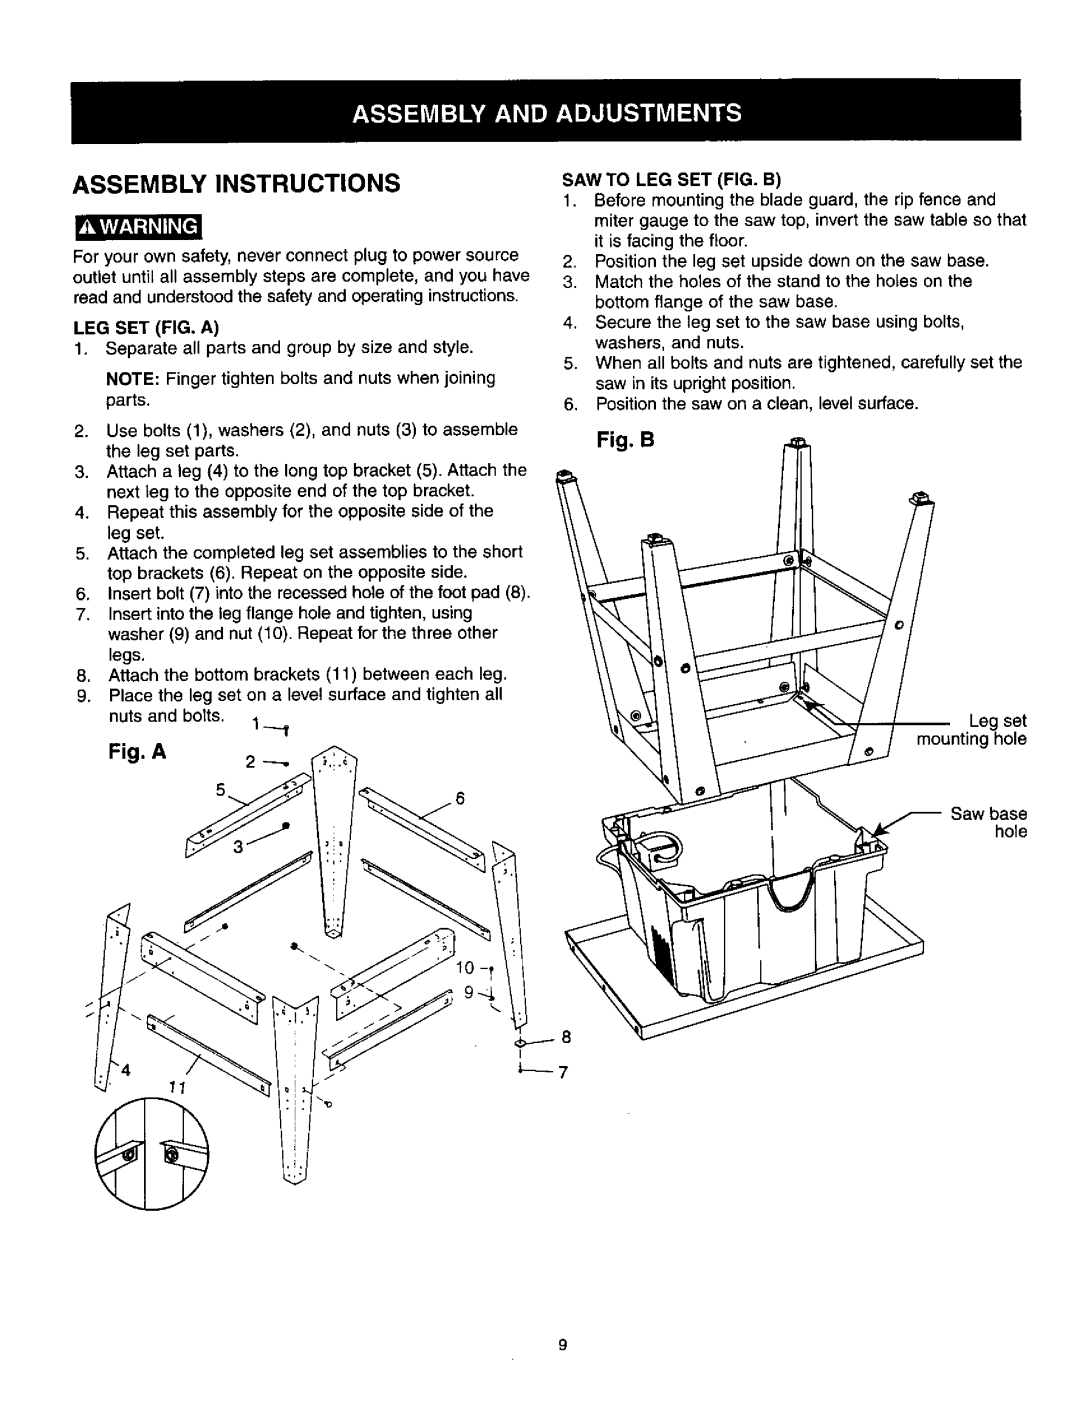
Portability is another highlight. With a foldable stand and built-in wheels, this table saw can be easily transported from one job site to another or stored away when not in use. Its compact design does not compromise stability, ensuring that it remains firm during operation.
In terms of technology, the Craftsman 137.21825 integrates user-friendly features such as an adjustable bevel and clear measurement markings. The ergonomic design promotes comfort during extended periods of use, reducing fatigue and enhancing productivity.
Overall, the Craftsman 137.21825 embodies a blend of power, precision, and safety, tailored to meet the demands of various woodworking projects. Its thoughtful features and robust construction make it an excellent choice for anyone looking to enhance their woodworking toolkit.

